Installation in the In Win 707 Black Gaming Case
I have to say that I have really enjoyed building in a case this size again. After so many mid-tower cases that I have worked with it was a delightful change to work inside a case with lots of breathing room… This case has it.
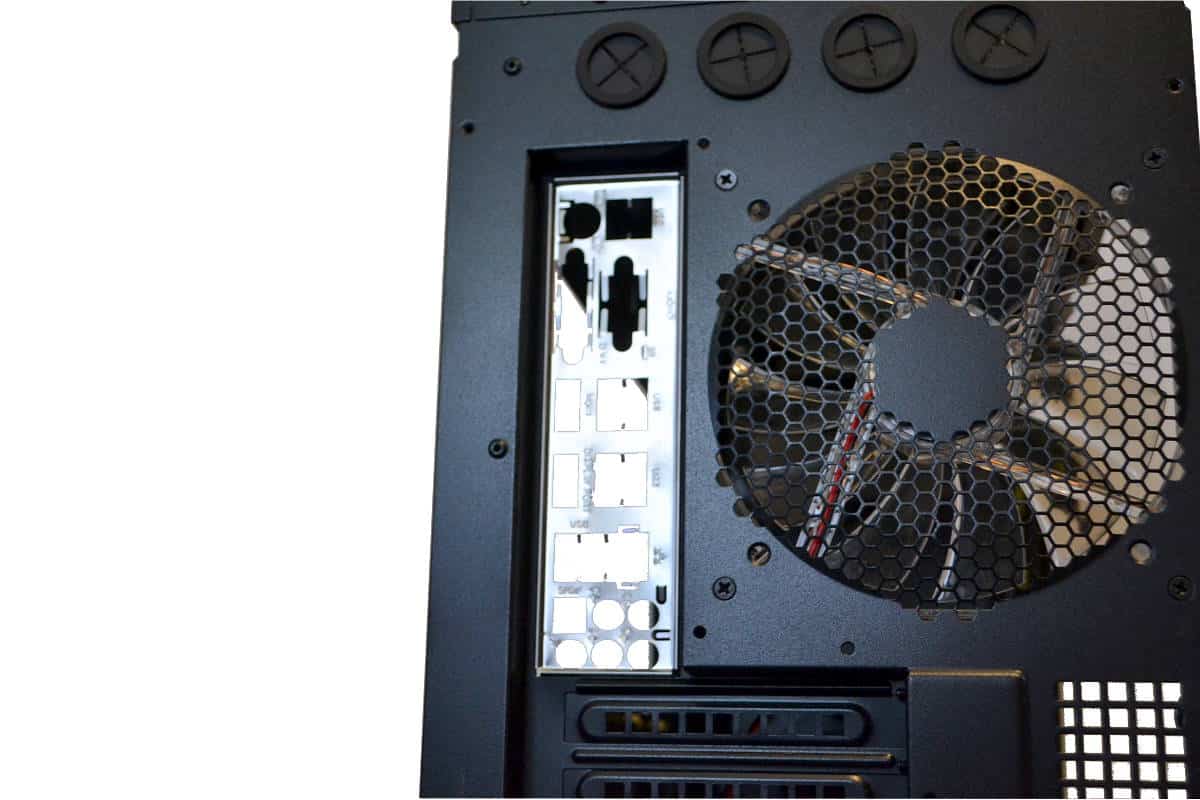
The back plate went in without a hitch. The placement is perfect as per JEDEC standards and snaps well into place without much effort, but it is not loose. The steel in this case is very strong and rugged so don’t worry about bending anything you would need tools to bent it.
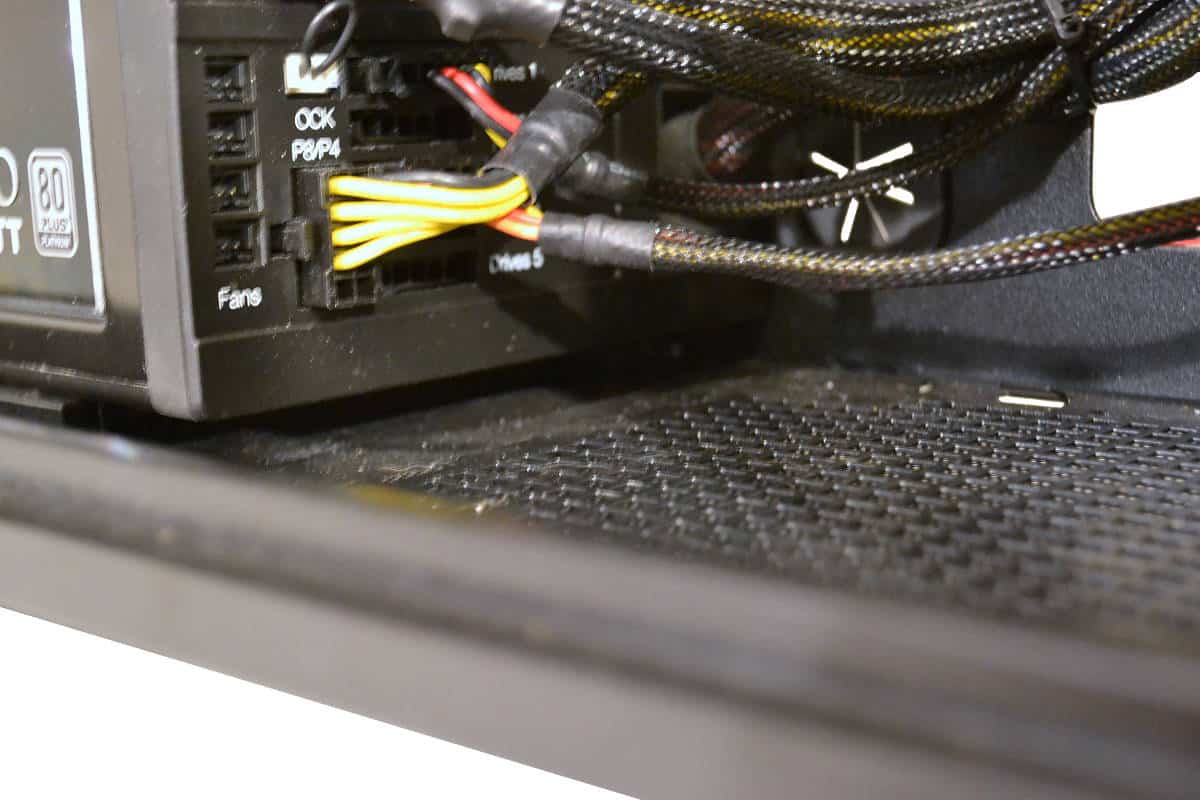
The full sized be quiet 750 watt power supply looks miniature with this case. It’s just really hard to convey how wide and big this case is in photos. If you need a large case for a great price I would say this would be on the short list of good ones to get.
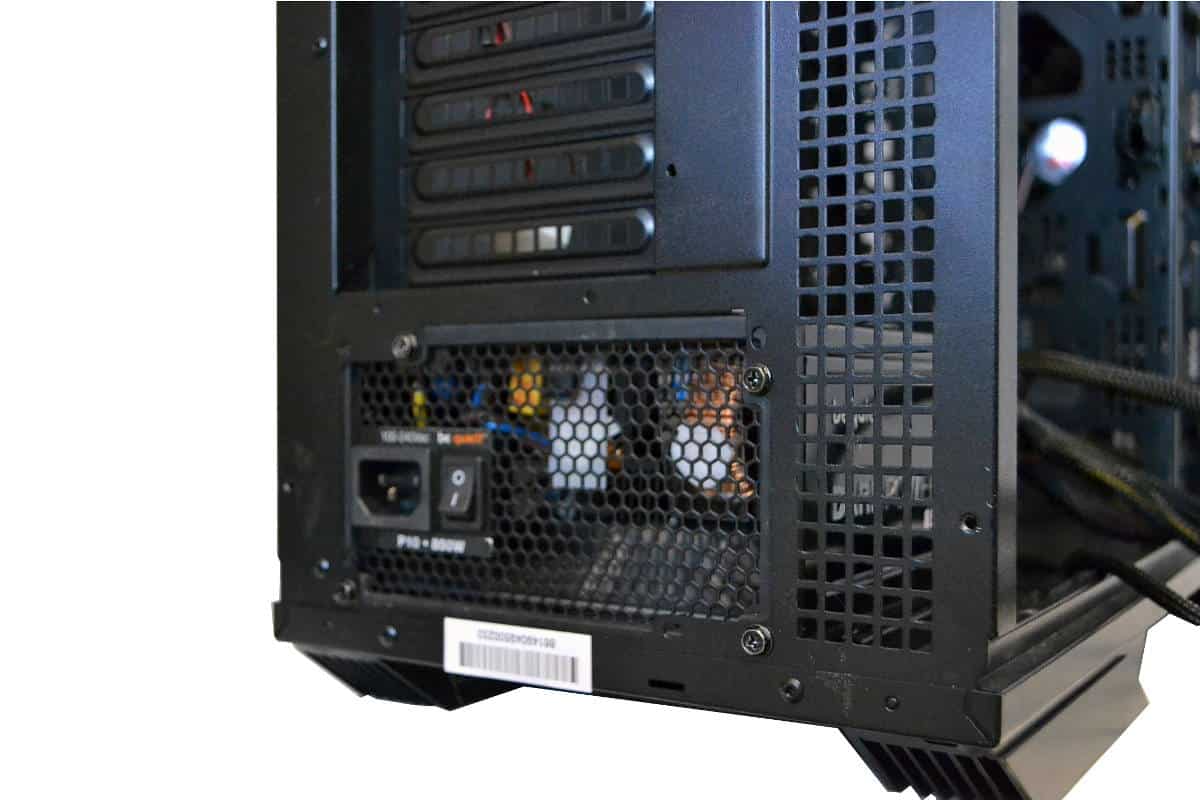
Also the power supply sits up away from the bottom of the case for better breathing. Don’t worry about setting the power supply fan down and forgetting to clean the filter underneath it. It won’t matter too much if you ever clean it at all except it does keep the dust out of the case well.
Slipping the Optical drive in was a snap, literally and moving the push pins back for different units will not be a problem either. You just pull hard on the pins and they pop out, then you can snap them back in without worry. Also I noticed that the fit is super tight so no problem if you want to ignore the back screw placement. You won’t need them unless you have a bad case of “Obsessive Compulsion Disorder”, (OCD).

I thought I would have to back the push tabs back for proper placement of the drive but that was not the case. I ended up moving the drive to the bottom slot which is the “knock out” type of covering but the plate of steel that you remove can double as a modding piece without question. The steel is sturdy and strong. The fit of the push pins as they come pre-installed is perfectly set for the typical ODD drive to fit flush into the case with the front panel installed.

No matter what the size of the case may be I always try to insert the P8 cables in before positioning the motherboard into the correct position and with this case you would be wise to do this as well as it’s very hard to plug the cable in after you mount the motherboard to the standoffs. I did have to install all the standoffs and there is not a middle pin stand off to hold the board for you as you insert the other screws so you will have to set the middle standoff screw on the motherboard to make life easier.
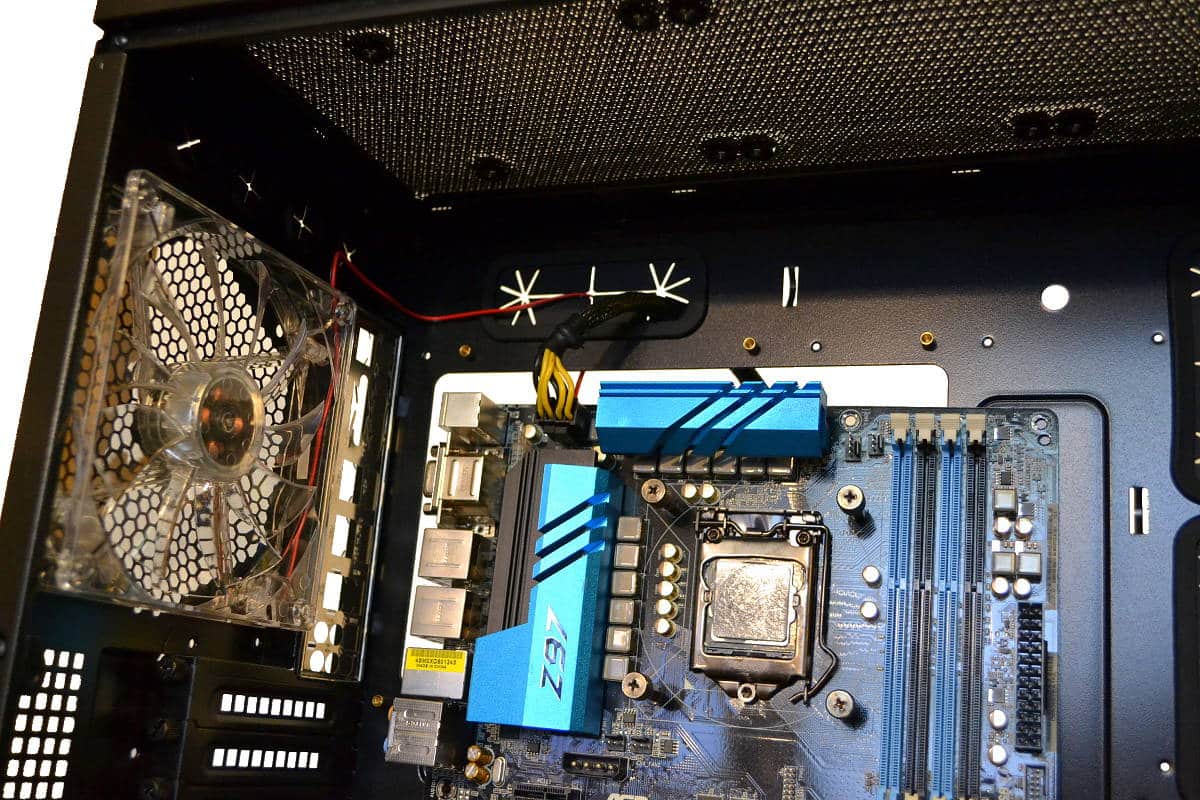
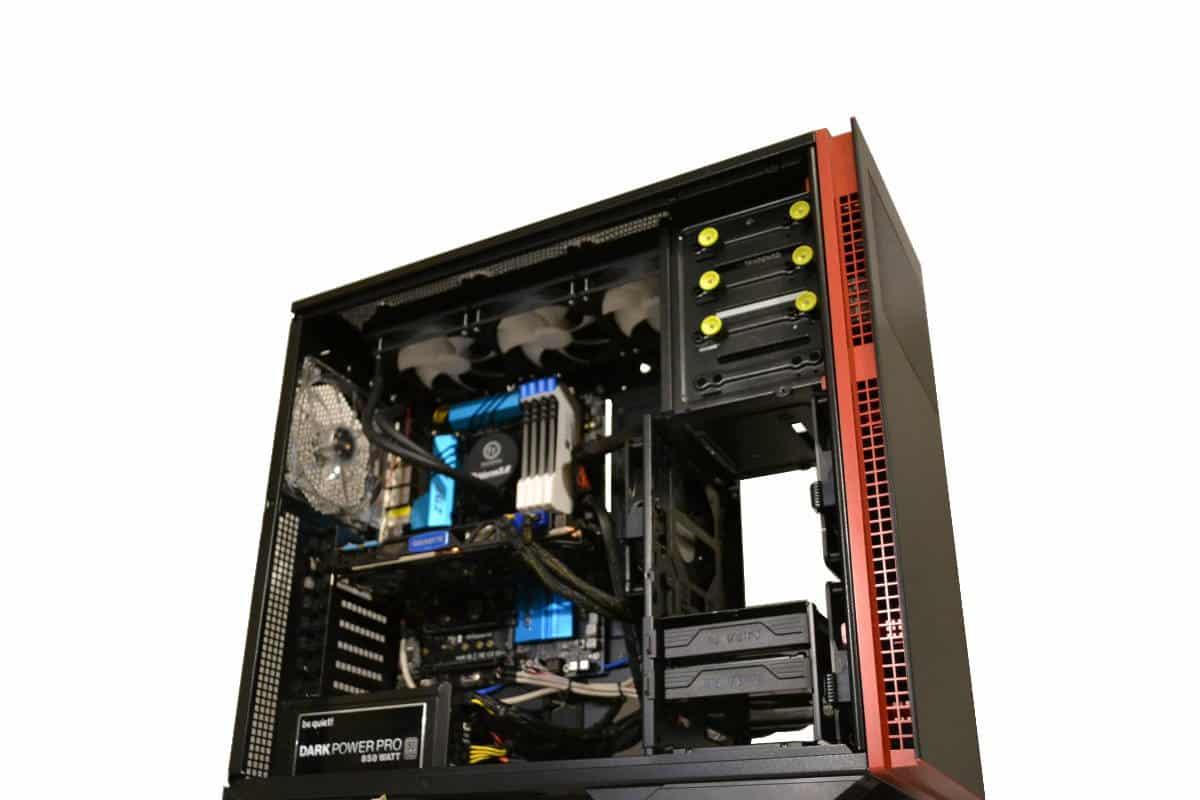
The As Rock Z97 full ATX Motherboard looks quite small in the case as you can see in this picture. This is a full sized ATX Motherboard so there is room to spare for any motherboard with 8 PCI slots leaving room for the widest enthusiast motherboard on the market. Server boards with dual CPU is also welcome in this case and there is plenty of air inside the case for them to stay at normal operating temperatures without worry.

Gazing at the case from this angle it is plain to see that there is plenty of room for many different options while you are building. A custom loop system will be welcomed in this case even with the largest of motherboards.

This fan location will except either a 120×120 fan or a 140x140mm fan with just a few snaps. The side snap-in mounts make inserting a fan in easy and if you ever have to change the fan you won’t have any problem changing them out. The snap-in mounts move to accommodate either sized fan just by removing the mounting latch to the secondary position. It’s very simple to do and plenty of room to work even after the build it complete. The front fans could be a problem changing if you have the drive modules installed behind them which could be a

In Win does supply screws and washers to fit the radiator to the top of the case but I used my own chrome thumb screws I had laying around. In this manner I don’t have to use the washers or the screws and the look is great. Since the internal non-removable filter is located under the mesh it’s best to push the air out from inside the case out.
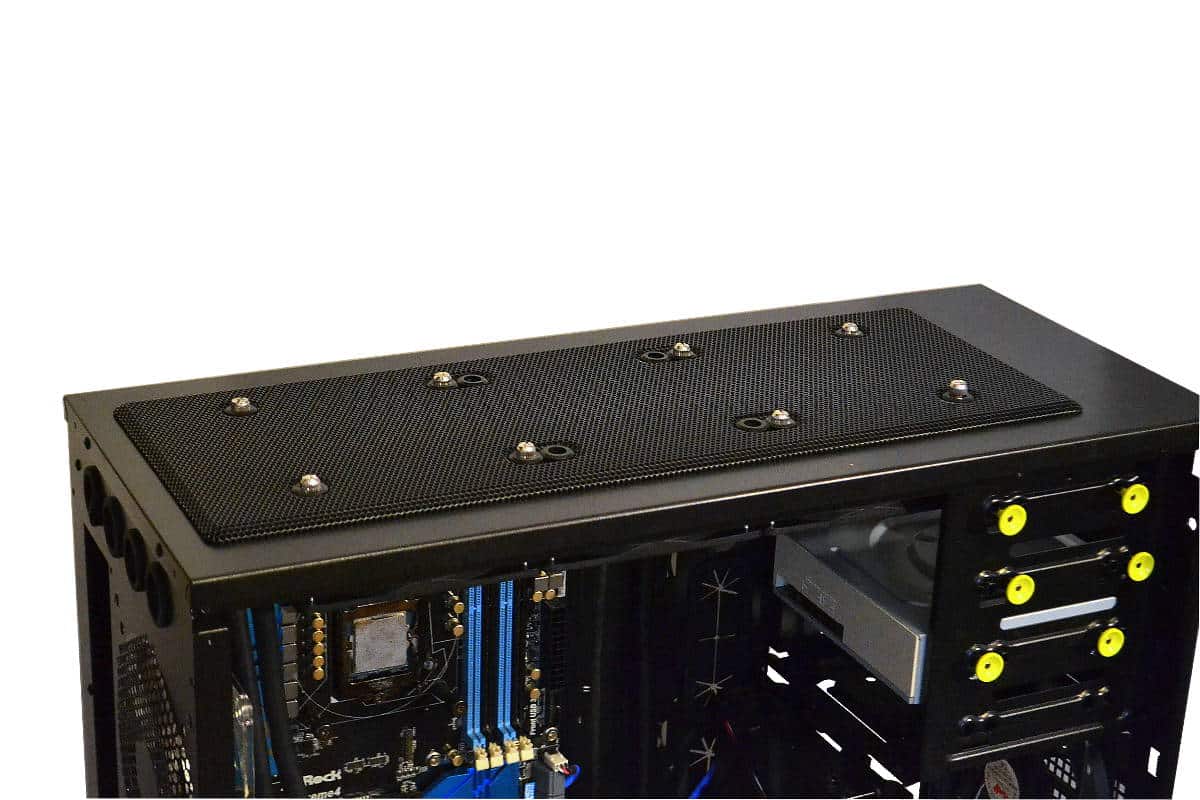
From the bottom looking up it’s not difficult to mount two fans in push-pull over the motherboard and still use Enthusiast ram like these AVEXIR RAIDEN ram stick. Even though the mount of the radiator is centered with the large mesh top vent the case is large enough for this not to be a big deal for any builder or motherboard, ram placement with push/pull configuration at the top. As the Aussie’s say, “No Worries.”

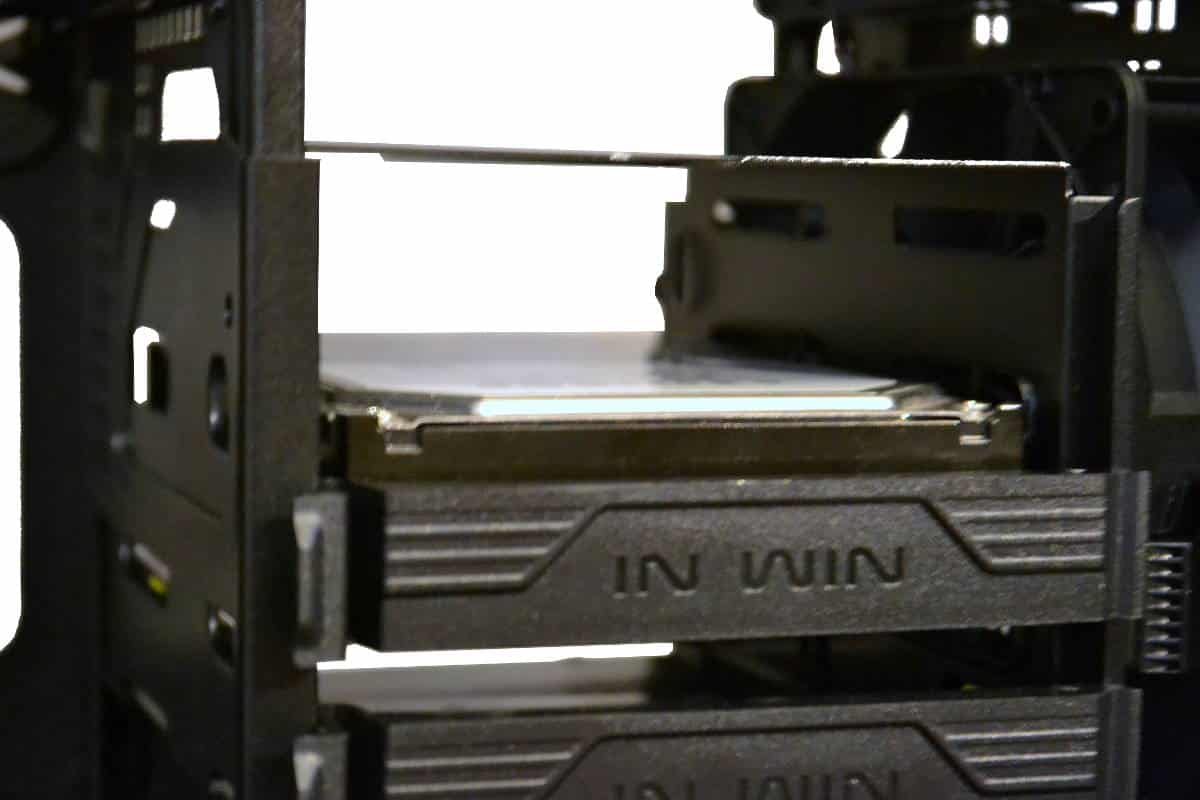
Installing the SSD is usual screw from the bottom design with plenty of room to plug the wires into the SSD after you insert it into the drive module. Notice that the front latch is designed to catch under the edge of the module on one side and lock into position from the other. This will insure that the drive is tightly mounted into the module keeping down noise from a mechanical drive.
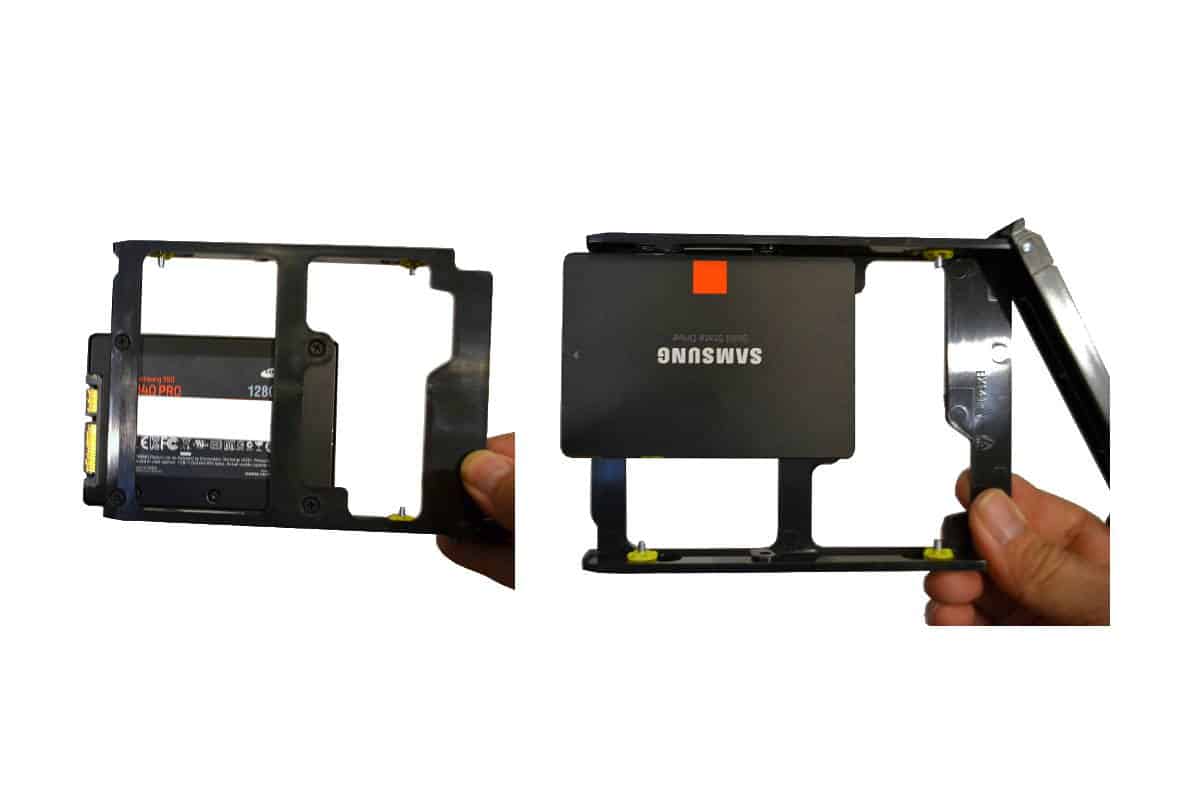
Here is another look at the latch of the drive drawers that fit into the module. I left them this way to show both locking sides. In Win thought of some really good features for hardware free installation without sacrificing the quality of the mounting integrity. The simple push pin design of the drive drawer is also tight and vibration resistant with the yellow rubber mounts to keep the drive very tight in the module so it will not be a problem adding up to eight mechanical hard drives inside without all the noise that can come from the vibration of all of them together. All the drive drawers are made to accommodate ssd or mechanical hard drives.
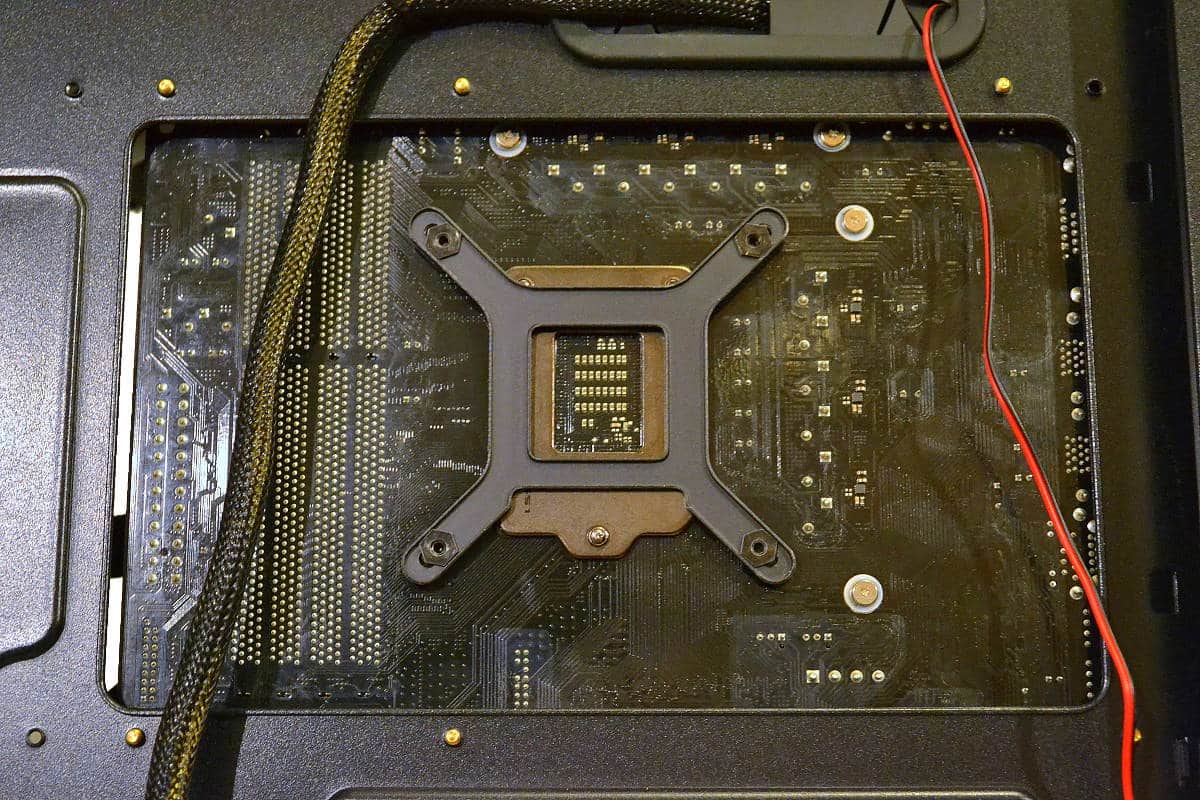
There is plenty of work around space for the CPU mount behind the motherboard tray. In Win did a nice job cutting a super large access hole in just the right place as is obvious by this picture shown below.
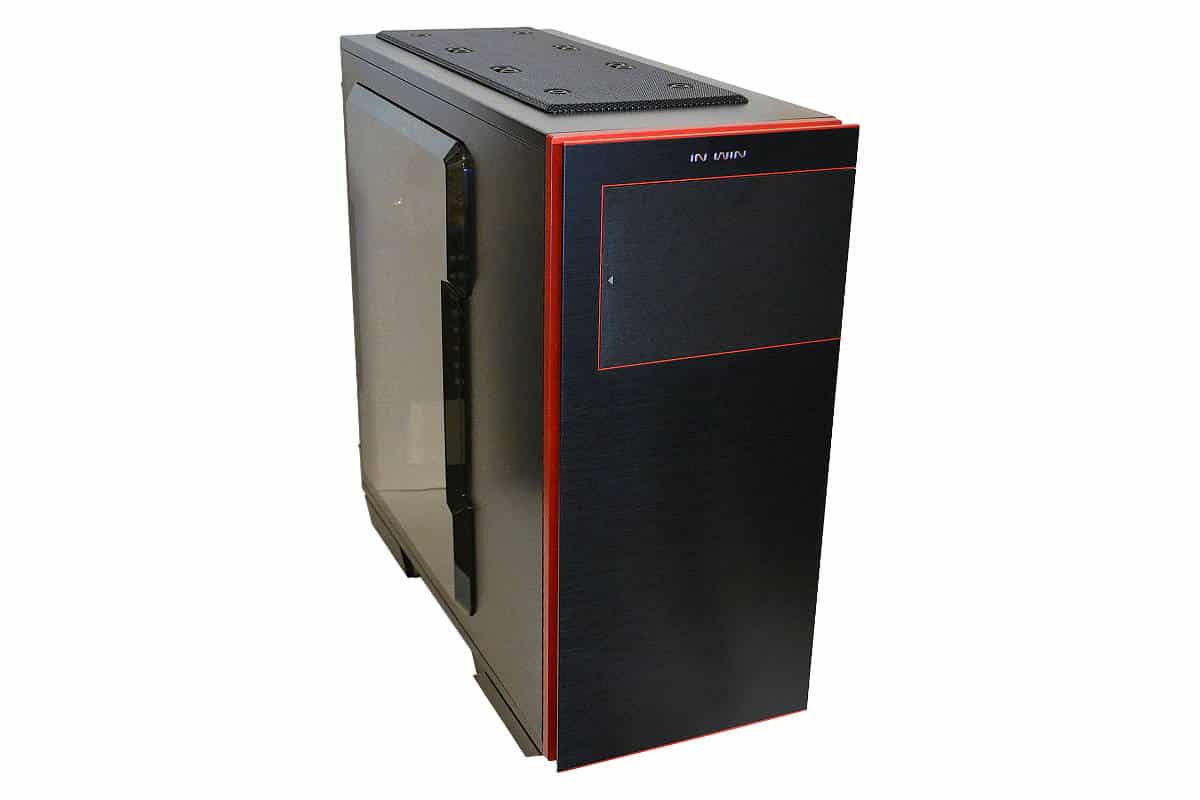
Finally the build is complete and looks just great. With some lighting and some fans and a few other mods this case can be a great bang for the buck or a great stand alone build. The case looks great and its rugged as any case out there so if you like the design I would say this case can be a great buy for people that like the style of the IN WIN 707 Gaming black E-ATX computer case.