

Inside the In Win 707 Black Gaming Case
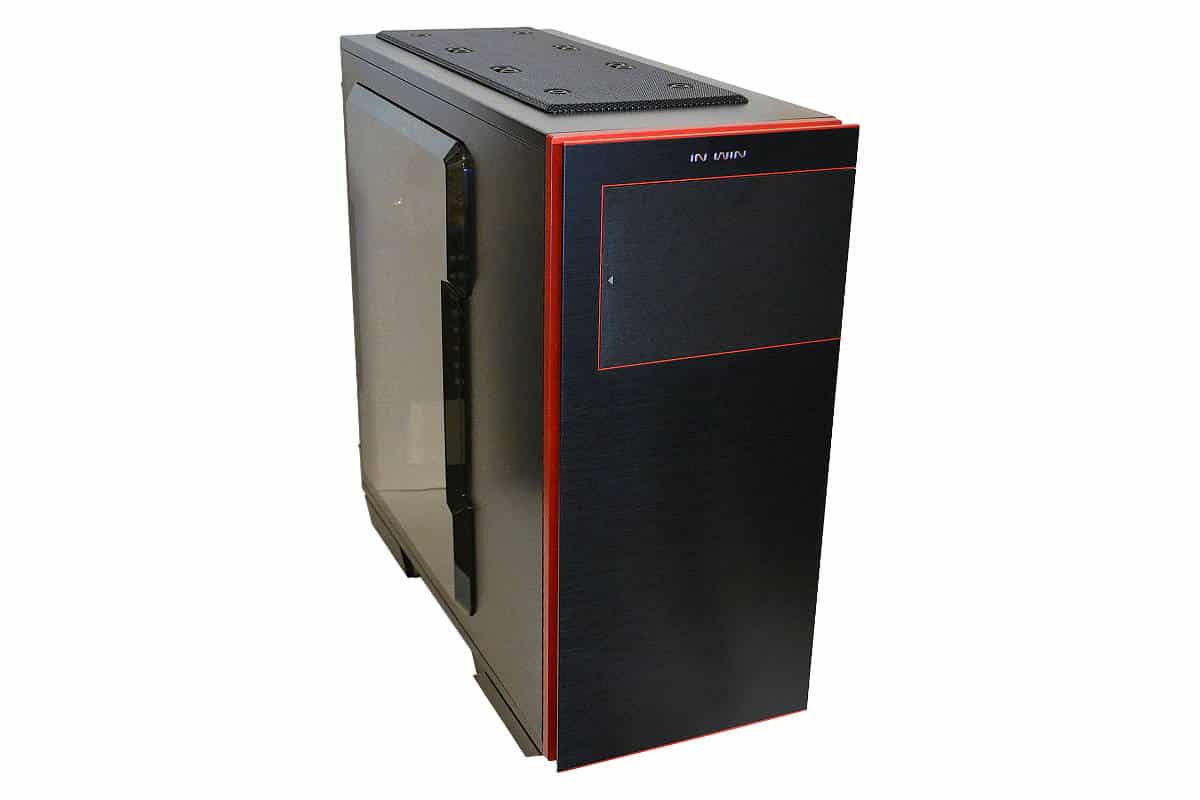
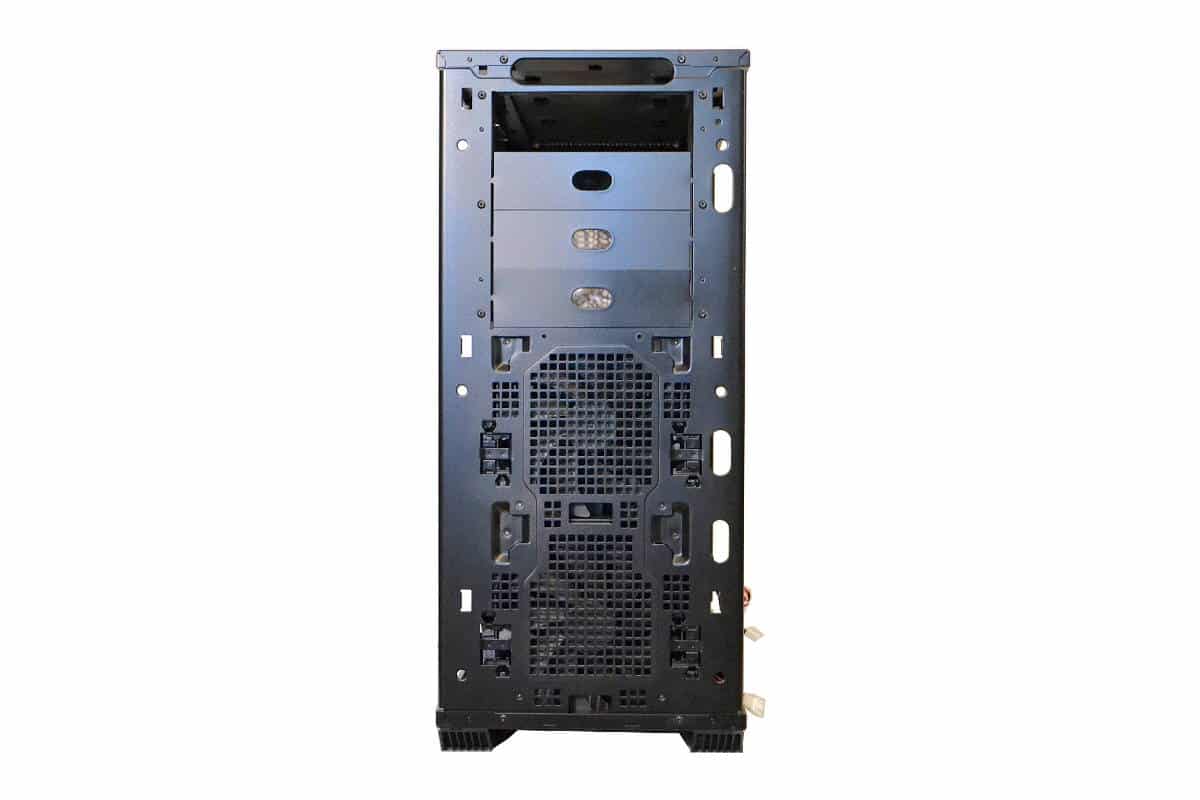
Taking the dressing off the case and exposing the inside parts is the mission here in this segment of the review. As you notice right away the front is slightly restrictive for air flow. While I am not sure at this point of the review if this is a problem or much to do about nothing, I don’t know yet, but I do need to point out the obvious here. The holes that are present are quite large but do not open the entire fan circumference of the pre-installed 140 mm front fans but we will see in the build phase how this works.
The interior of the In Win 707 Gaming Black chassis is quite large and able to accommodate even the largest of E-ATX Motherboards and still leaves sufficient room for the wire management holes to not be obstructed. The floor from motherboard tray to the panel is a full 185 mm deep which is hard to see as the picture looks like any other case but pictures can be deceiving. Another thing to see is the extra large access hole in the back of the motherboard tray for getting to the back of the CPU for changing or upgrading a CPU cooler without removing the motherboard or the wires. The wire access holes are generous and have plenty of room for wire management and larger wires. The rubber grommets that were started by the people at Corsair have been included with this model case as well and are pretty good quality. There is also a very large access hole at the bottom front of the motherboard tray to allow for all the power supply wires to be routed to the back of the motherboard tray. As you may also notice is that there are standoff holes for every sized motherboard from a M-ITX to a Full featured E-ATX motherboard with dual CPUs. Space is no problem here. There is also space for a large Power supply and an additional 240 X 120 / 120 X 120 Radiator to be mounted to the bottom front of the case floor. the Radiator fits nicely between the two permanent mounting post that reach from the bottom of the ODD bays to the bottom of the case but it does not cause any problems for mounting the Radiator as long as you stay with the 120mm width of the radiator.
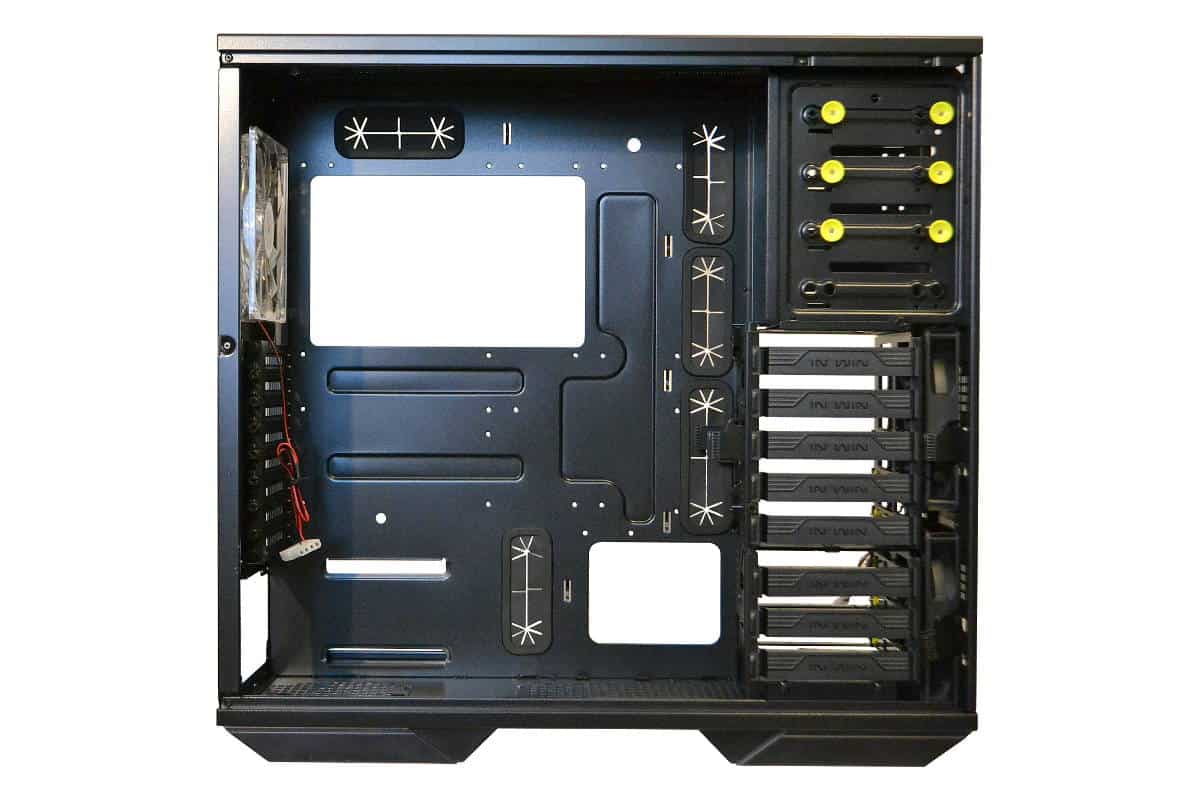
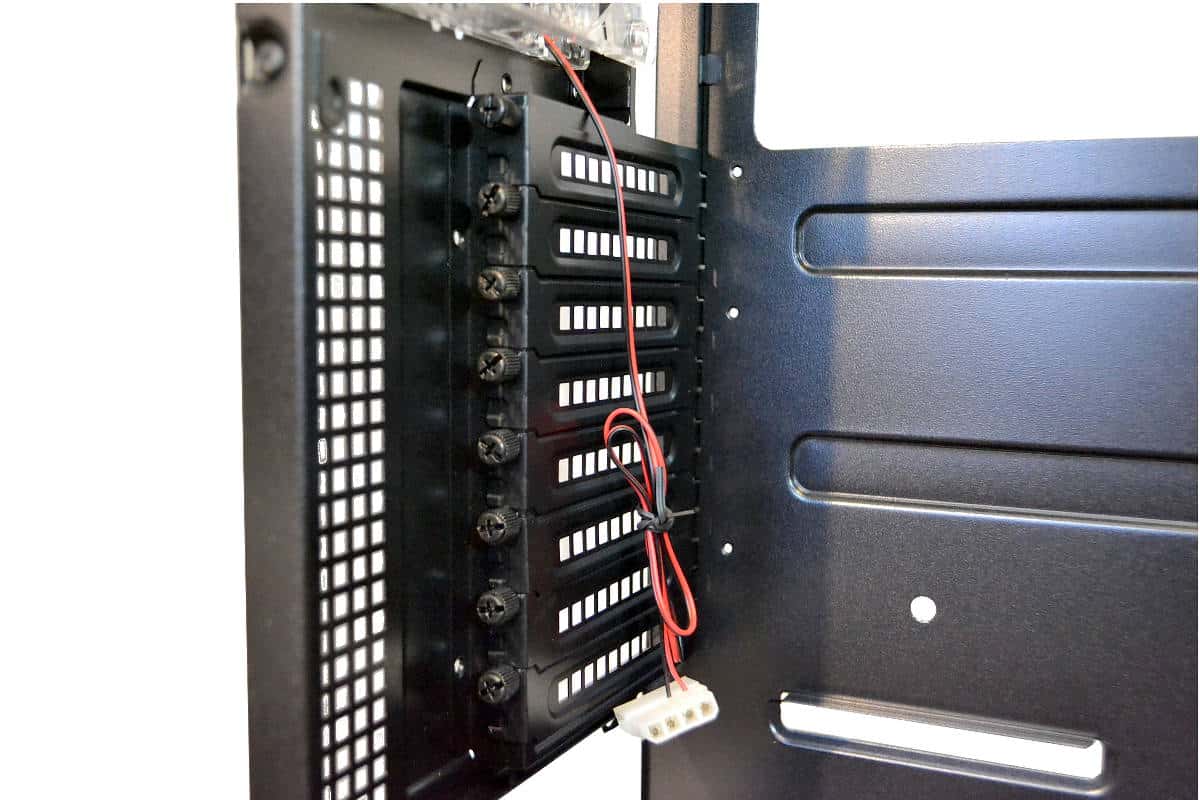
The back of the motherboard tray gives the builder a full 20mm of spacing for wires and connections and that is a large amount since some cases are only offering about 11cm behind the tray so hiding wires behind here should not be a problem even if you do not own a fully modular power supply. There is plenty of room to hide all the wires you want back here. There are the typical adjustable screw points on the back of the ODD drive bay to keep that DVD platter from rattling inside the case while its playing your favorite movie.
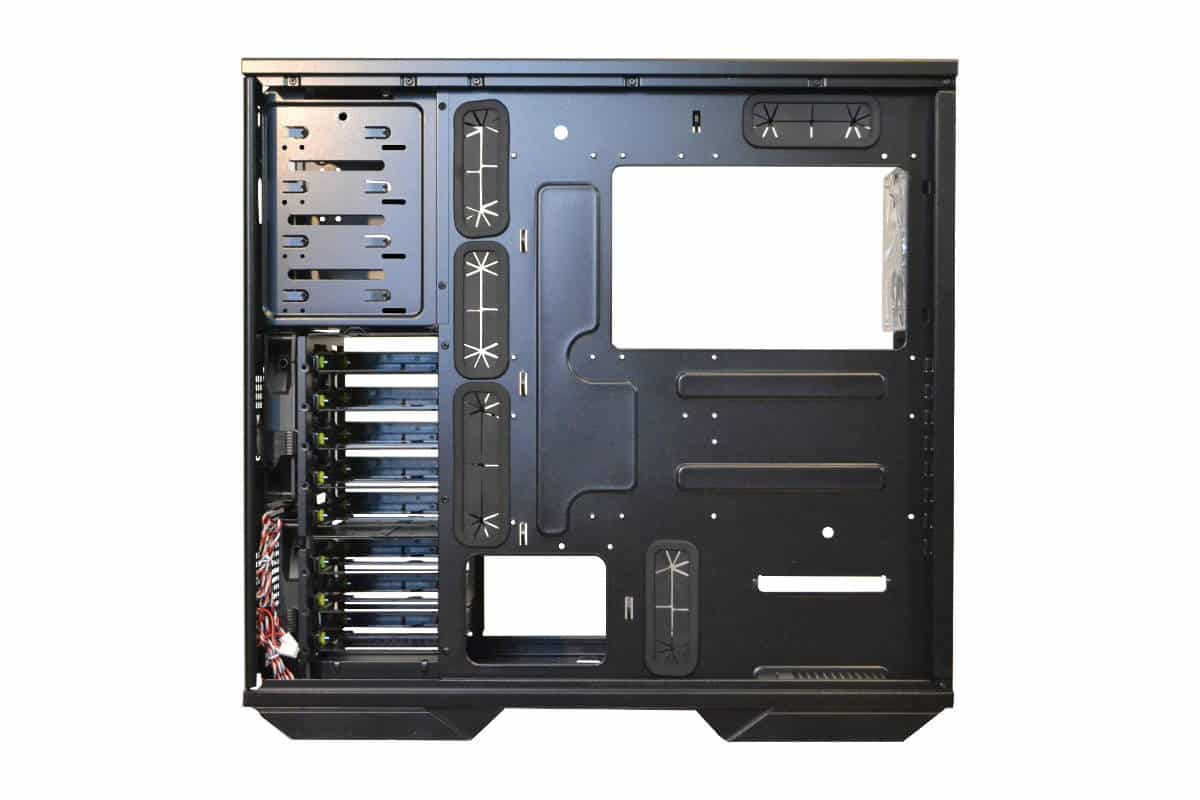
Behind the hard drive trays you can notice that the mechanical hard drive trays are tool free and rubber coated. They have also made the builder quite aware of the drive rubber mounts that keep down vibration from the platters and the plastic drawer like covers are tightly fit into the assembly bay modules by giving them a bright yellow color.
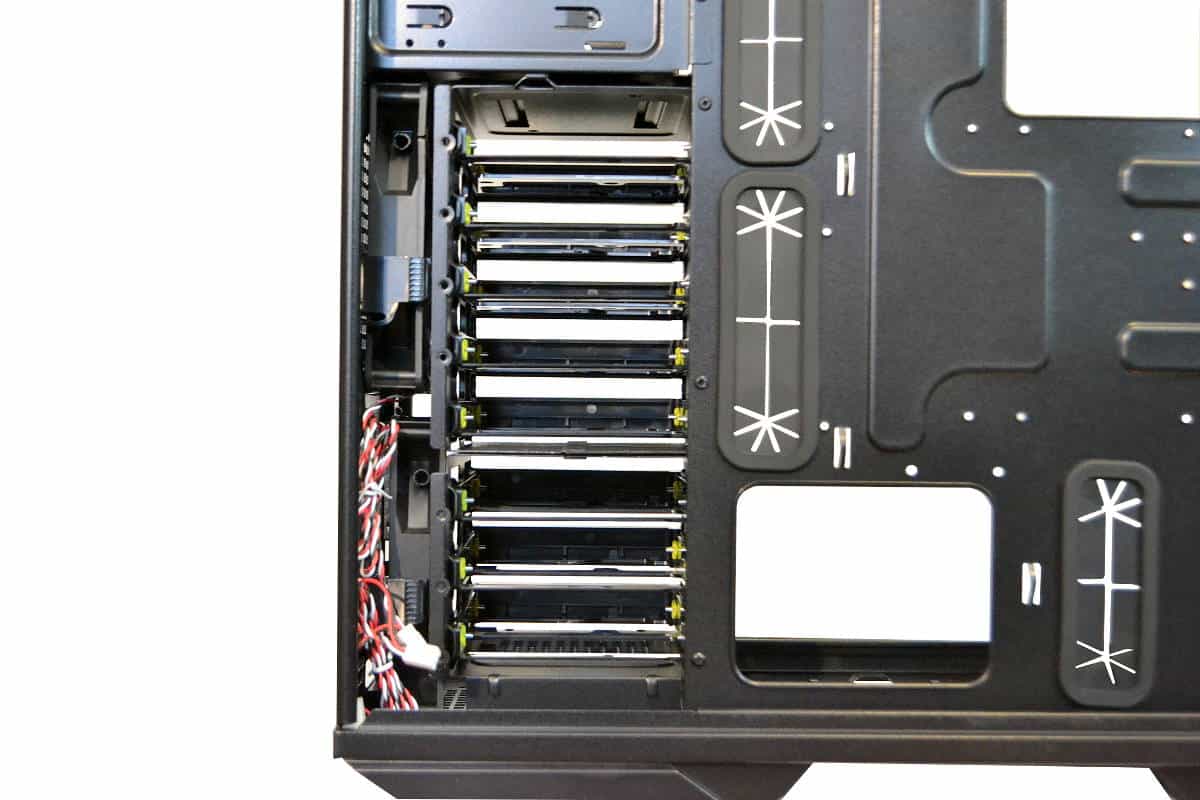
Looking closely at the inside portion of the drive bay assembly we see that a 140 mm fan can be installed on the outside of the top module if you need more air velocity. The fan mount is also tool free and holds the fan quite tight as long as you are using a standard 140 x 140 x 20 mm fan. Here is also the part that most reviews see as an almost full obstructed front fan.
This would be right if you were cooling a huge drive array in a server that would need to have the drives cooled more than the motherboard but this is not as big of a problem if you just remove a bay and get the best of both world. In that configuration you would be able to cool both the mechanical hard drives and have ventilation from two more fans on the bay and below from the front bottom fan. Also in the picture you can see the bottom radiator mounts

On the tool free side of the Optical drive bay we find some more of those bright yellow handles that allow the DVD drive to be installed without the need of screwing it in but you will need to screw that back side in, “so what’s the point case manufacturer’s”? Why not allow the back to be tool free as well. This is not just an In Win oversight, but a cost cutting measure done by most of the case manufacturers that build cases today. The best way to keep it tool free is to slightly bend the metal tabs in the back inward to hold the back side of the drive tightly against the tool free portion of the bay but screws usually hold tighter and give more vibration dampening by allowing the vibration to be distributed though out the case construction. There are two points for the tool less drive holds to use and also an adjustable screw mounting area for people that have multiple drive and need the silence of tightened down ODD devices.

Here is a look at the tabs that I described in the last segment. Those bendable tabs can be bent further in tighten the DVD drive to the tool free side of the ODD Bay, but if you are like me and hate noise I prefer to screw the drive into the side to make sure that the drive makes the least amount of noise possible from a fairly noisy part of the computer build.
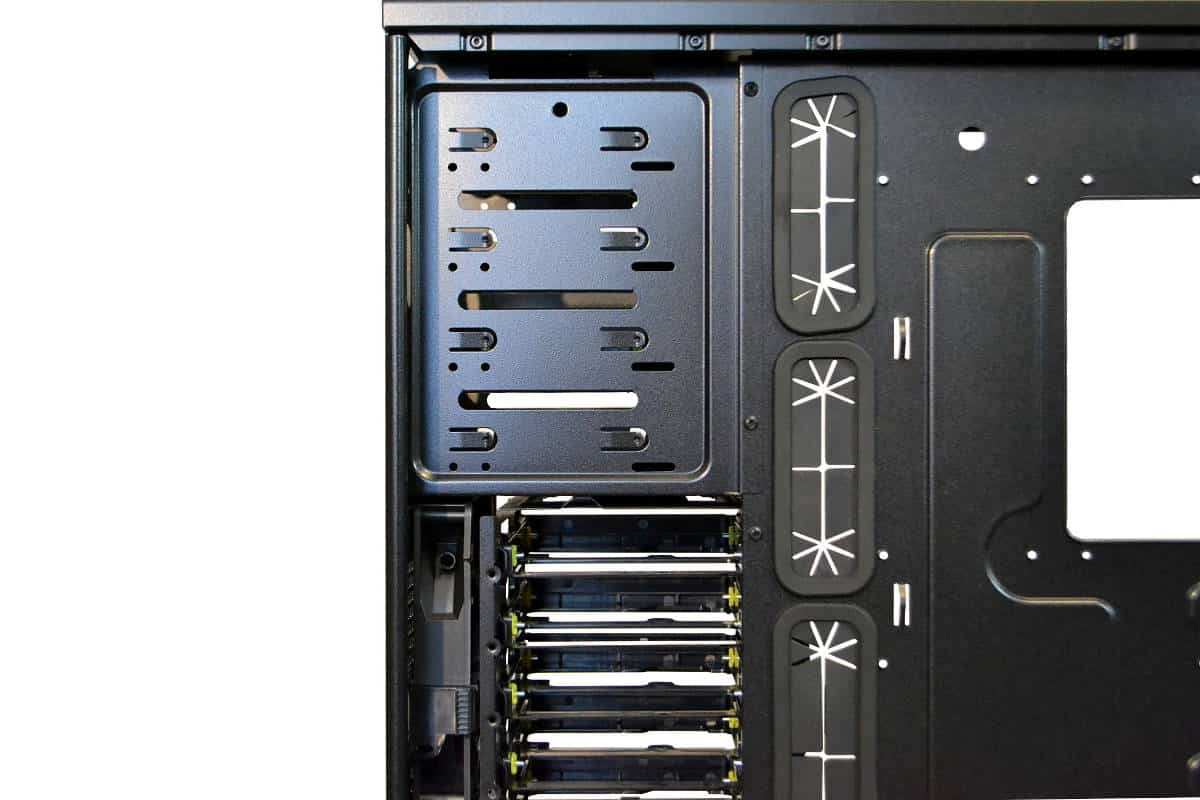
Below is a picture of the drive bay drawers in different opening configuration to simulate the opening and removal of the drive bay drawers. They are each individual sliding drawers that can accommodate both a 3.5 in mechanical drive or a screwed down SSD. There is only 8 tiny SSD mounting screws in the accessories so make sure you use the screws that came with your new SSD to use for the remaining drives if needed.

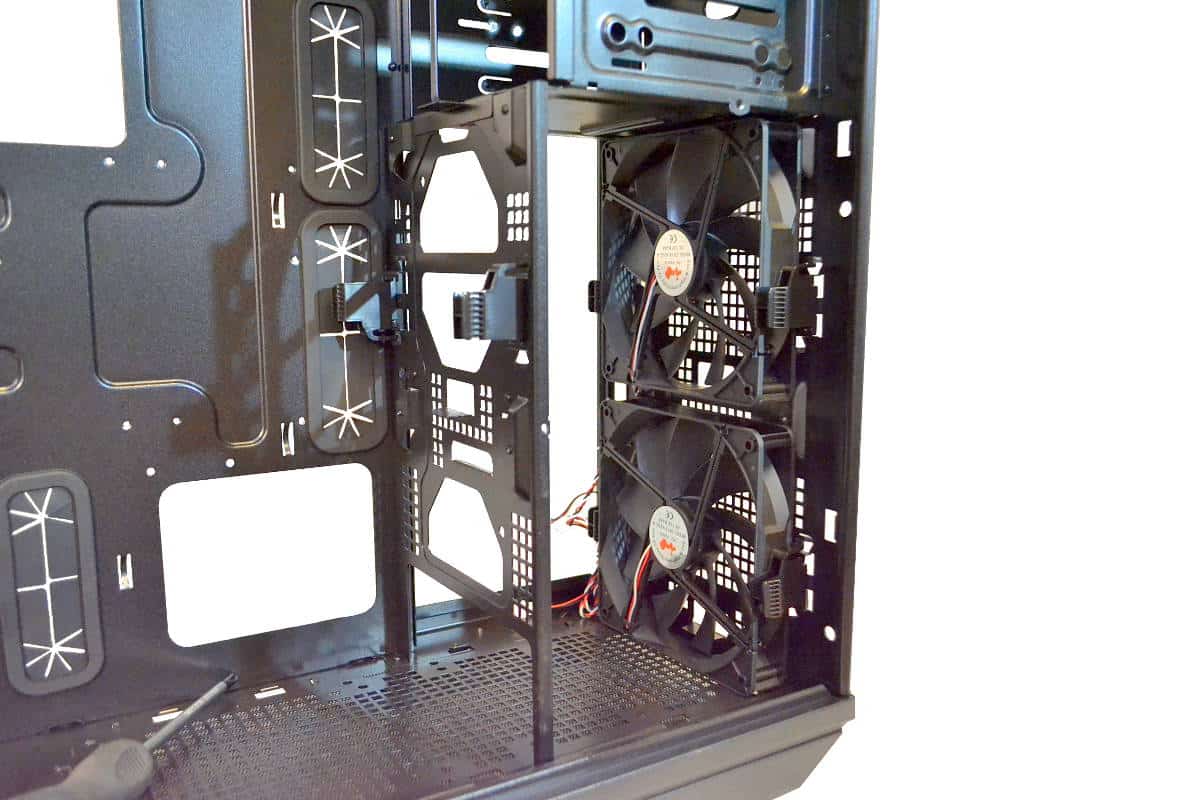
Ah… now that’s better. With both of the drive modules removed you can see the big difference a few loosened screws make. If you are not planning on building your first home server for the neighborhood to enjoy or the world for that matter, you might see that build a well breathing gaming case is possible with this and looking lower it is more useful for that 240 X120 Radiator to fit on the floor of the case. The tabs for the extra interior fan is also more apparent and breathable but we Modder’s know what we want to do with that cross member cutting the fan access into two pieces. MODDIT…
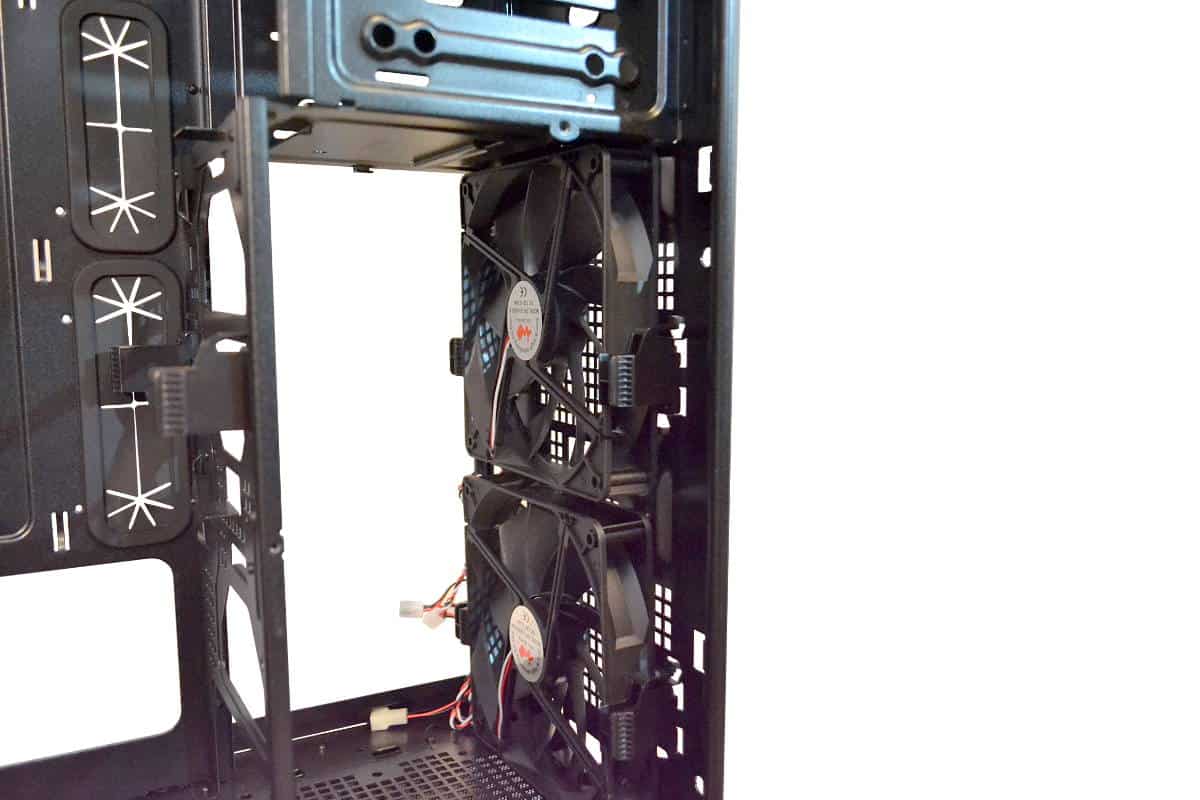
Another thing you might notice now is that the two front fans are not screwed down into the front of the case like most fans are. They are continently clipped in on the sides by the removable fan holding side mounts with some help from the steel construction to keep the fans from moving in a Vertical direction while in operation.
The all red side of the inside front fascia panel is home to the control panel and I/O with USBs all on the same small thin circuit board. The wires are white and no doubt was another cost cutting measure for this case but overall the build quality of this part is good and well protected by center front pressure by the two centrally located braces that keep the front from bending in or cracking due to an over active caffeine filled gamer that just got sniped for the 8th. time in a row.
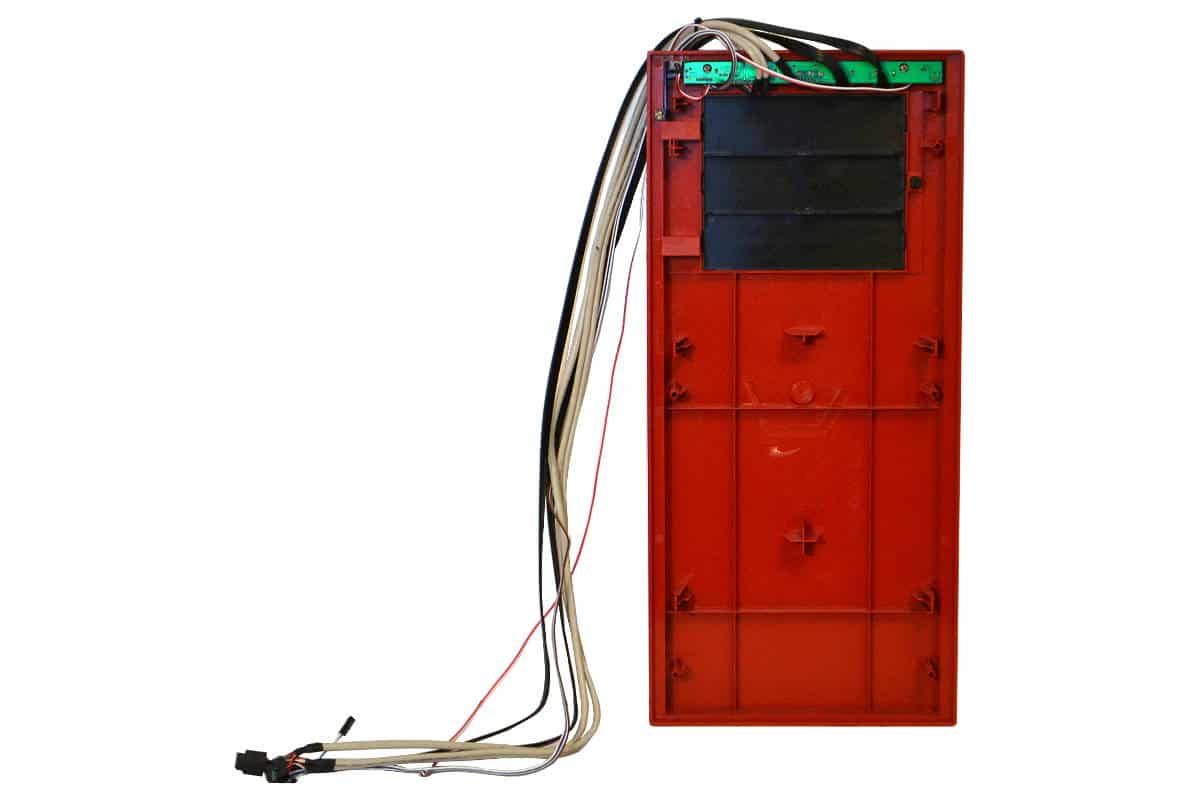
Another peeve is the Molex powered rear fan plug instead of the usual 4 or 3 pin fan plug that are present on all the rest of the fans on the case. The only thing I can figure about this is that it could be so the fan can get a nice full dose of undeterred 12vdc action from a Molex in the back of the motherboard tray via a straight jolt from the power supply. That is how I will be fitting this plug into my build at this point of the review. It does make sense to try and keep the back exhaust fan at full volume all the time and bypassing the motherboard pin out it does make sense in some parallel universe somewhere.
The PCI slot covers are fully vented and very heavy steel. The thumbscrew have a cross cut and flat-head cut into them for a reason. That is to bolt those triple large video cards down without any sagging.
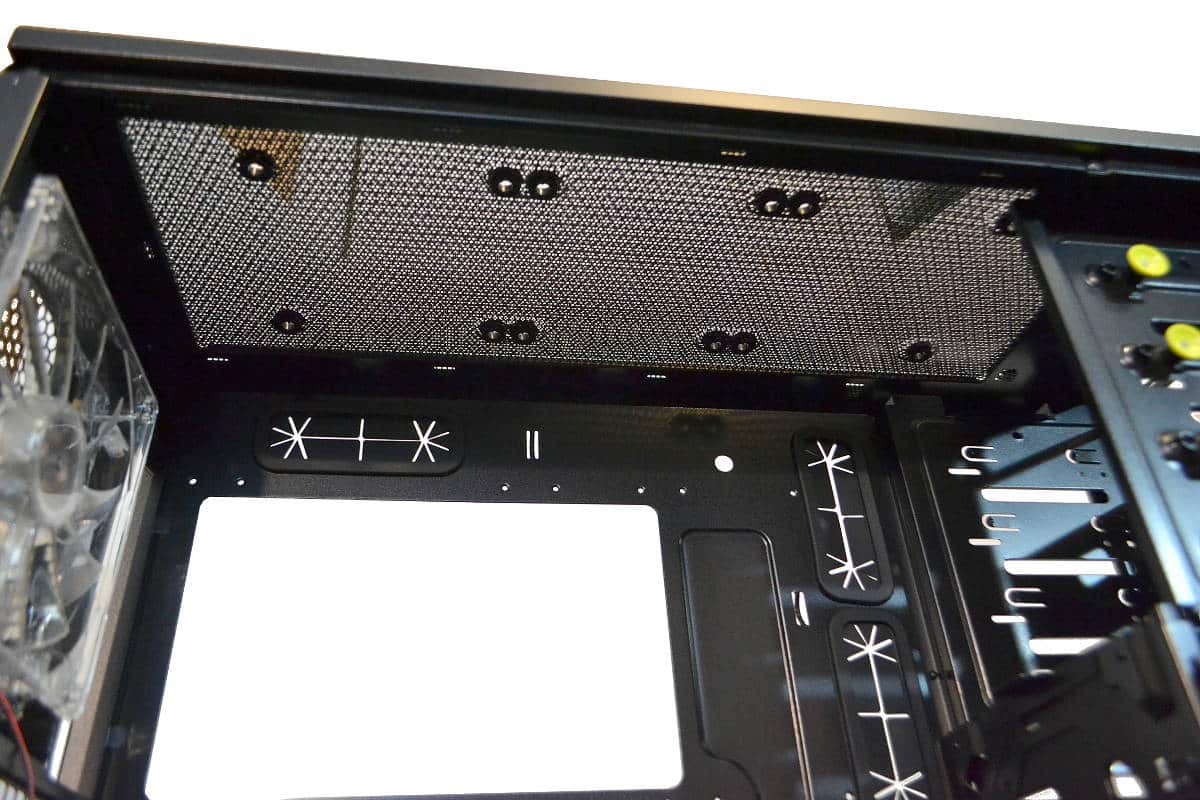
As a final note here is a bottoms up shot of the radiator fan input or output screened filter. I wish I could find words to explain this but I just can’t. It just is there and if this was my home build I would delicately cut it out and mount my fans to blow outward. The rubber grommet are really nice too for those guys that are using 3 Panaflo server fans on the Radiator. Otherwise it’s a nice feature but still I am left with a little question mark drifting inside my brain about it.
Overall the inside is amazingly strong and structural integrity is almost over-engineered in the In Win 707 Gaming Black E-ATX computer case. Strong, build flexible and definitely mod worthy and at a sale price of between $99.00 US Dollars on sale or $139.99 MSRP this is not a bad case. It is super strong enough to hold any amount of weighted parts you might want to put in it and there is space galore.