Building in the Fractal Design Core 2500
Before we get started building into the Fractal Design CORE 2500 let us start with some basics that we have on the case controls and wiring.
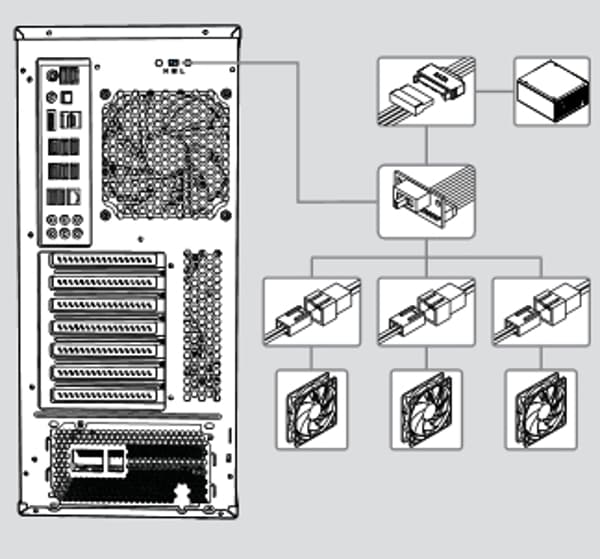
Here is a diagram of the Control Wires that will have to be connected to the motherboard as you are building. Hopefully this will aid anyone in the future with connection difficulties.

The fan connections are pretty straight forward but still worth mentioning. As a reviewer’s note, I must say that Fractal Design has done a great jobe with the instruction manual That comes with the case. It is very easy to understand and thorough.
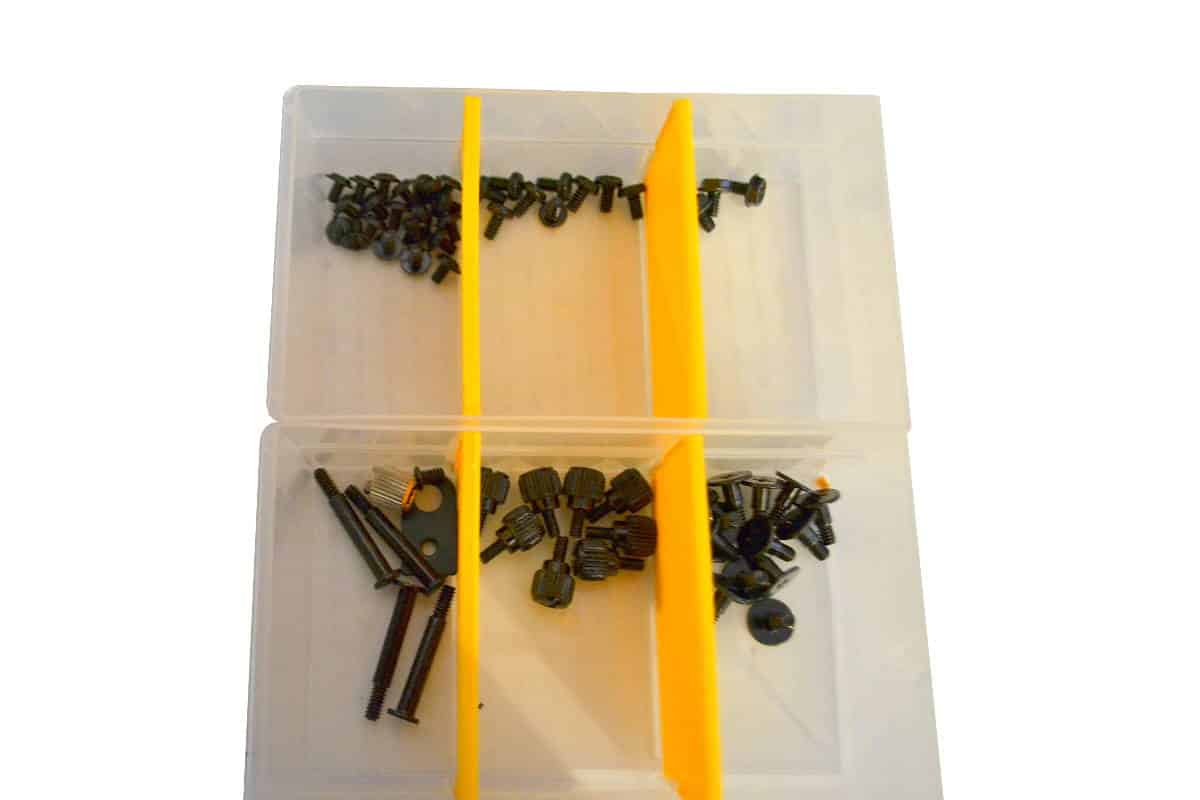
I used some plastic hardware compartments to get the right screws faster since everything is in one bag. Sorting once is the best way to do it and using a compartmentalized box works the best for this.
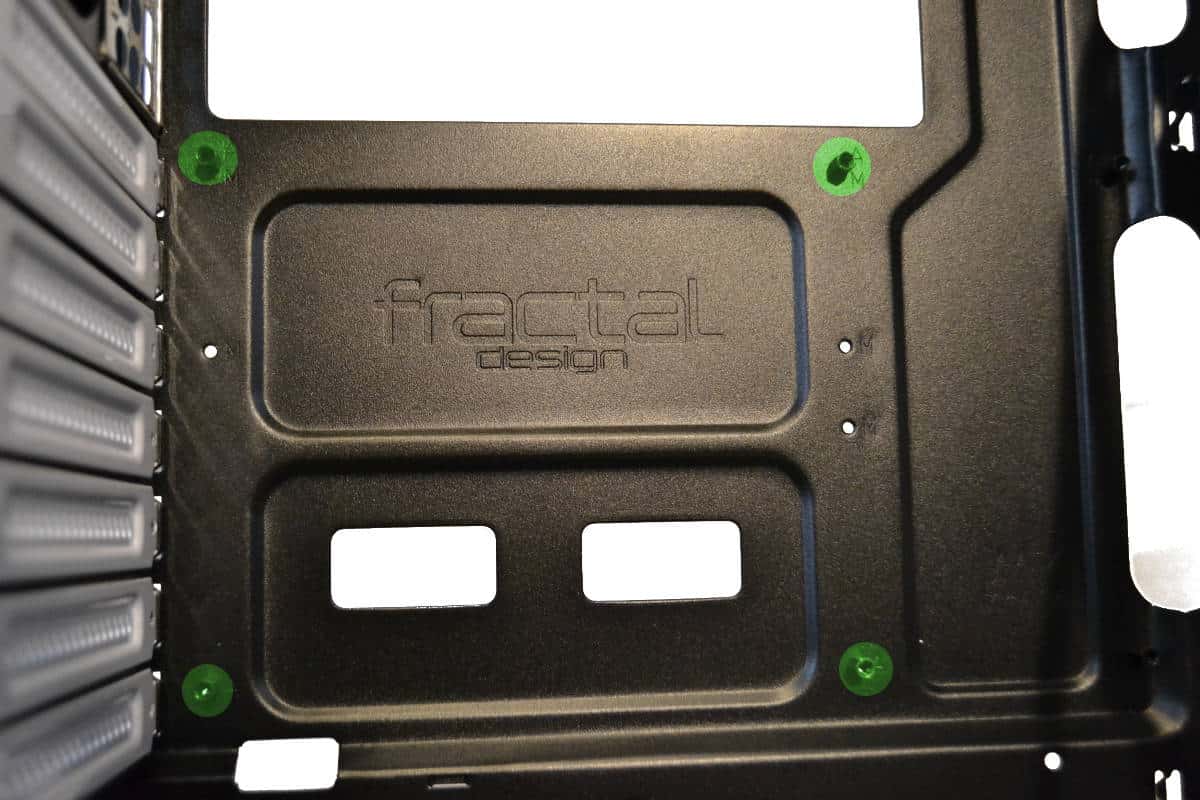
Installing the backplate went in with a snap. The hole for the back plate is perfectly set in this CORE 2500 as most case are but it is worth noting that I did not have any problems at all snapping it in place with just the right amount of force necessary to hold the plate in place as well as not be bent in or out by a really tight hole. This fit was just right.
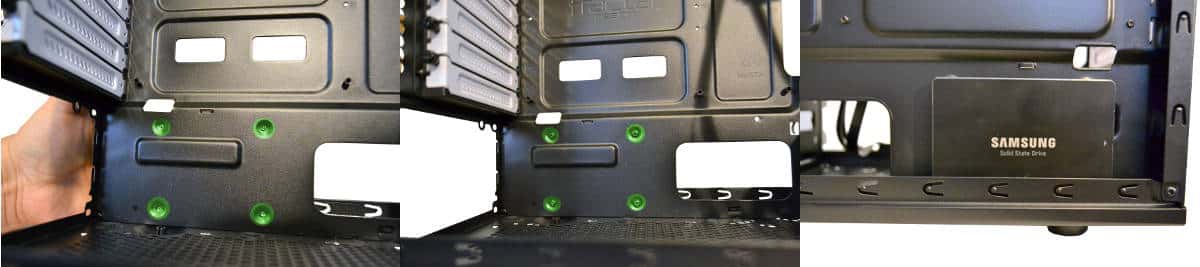
Okay as I mentioned before the back side SSD mount is located behind the power supply so make sure that if you are using this mount secure the SSD before you install the power supply into place or you will be removing it. I also didn’t like this placement as if you need to ever update the SSD or you have to replace a bad one here you will need to remover the power supply before you can remove the SSD.
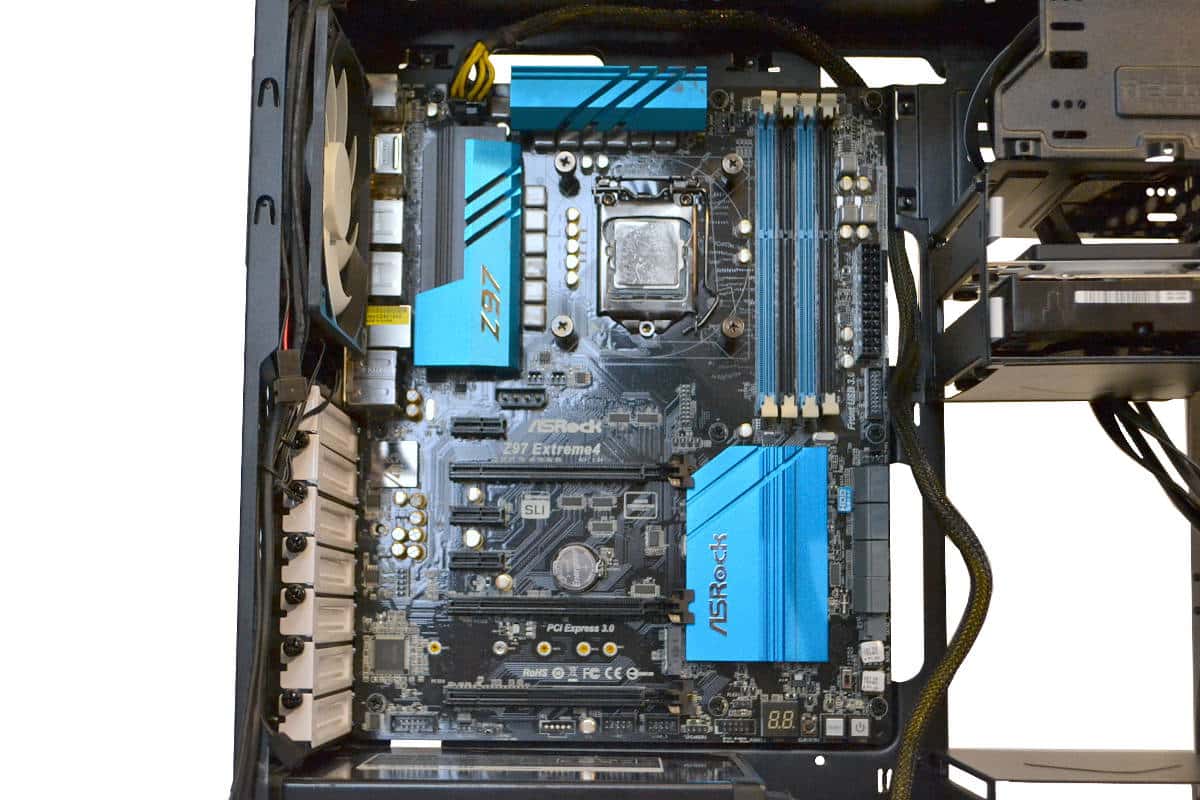
The factory did not bother to tap the holes so the standoffs were very difficult to install correctly. I didn’t say it was impossible but its really good that they include a standoff tool in the kit with flat head screw and Phillips head top. I used the flat head to tighten them down to the correct placement because the Phillips head started to slip strip the tool because of the holes not being tapped.
Next I installed the power supply fan down. I did that for this build because the top of my power supply has a large fan shroud that will let a falling screw fall right into the top of the fan and into the power supply. I would however mount the power supply fan up if this was a permanent build for my personal or profession build because of the difficultly removing, cleaning and replacing the ten pointed filter element back to the bottom of the case.

At this point there are a few things to consider. First is to try and mount the middle screw into the middle standoff to let you release the motherboard from your grip and give you two hands to work with. Also with this case its best to install the 4 or 8 pin Motherboard CPU power pin in at this point of the build and start working out how to avoid wires in the back of the case because of the 11 mm clearance in the back of the motherboard tray. Also as a side note try to make sure that all your cooling mounts or your air cooler is pre-installed on your board before mounting just to make it easier to mount. Also at the next point I installed my fans to the bottom of the radiator before installation for obvious clearance reasons.
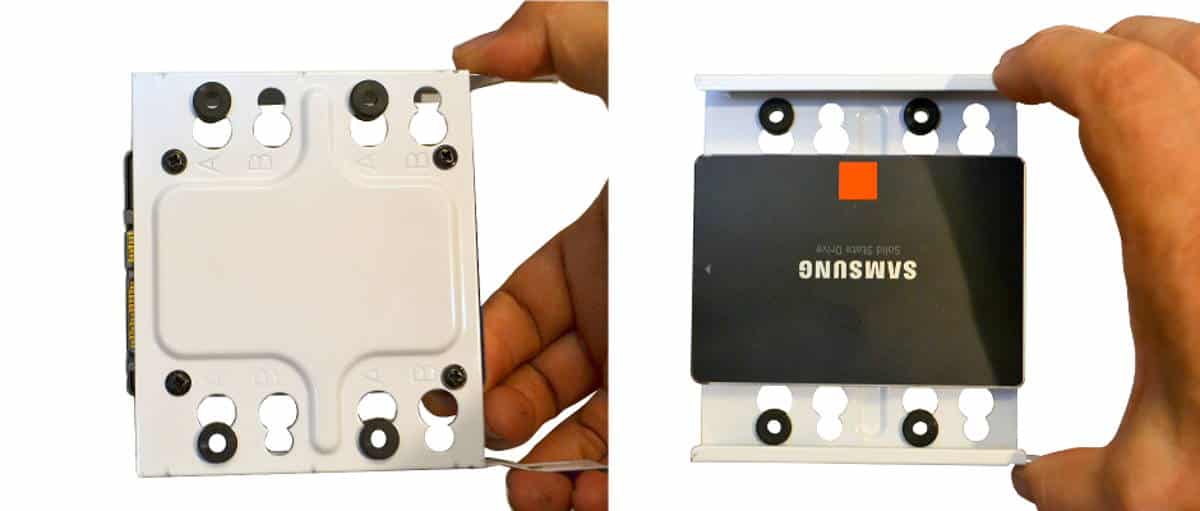
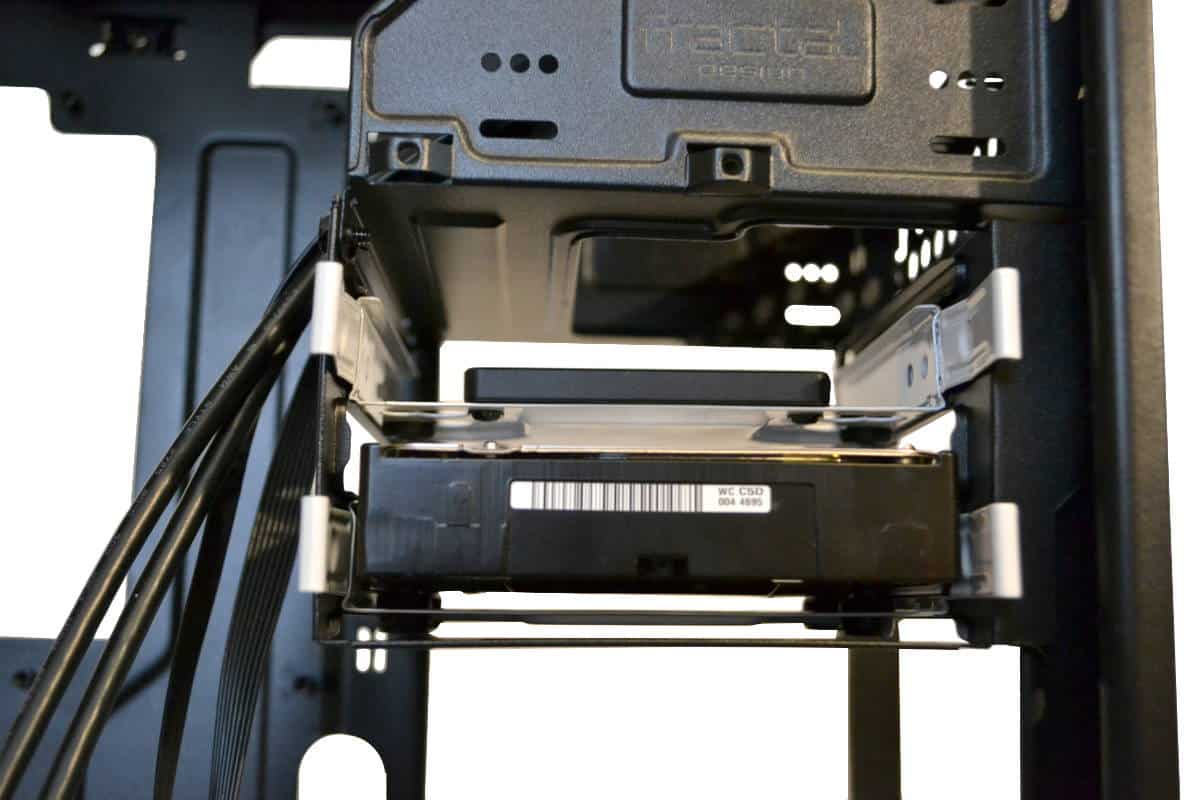
Here is the way the SSD mounts into the four available trays in the front side of the drive bays. It’s easy and well placed for hooking up the wires without any interference of the tray with the Sata plugs or the power.
In the case of the mechanical hard-drive there are two ways to install them. Forward or back depending on if you have a 90 degree sata data plug or just a straight one. With this install I used a 90 degree plug for back clearance reasons but if I did not have a 90 degree on hand then I would just mount the drive in the other hole positions by moving the rubber to the hand side of the drive tray so that I would have room for a straight plug into the back of the drive. In this build back wire clearance is priority one.
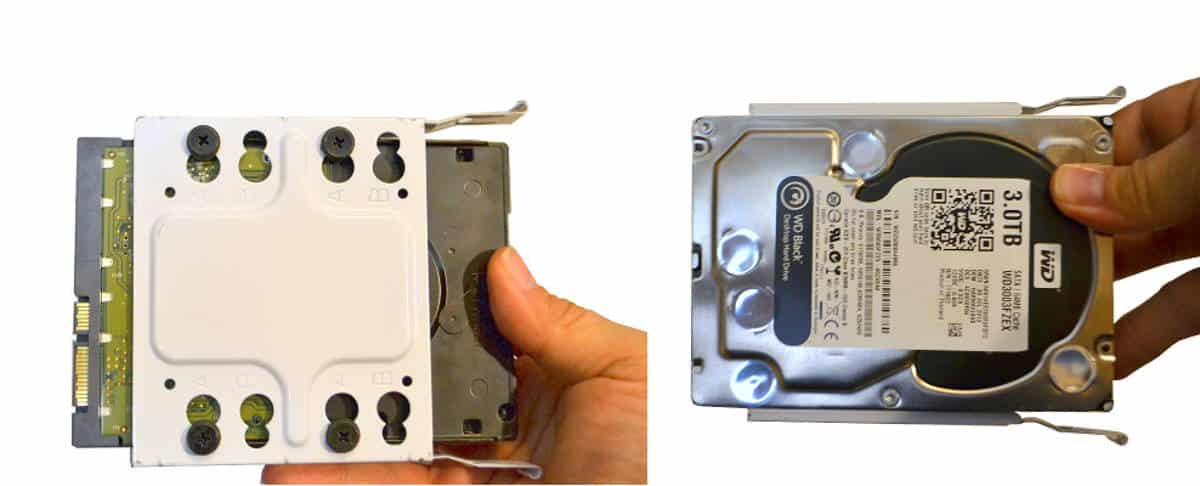
One thing that I really love about the Fractal Design drive bay docks are the steel trays. They are tough and hard to bend of break like their plastic brothers from another company.
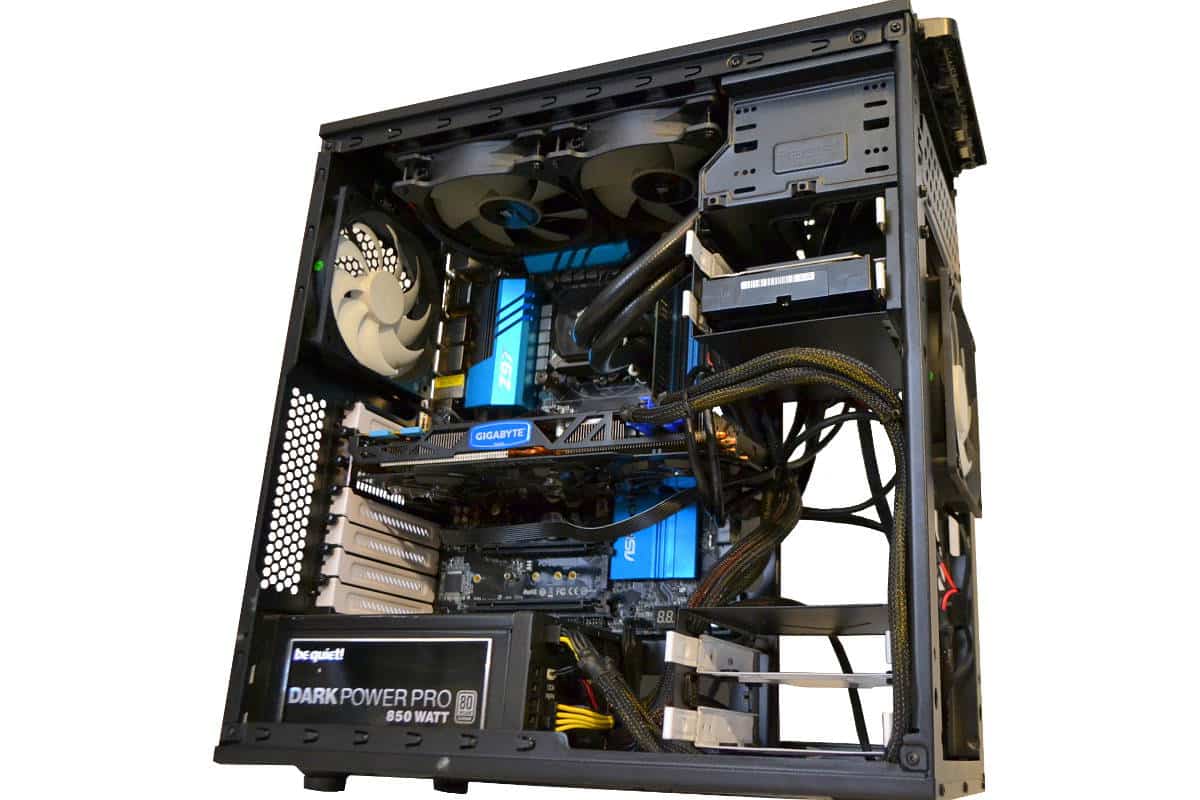
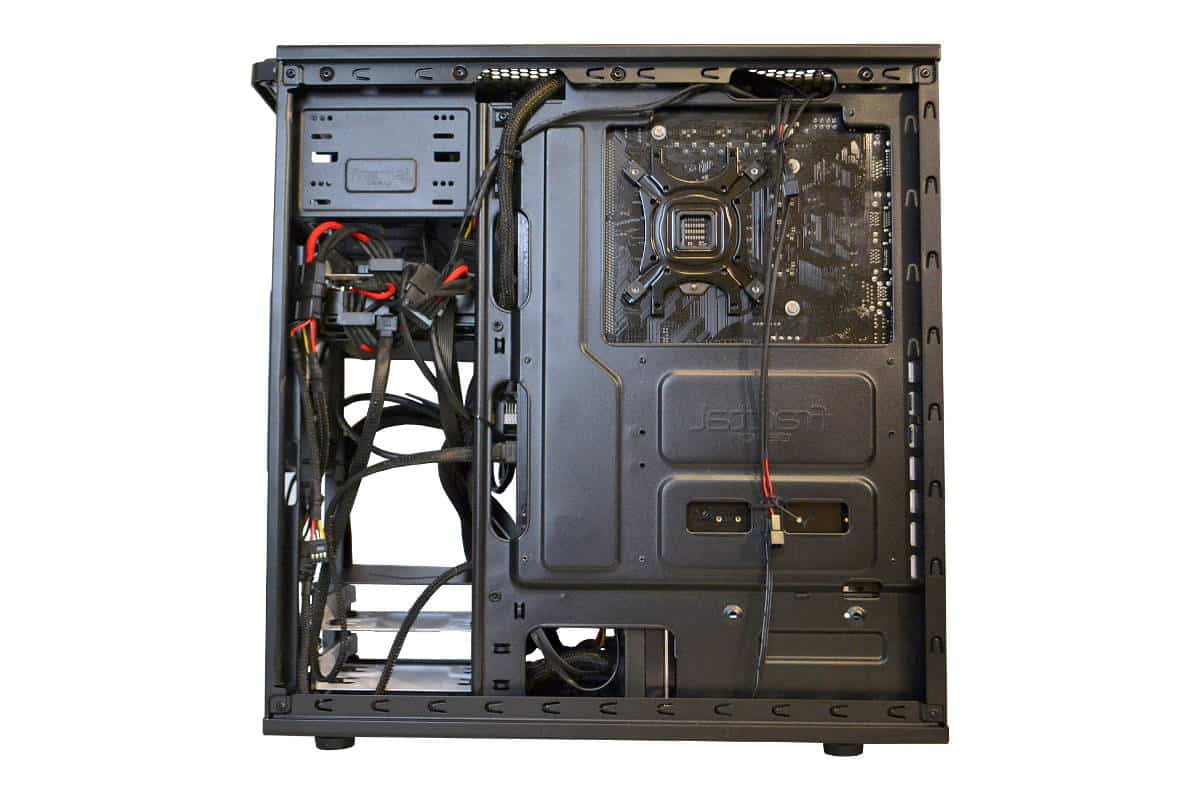
As you can plainly see here I did most of my wiring in the front of the case, especially the main motherboard bundle that would have been a headache if I had run the wire to the back and then back into the case as I normally do my builds. There just is not a lot of room for wires in the back except for wiring the fans to the back switched fan controller.
Finally wiring in my graphics card and my memory last was not too bad but make sure that your ram does not exceed the width of your memory slots as the top mounted radiator mount will give them problems mounting unless they are the same size as the slots. If they overlap the slot then mount your radiator to the front of the case in the radiator placement made for it there. In that case you will have to remover that top hard drive module and move the bottom drive module back to the secondary mounting area closer to the power supply. This will give room for the average 240 or 280 sized All in One water coolers to fit fans front and radiator rear.