Building in the Enermax Thormax Giant
I have to be honest with you in fact, you count on that as a reader of these reviews. I was quite skeptical that the Enermax Thormax Giant could actually handle a 360mm X 120mm Radiator at the top of its case. Truthfully I was about to tell you that putting a 360 radiator in this build would be a waste of money and time to try like most times my first thought is wrong. It was in fact made to take a 240/280mm x 120/140mm Radiator perfectly, but I had to prove that a triple fan 360 Radiator would actually fit in the top of this case. But I am here to tell you that the Enermax Thormax Giant not only fit the 360 but it was very efficient too. I did have to bend a few control wires to fit the 360 into place and I will not repeat to you the words that were said during the installation of the 360 X 120 mm Radiator but, it did fit and not only that but it performed quite well. The air flow pulls with the 3 X 120mm fans along with the front fan pulling in and the side fan pushing out it was like a windstorm at full speed. I was very impressed.
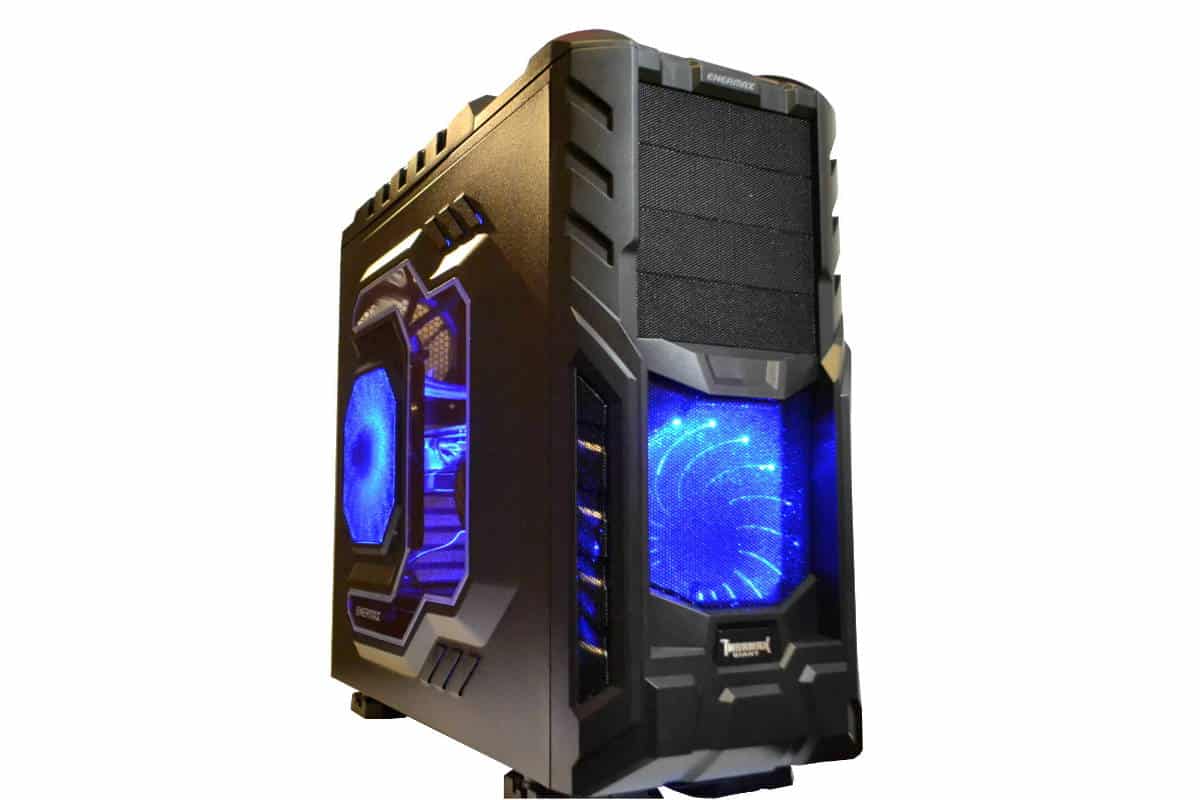
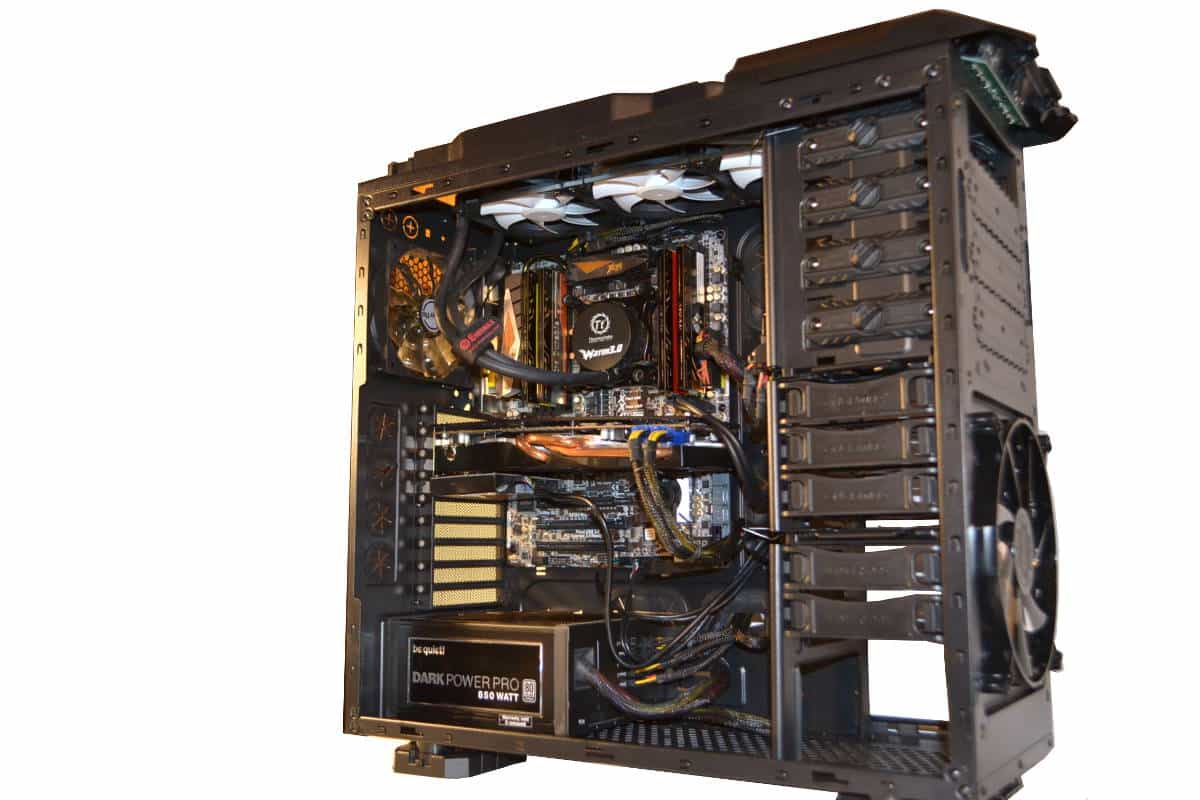
One must actually get up next to and watch these Enermax fans that they installed on the side and in the front. They have to be seen up close and personal to be understood or believed. They are beautifully, breathtaking and live up to the name of VEGAS fans, because they look like a Vegas light show on the main street. The way the fan controller and the LED controller worked is superb even after bending most of the wires about an inch out of shape to get the long radiator in place but here is a picture of it right here. The First picture I have seen with a 360 x 120 Radiator in a Enermax Thormax Case.
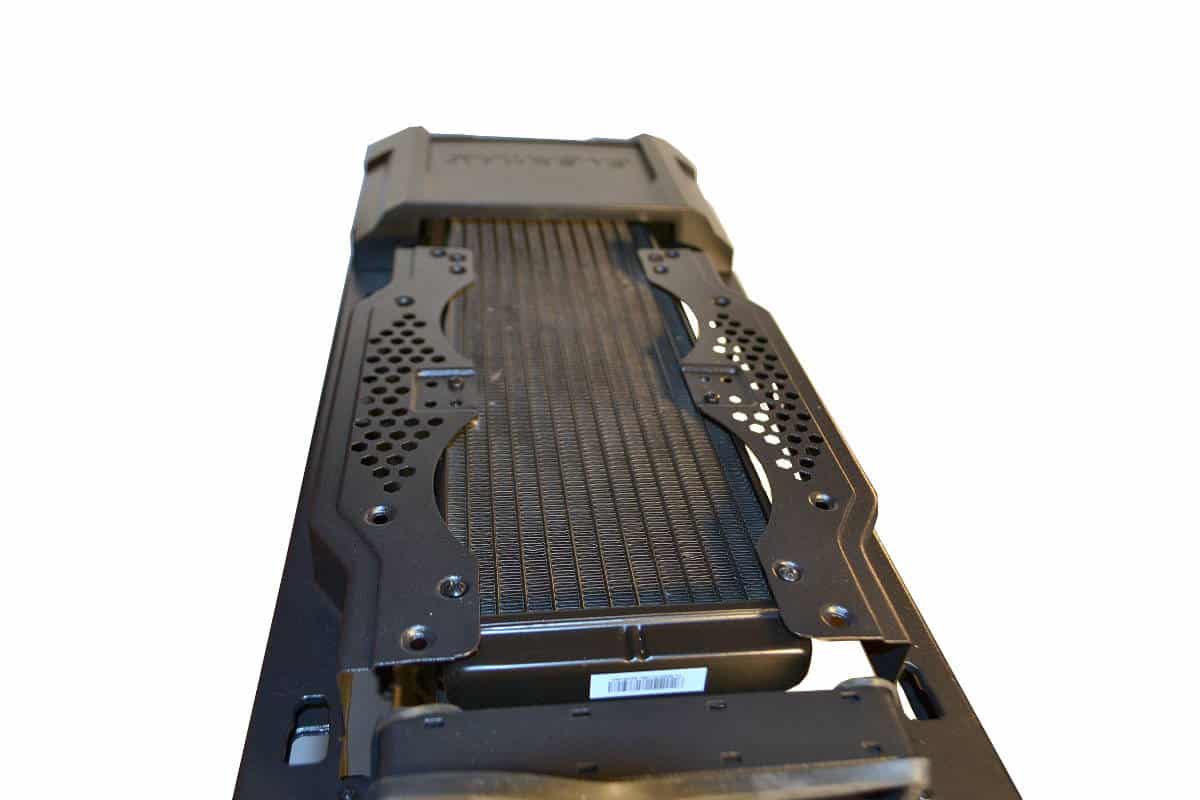
From the bottom you can get a little more idea on the size of the radiator vs. the case but the truth is it has the space to hold an even fatter radiator at the top and not have a problem with space what so ever.

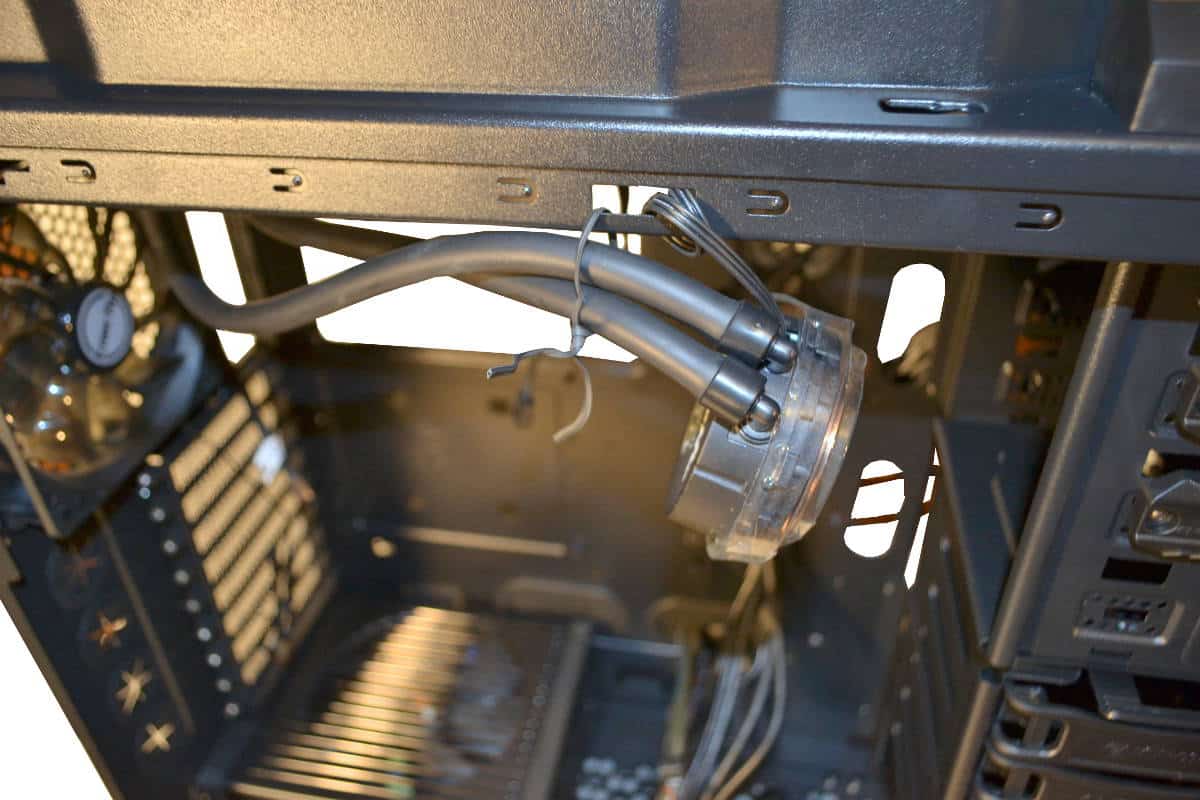
Since Intel in there infinite wisdom put the pins of the processor on some very fragile bed of nails type system, it is wise to keep the heavy and very dangerous AIO CPU Water Block away from your motherboard and those pins so using a tie off method is advised by this reviewer, modder and builder.
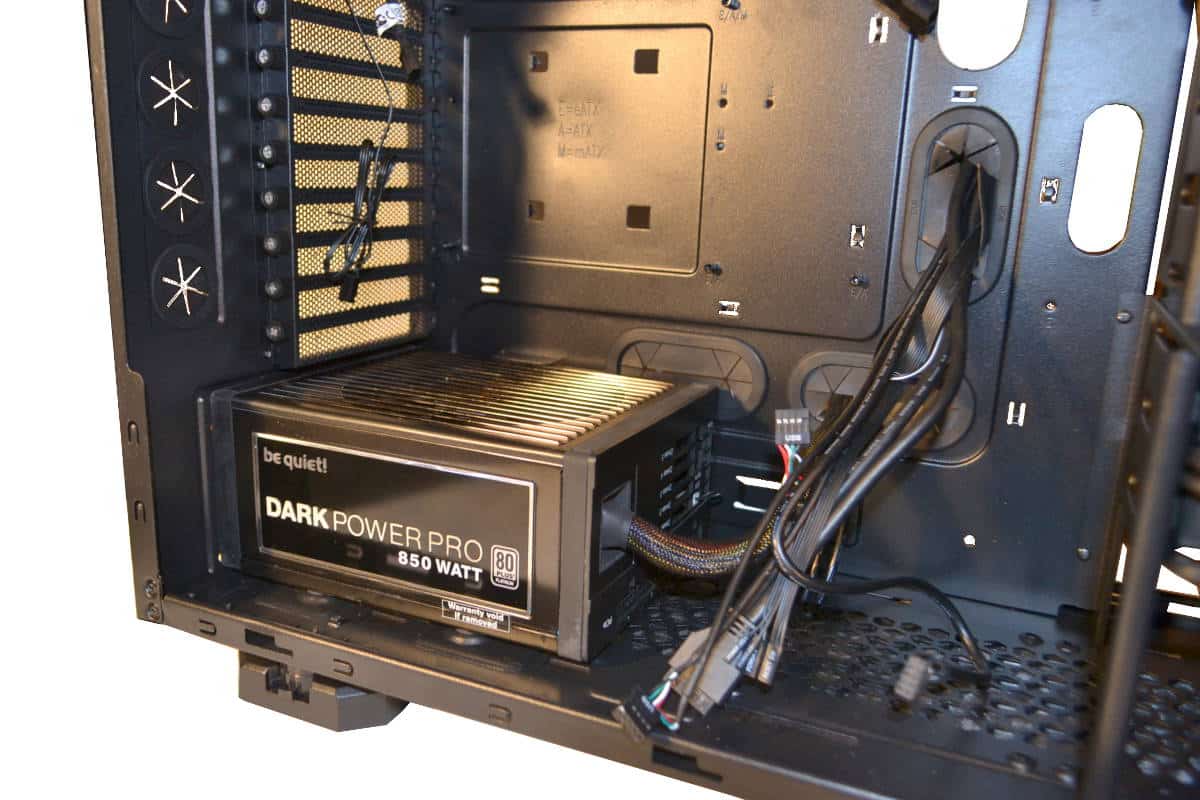
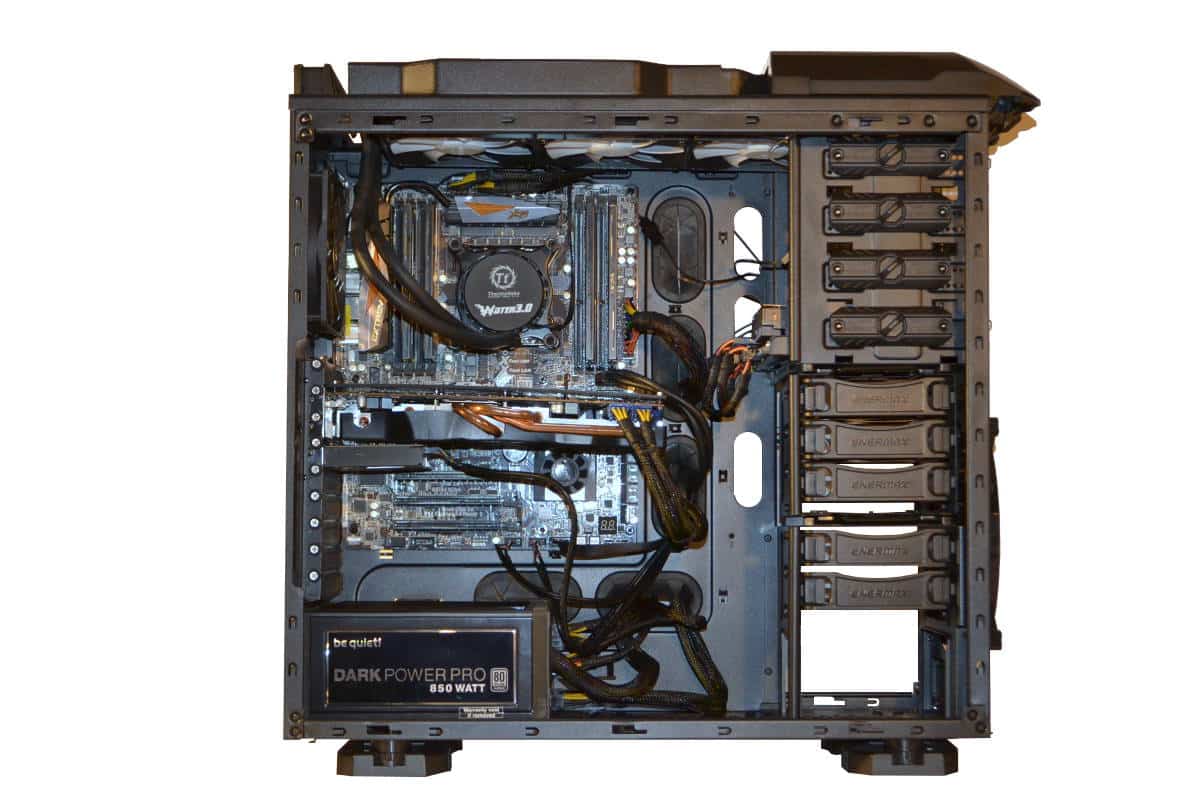
Installing the very large 850 Watt power supply went without a hitch except one thing. Make sure you cover the top of your PSU for falling screws that may fall into the PSU unit while building up top so just take a piece of cardboard or an old birthday card to lay on top of it. The power supply unit fits nicely into the Enermax case with 1/4 inch thick rubber base bumpers and a nice fit in the back for the four obligatory screws.
I really loved the idea so I opted for using the “3 in 1 Drive Bay Array” for mounting my 2 SSDs and my 3TB Western Digial Black. It was easier on building and kept the wire management to a minimum.
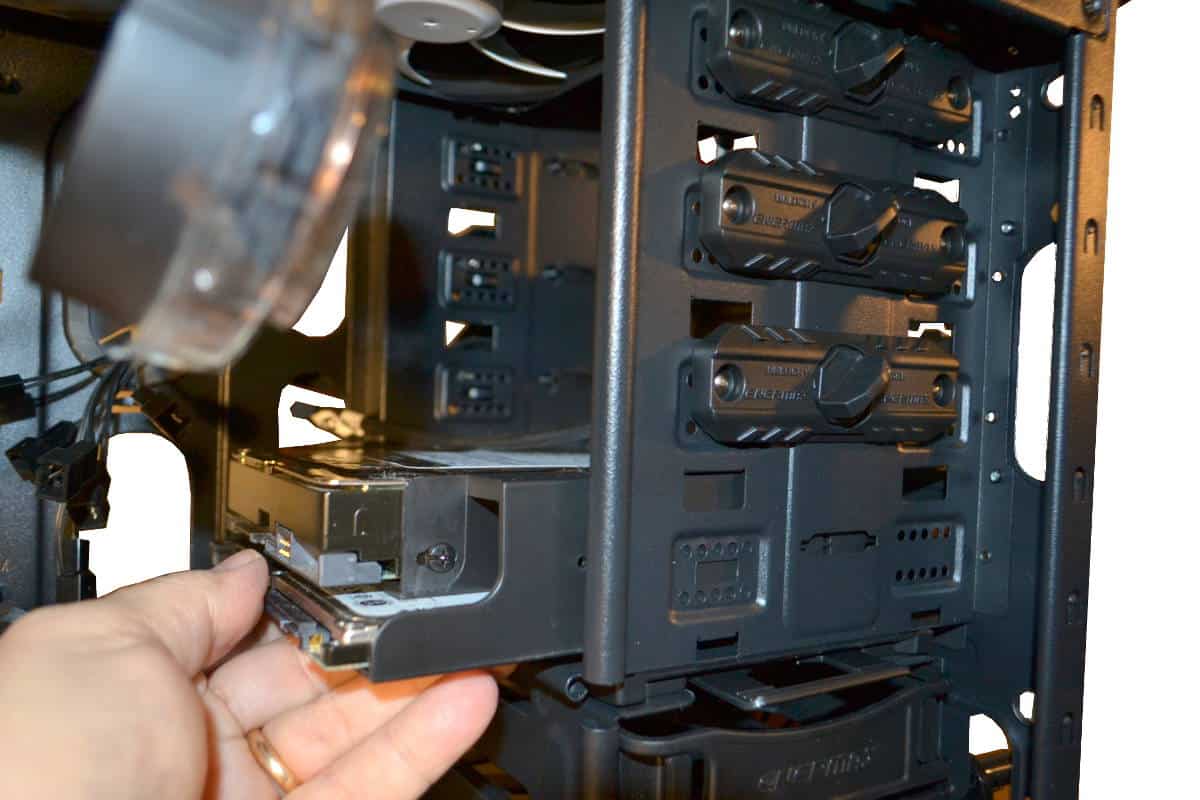
Using the tool-less designed bay area is easy. Just line up the holes that you want.
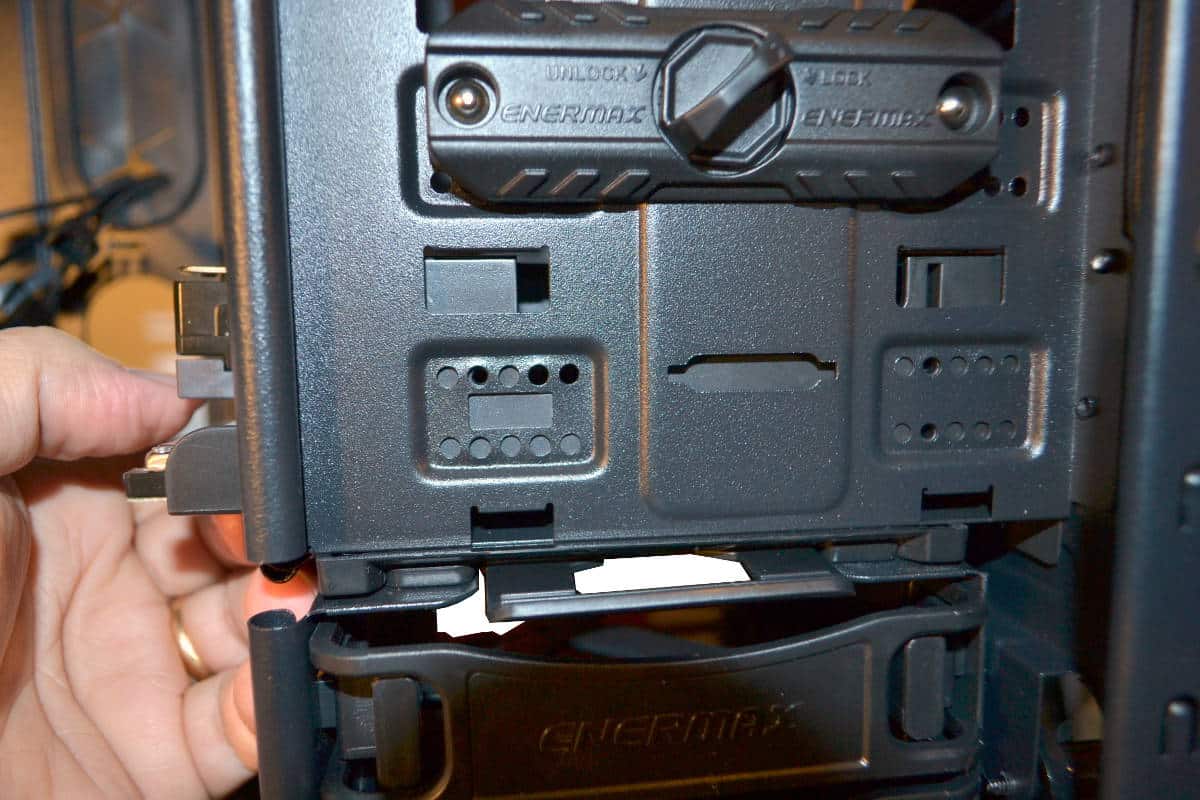
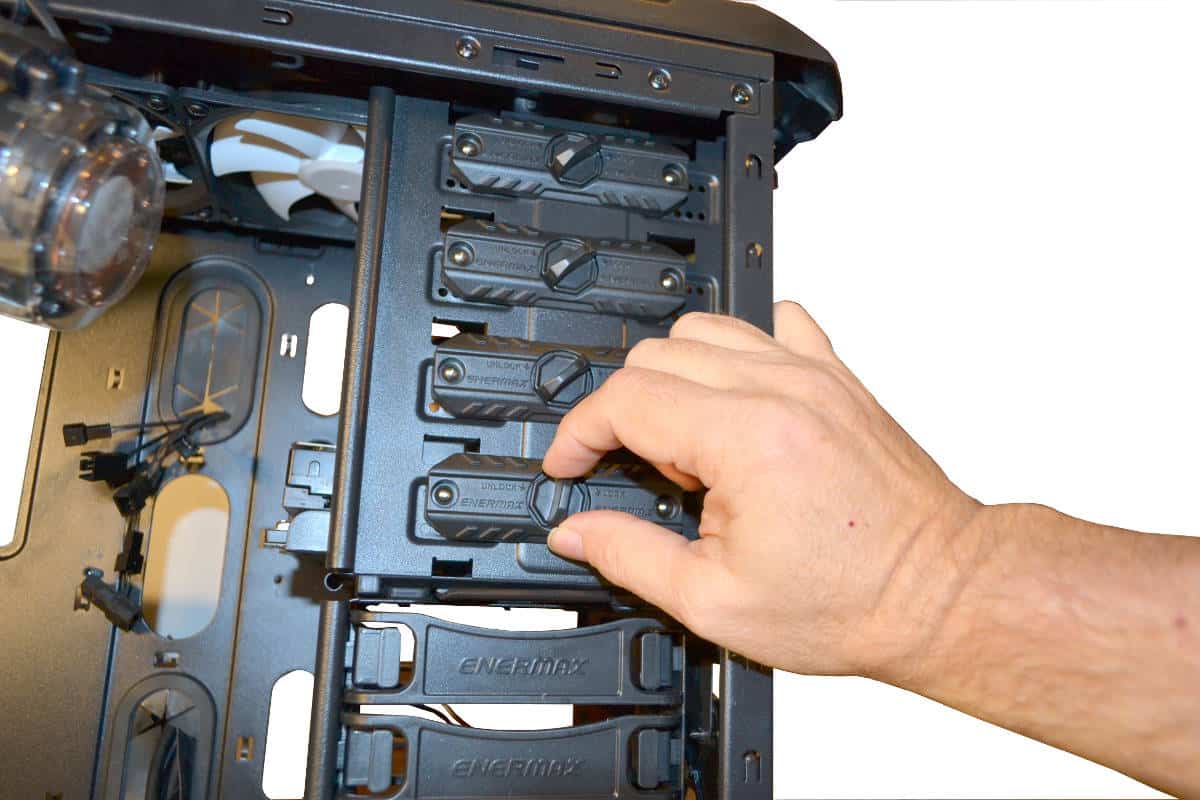
Then replace the lock mechanism, carefully aligning the pins with the holes, and then just twist the lock in place and you have a strong hold that will not let go like some cases.
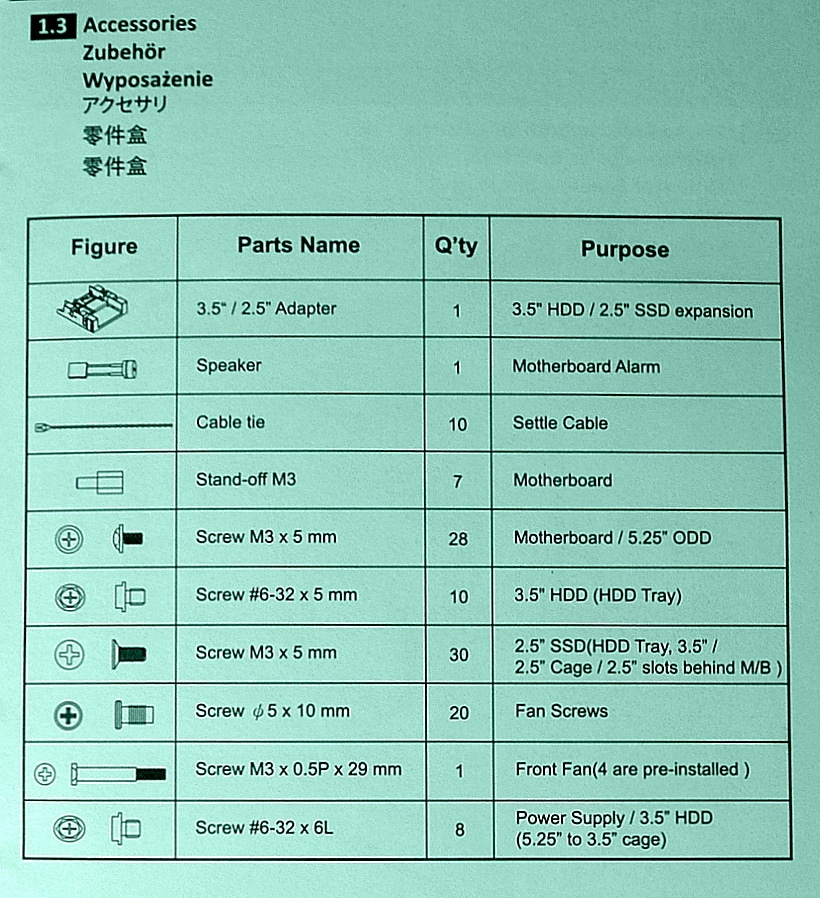
Right now is the best time to go over the hardware that comes with Enermax Thormax Giant Case. Instead of showing you a heaping mess of screws I figured a blue or in this case a green print of the hardware included would be the best way to let you know what you get in the case. There is a lot of screws and fittings that they give you to build into this case.
Working inside a large case brought back a lot of memories of when I first started building computers. There is lots of room for getting everything assembled, fit or plugged in so that was done it was time for a little wire management.
Honestly this is not my best wiremanagement job and there are cases that help a lot to conceal wires but since most people will be mezmorised by your Vegas style fans you won’t have to worry too much about the cables in side the front.
The back is where you need to use your wire management skill desperately. You want to tie the cables in a side by side method since you want to have the most clearance for your panel cover to fit right.
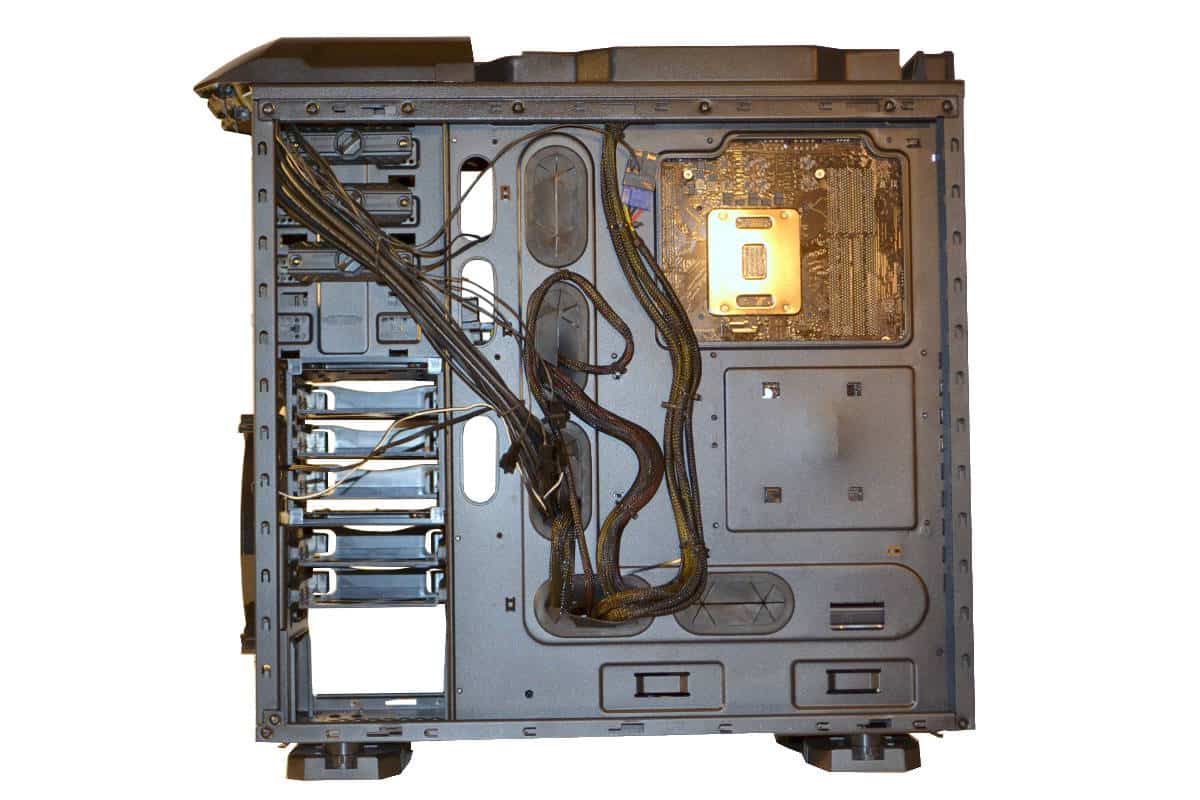
So in the end with all that work and everyone is going to be hypnotized by gazing at your fan lighting because it is almost supernatural.