

Setup & Usage
Getting that Elgato Game Capture HD60 setup is extremely easy. Using the included HDMI cable connect it to the output in your device then into the HDMI in on the Game Capture HD60. Then complete the loop by using a HDMI cable to connect the HDMI out to your display. If you don’t want to use the audio from HDMI and your device has a 3.5mm audio output you can connect that to the 3.5mm in port. Finally use the USB cable to connect the Game Capture HD60 to the PC you are going to be using to record.
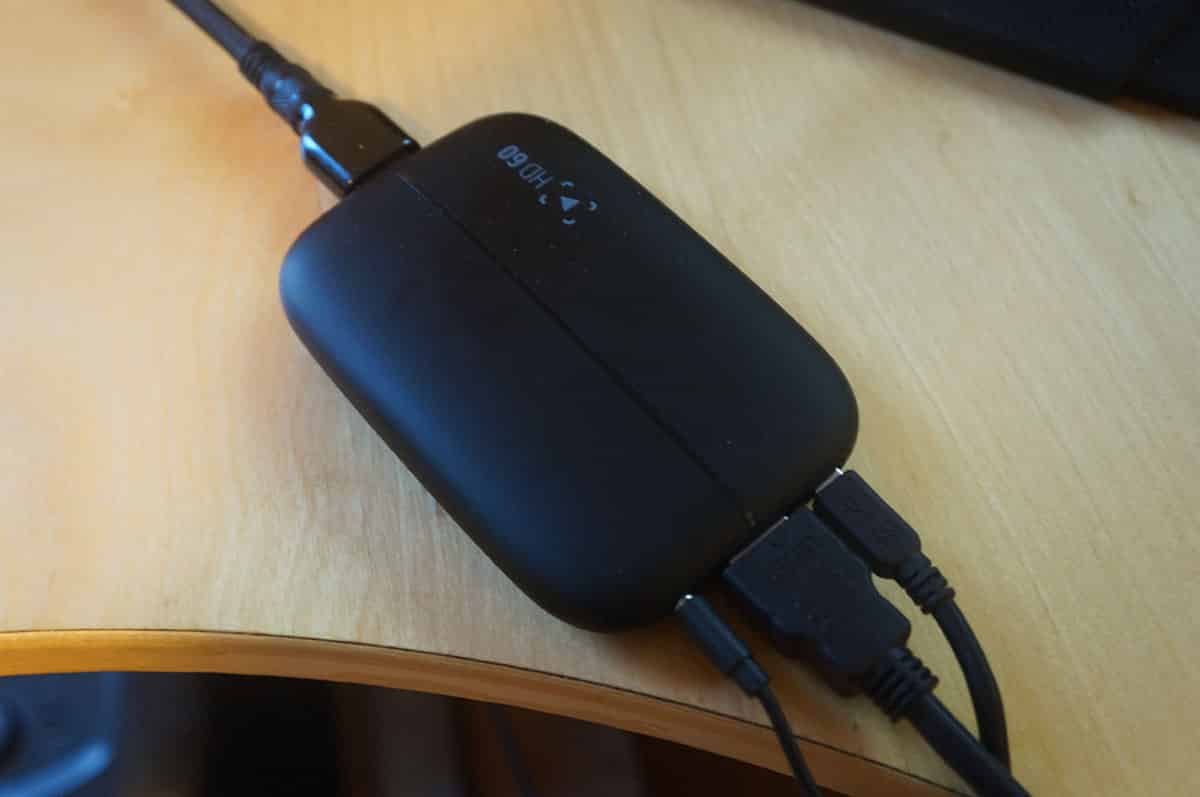
Your setup should look something like what we have above. The Game Capture HD60 is intended to work with consoles mainly, but should work with anything that has HDMI out. We had no problem hooking it up and using it with our Alienware Steam Machine or graphics card in our gaming machine (GTX 960 Ti).
Before you can start recording you need to download the Elgato software, which can be downloaded here. The Game Capture HD software is really great, I was quite surprised at its ease of use and what all you can do with it! Check out the video below to see what the software is all about.
Now it is just time to record or stream! You do want to make sure your recording device (PC or Mac) is powerful enough. Elgato says that for the Game Capture HD60 you need a PC with a 2nd generation Intel Core i5 CPU (i5-2xxx or comparable), 2 Ghz or higher. Now as I mentioned in the video above you can turn off the live preview to cut down on CPU usage.
Using the software I recorded a few different games from my PC as well as the Alienware Steam Machine. Check out the video below to see how they came out.
The Game Capture 3.0 software has a live commentary feature which allows you to record audio from your PC. I used this feature to make a BIOS overview video we posted lately. This feature is great as you can talk live on your videos and do not have to worry about editing audio or adding audio in post.