

Usage
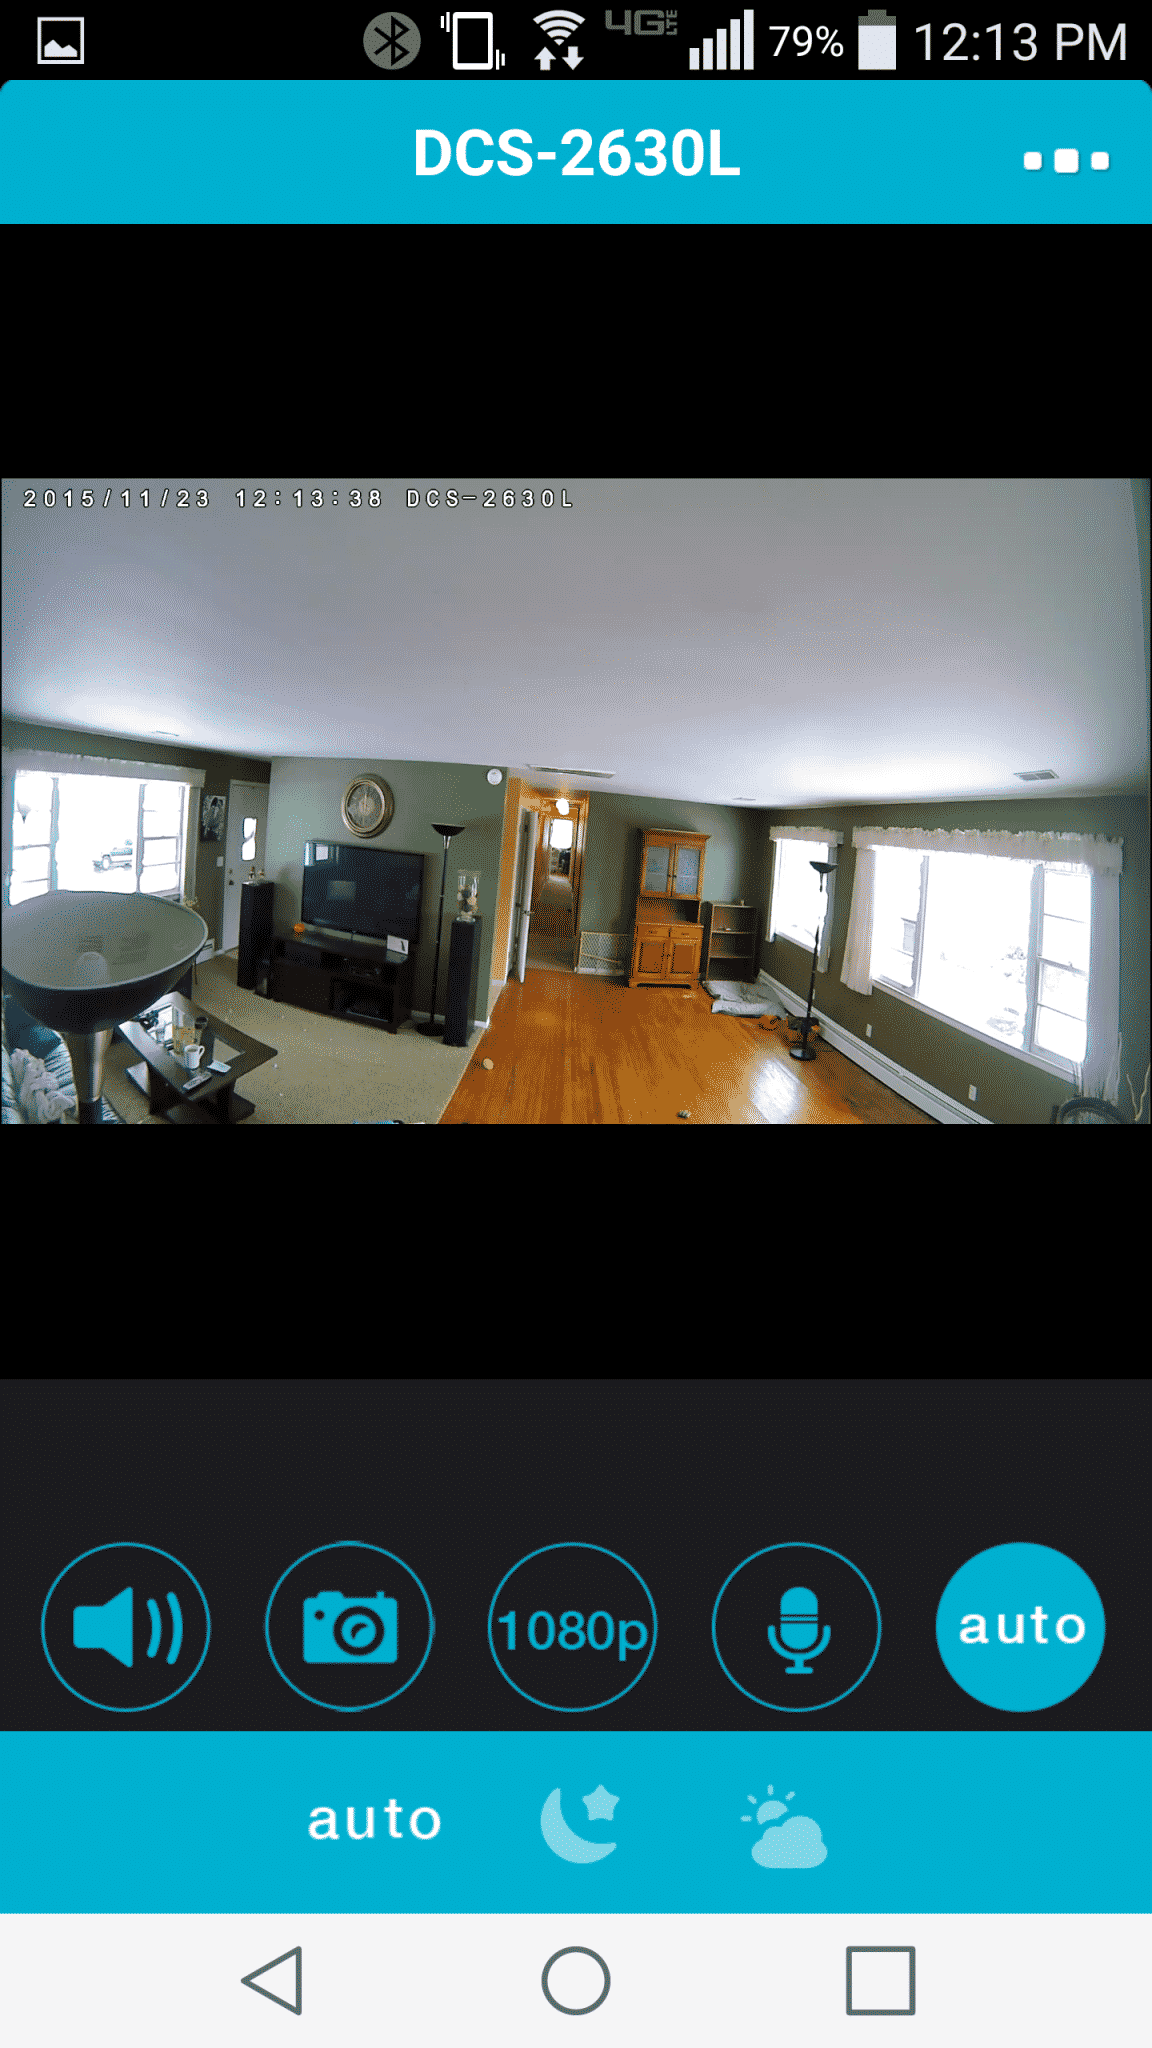
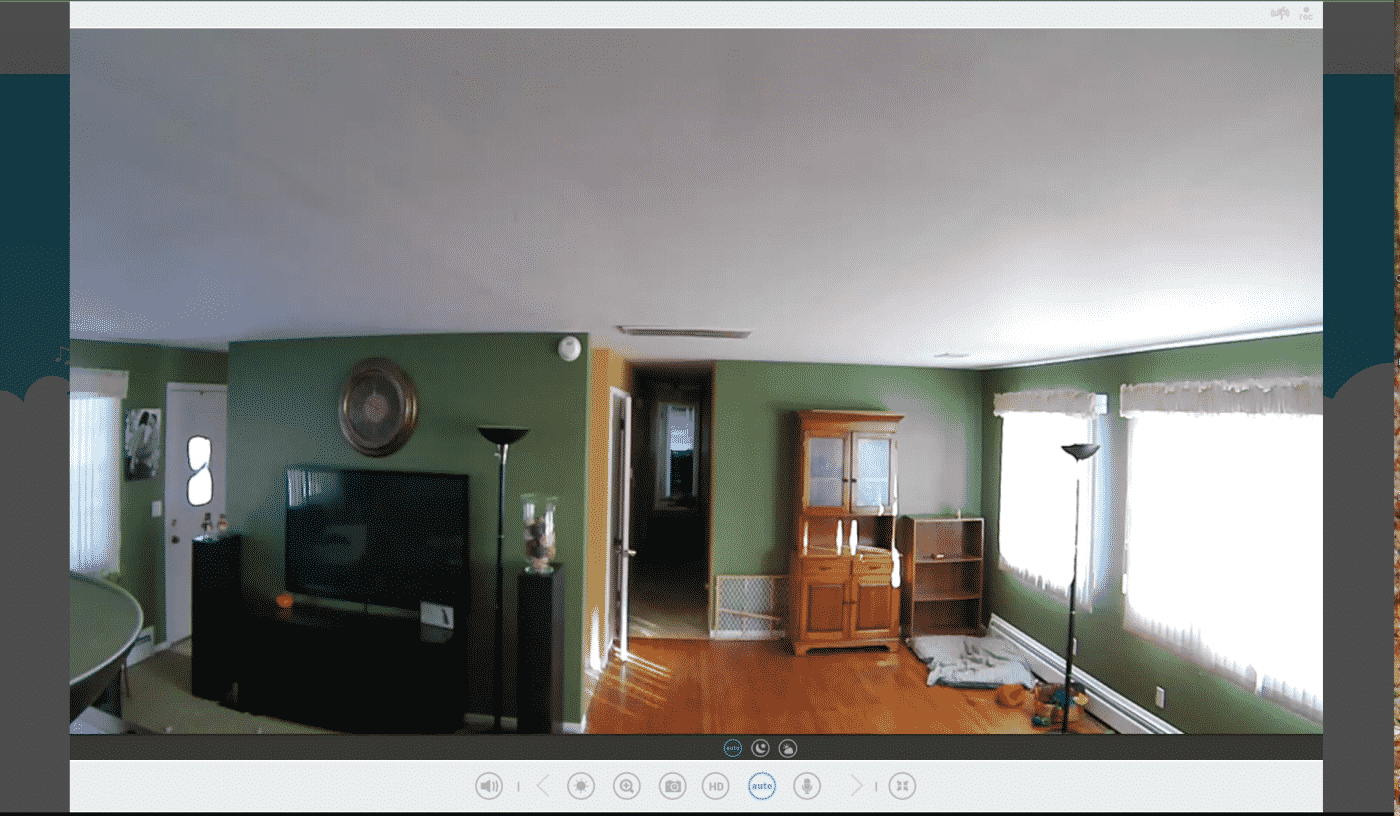
After the setup process completes the app brings you straight to the live view screen for the camera. In this screen you have a few functions available to you. This includes speaker on and off, snap shot, resolution (720p or 1080p), microphone toggle on/off, and night/day settings which default to auto.
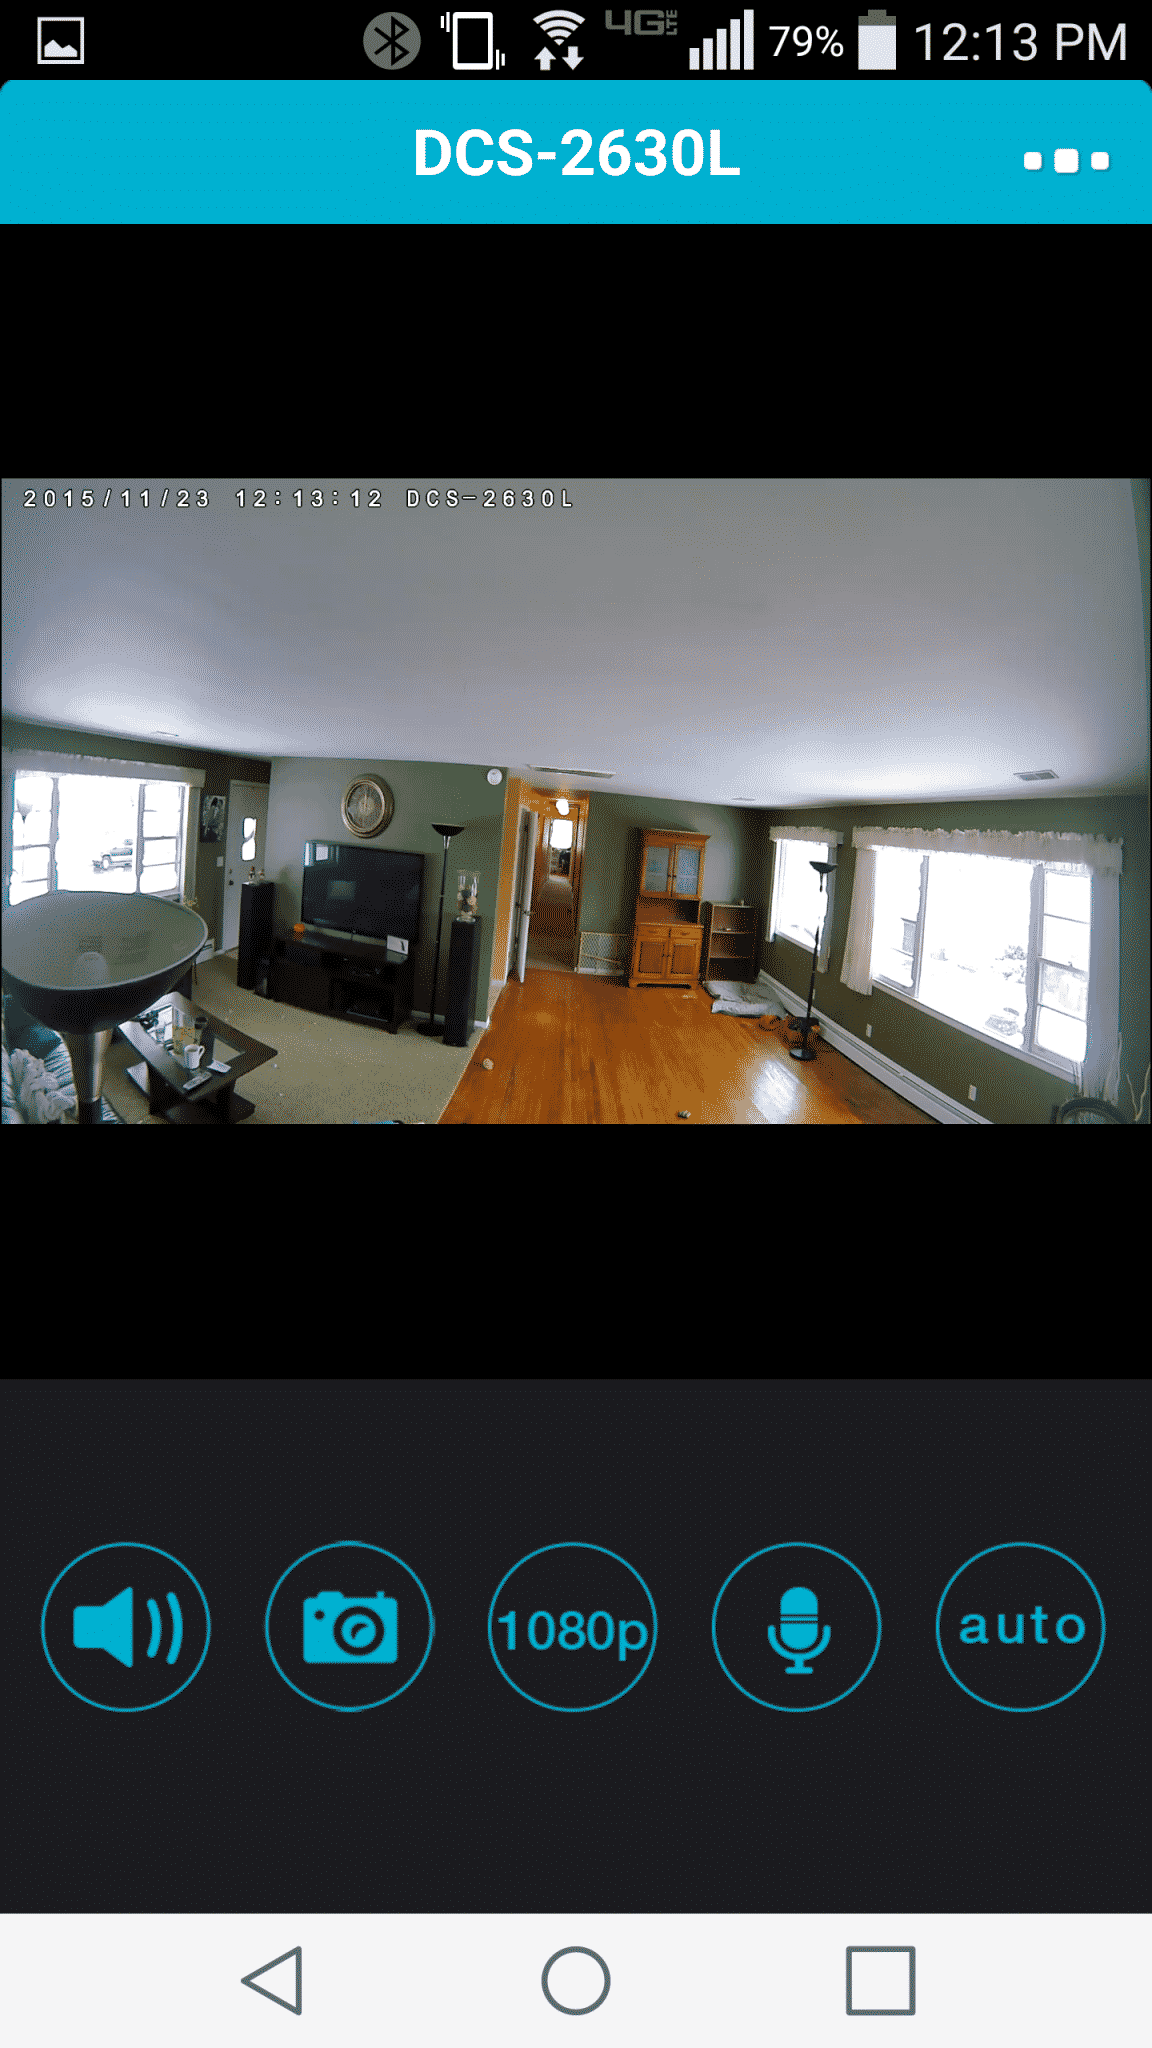
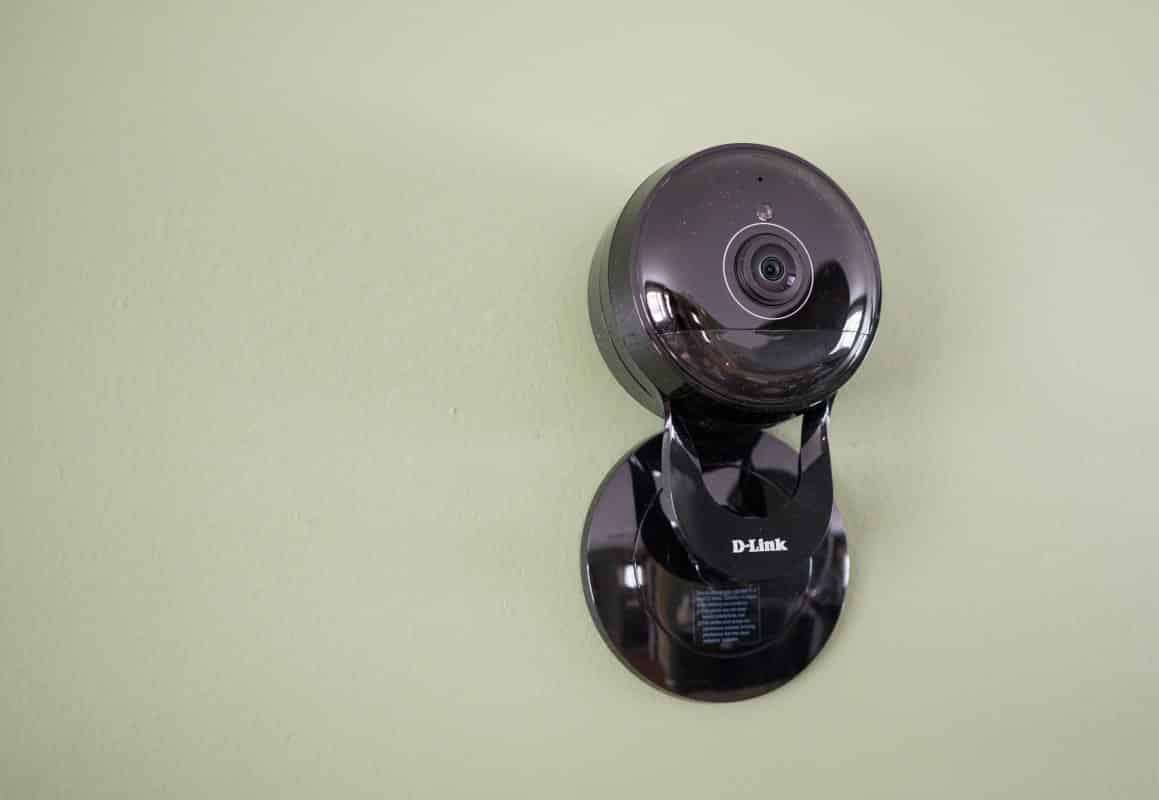
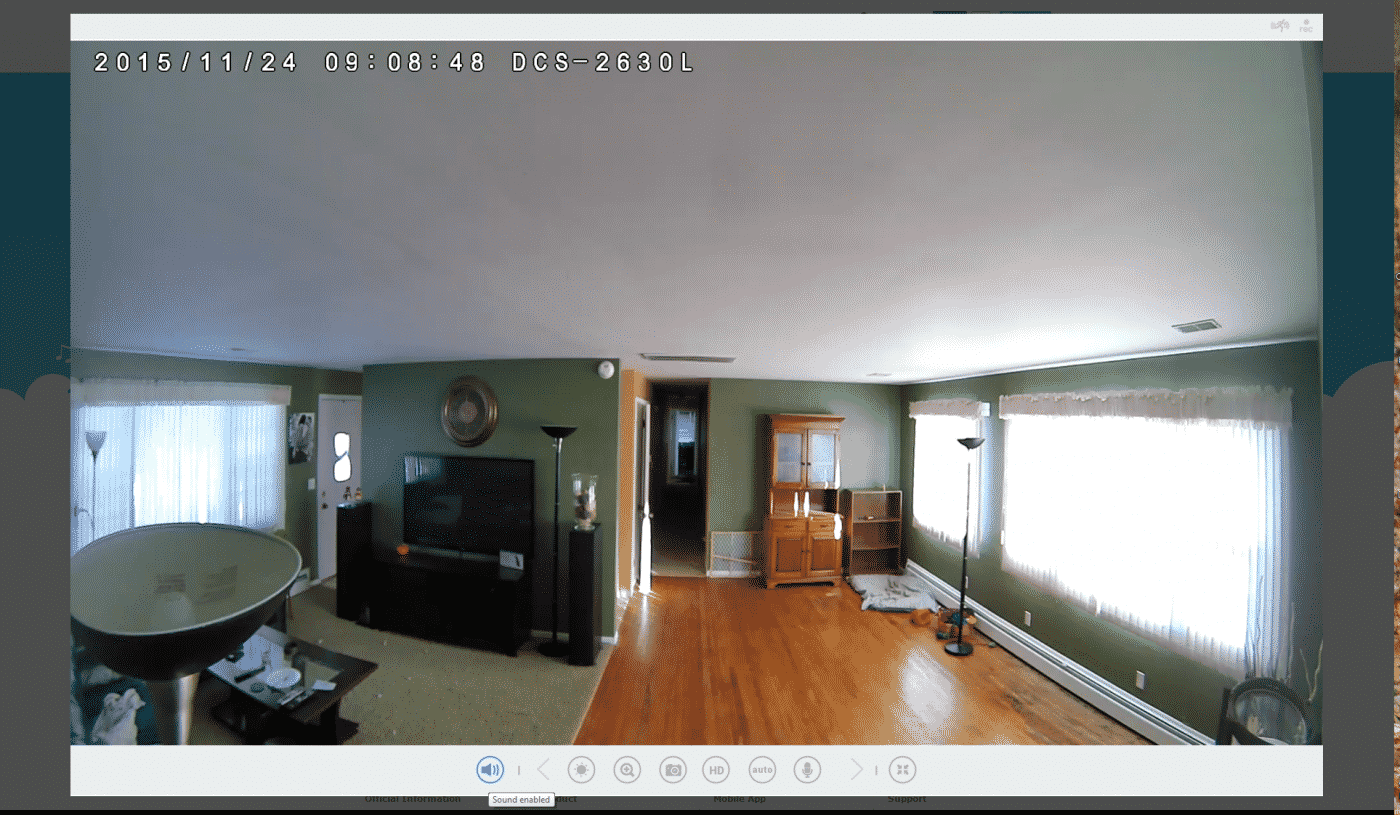
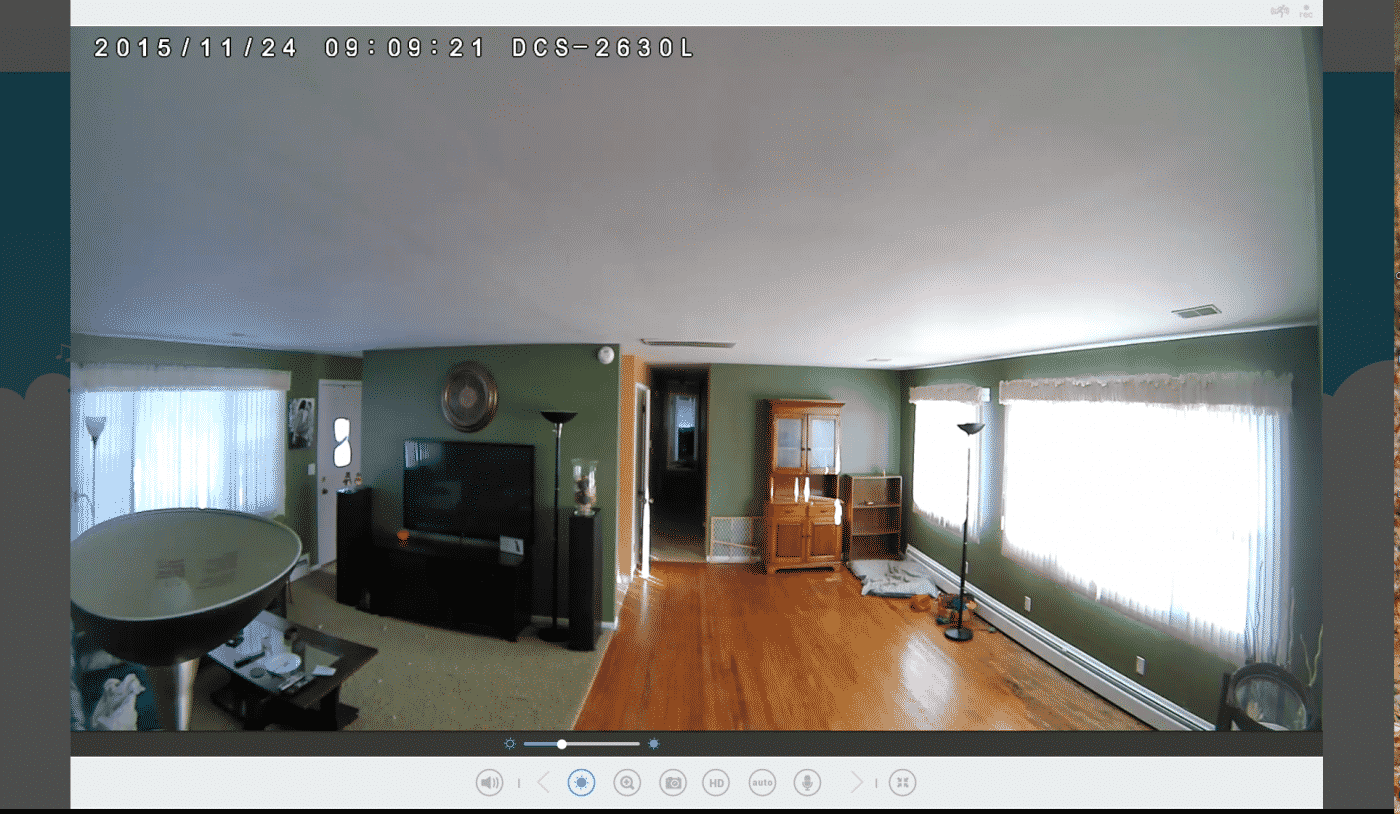
The first thing I noticed was that the view was a little cocked to the left. I thought I was out of luck and my install was bad, but then remembered that the unit has tilt adjust and quickly got the camera level using the live view as a reference. You will also notice that there is a slight delay between real time and the stream, but it is very minor maybe 1-2 seconds. Overall the quality is exceptional and you can pinch zoom on your smartphone which is nice. As promised by D-Link there is minimal to no distortion in most of the image. While I wouldn’t say you are getting a full 180° view, but it is very close, probably 175° missing only the very edges of the room I set the camera up in.
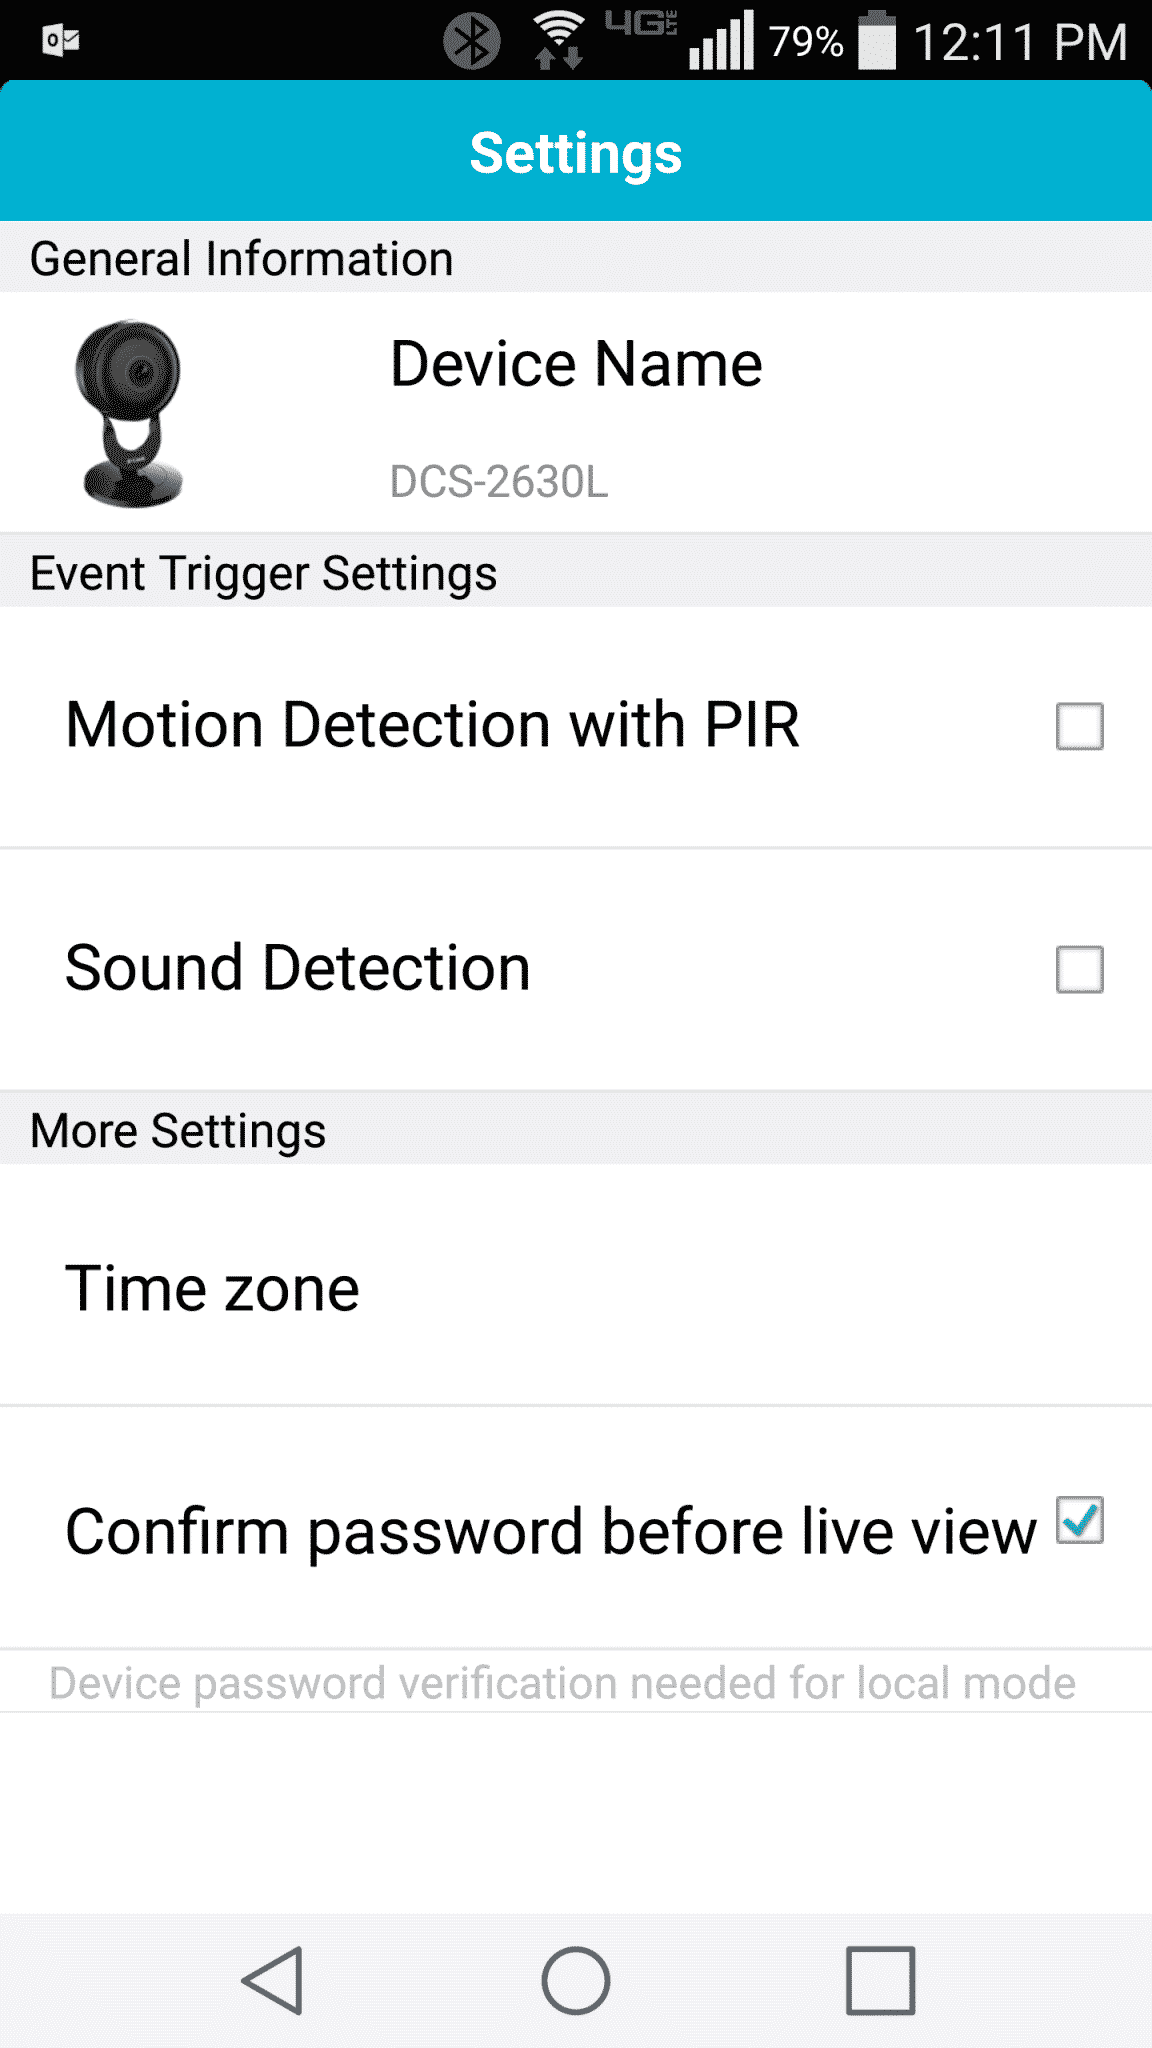
Beyond the live view mode there is a brief settings menu built into the app. Some of the features and many of the controls that can be found on the desktop computer are missing from the Android app. D-Link says the app is still being developed and more features will be coming to the Android app soon. iPhone users should find they already have a pretty robust feature set, but we were unable to test this.
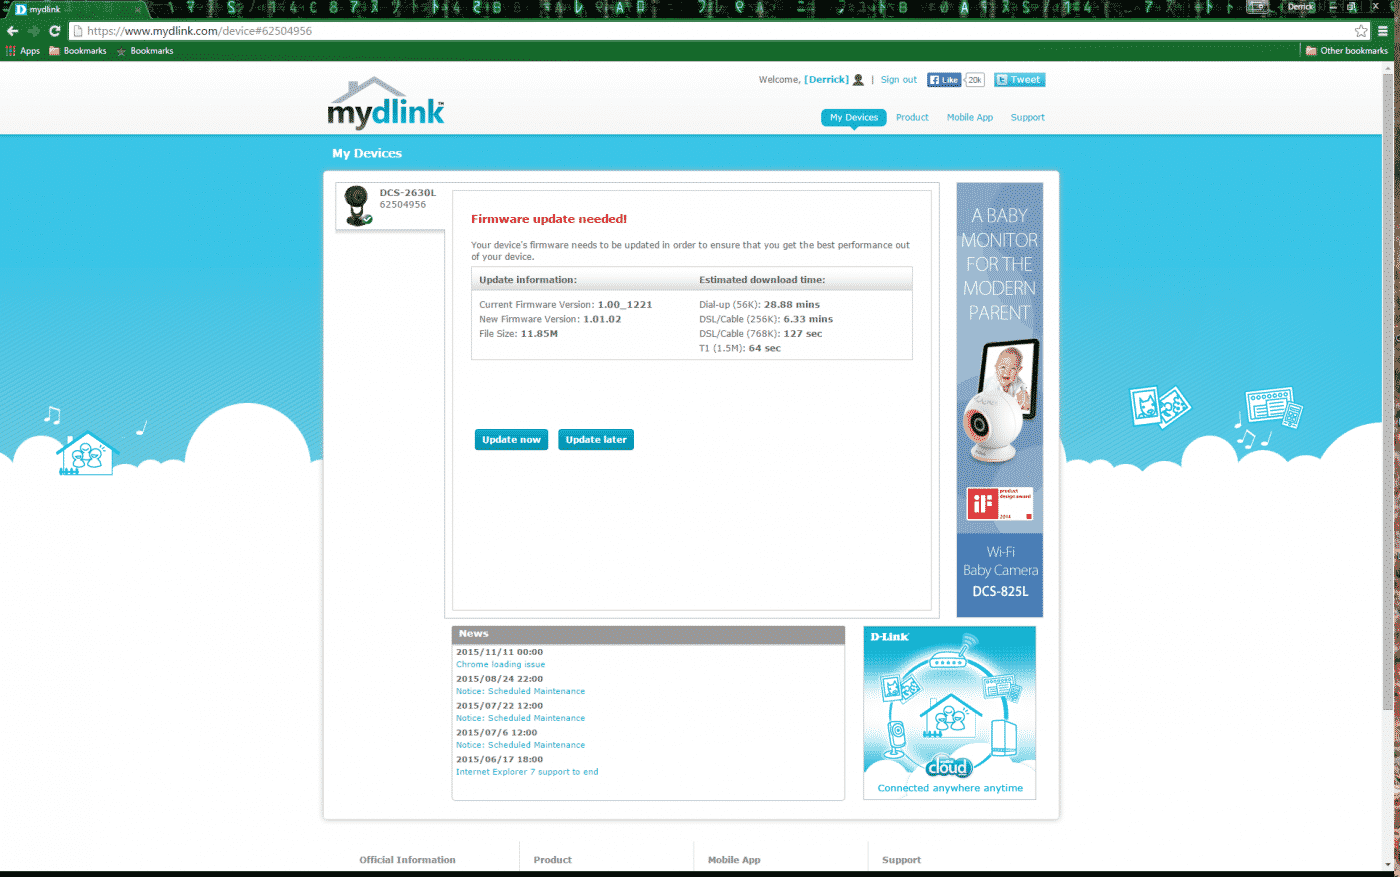
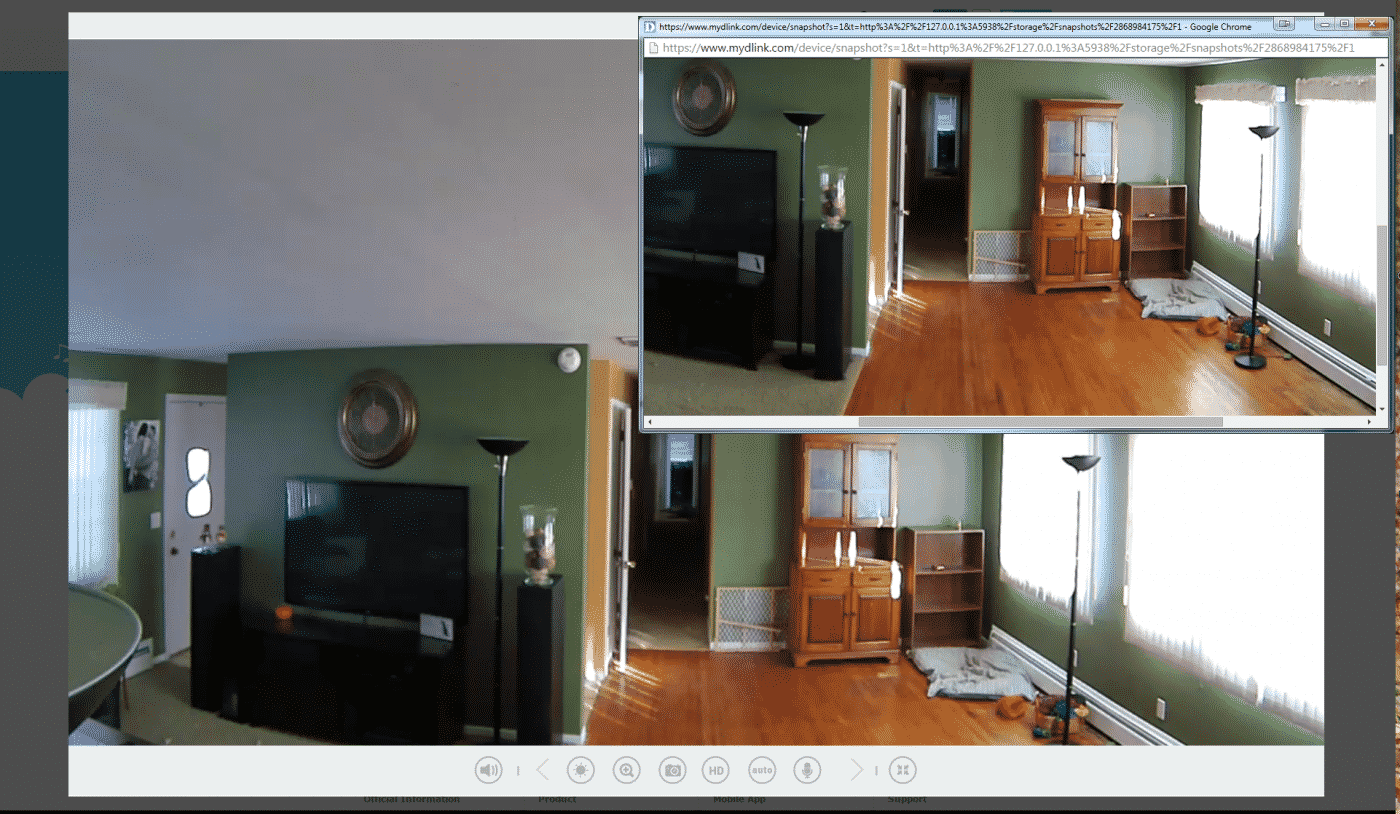
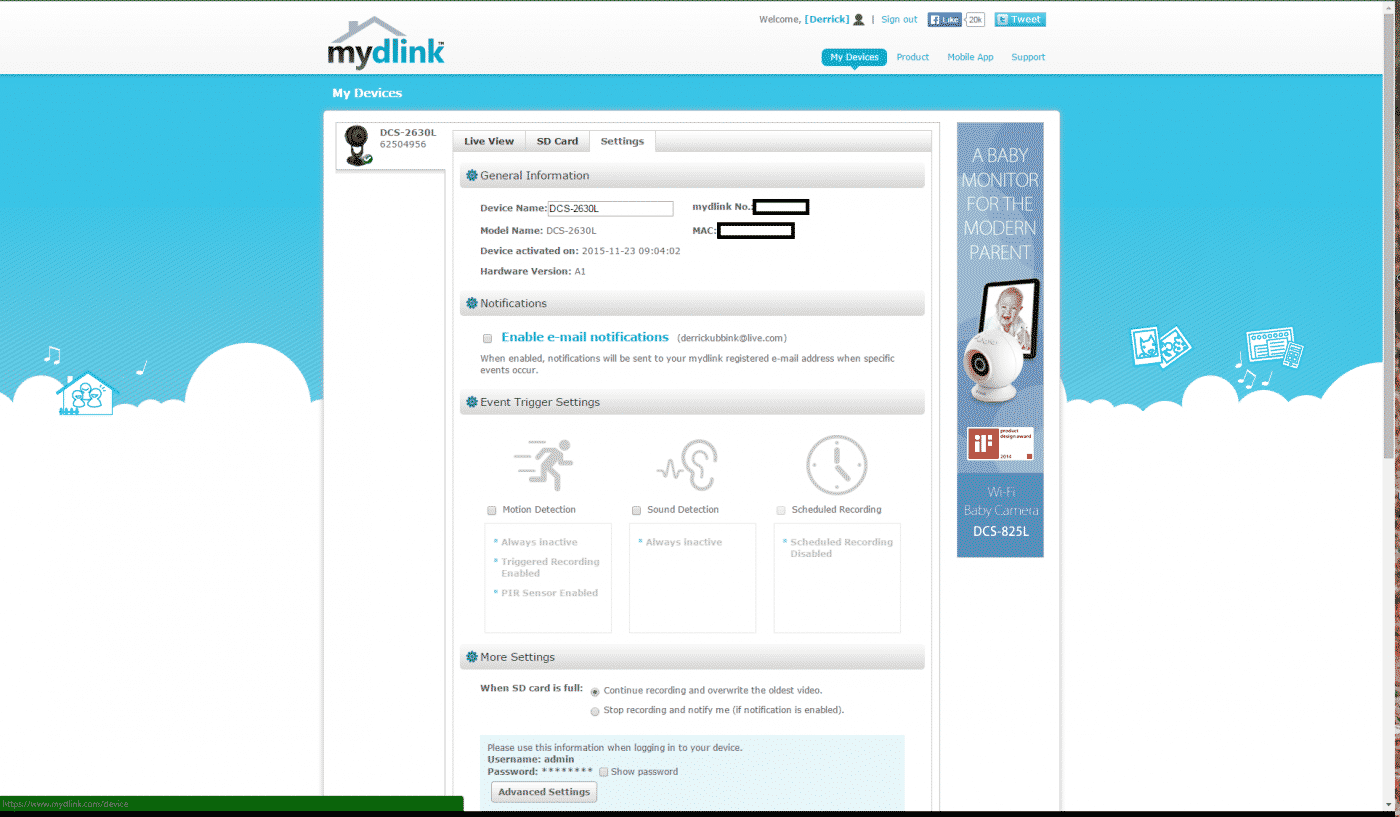
Although we didn’t get a chance to test with an Apple device we did of course use a Windows machine to run through the software’s features. Simply navigate your browser to mydlink.com and log in using your recently created credentials. This will bring you to the My Devices page and will automatically load up the Live View from your camera. The first time I logged in D-Link suggested I update the Firmware on the camera to the latest version which I chose to do. Even though I have a pretty decent connection I was still waiting for the update beyond what D-Link estimated.
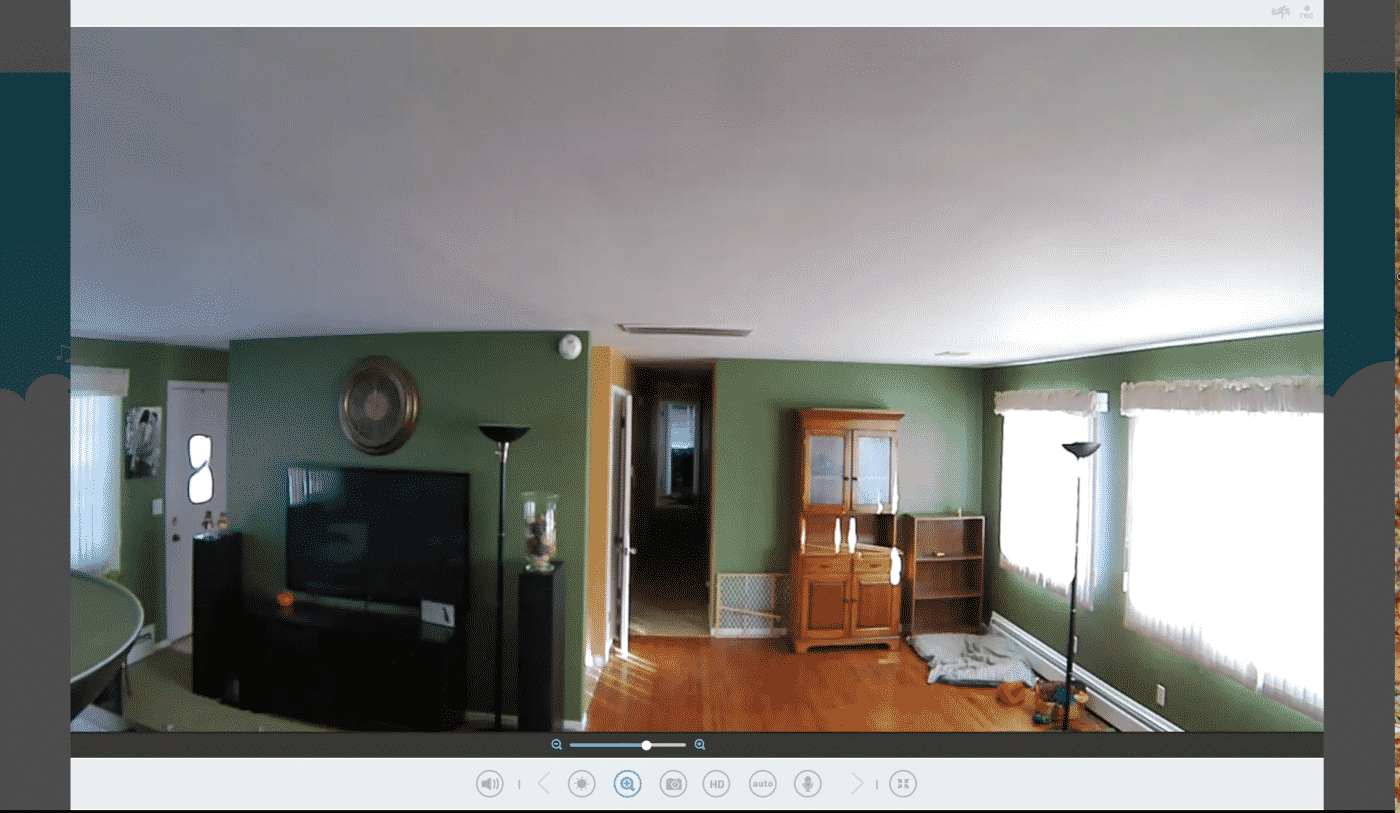
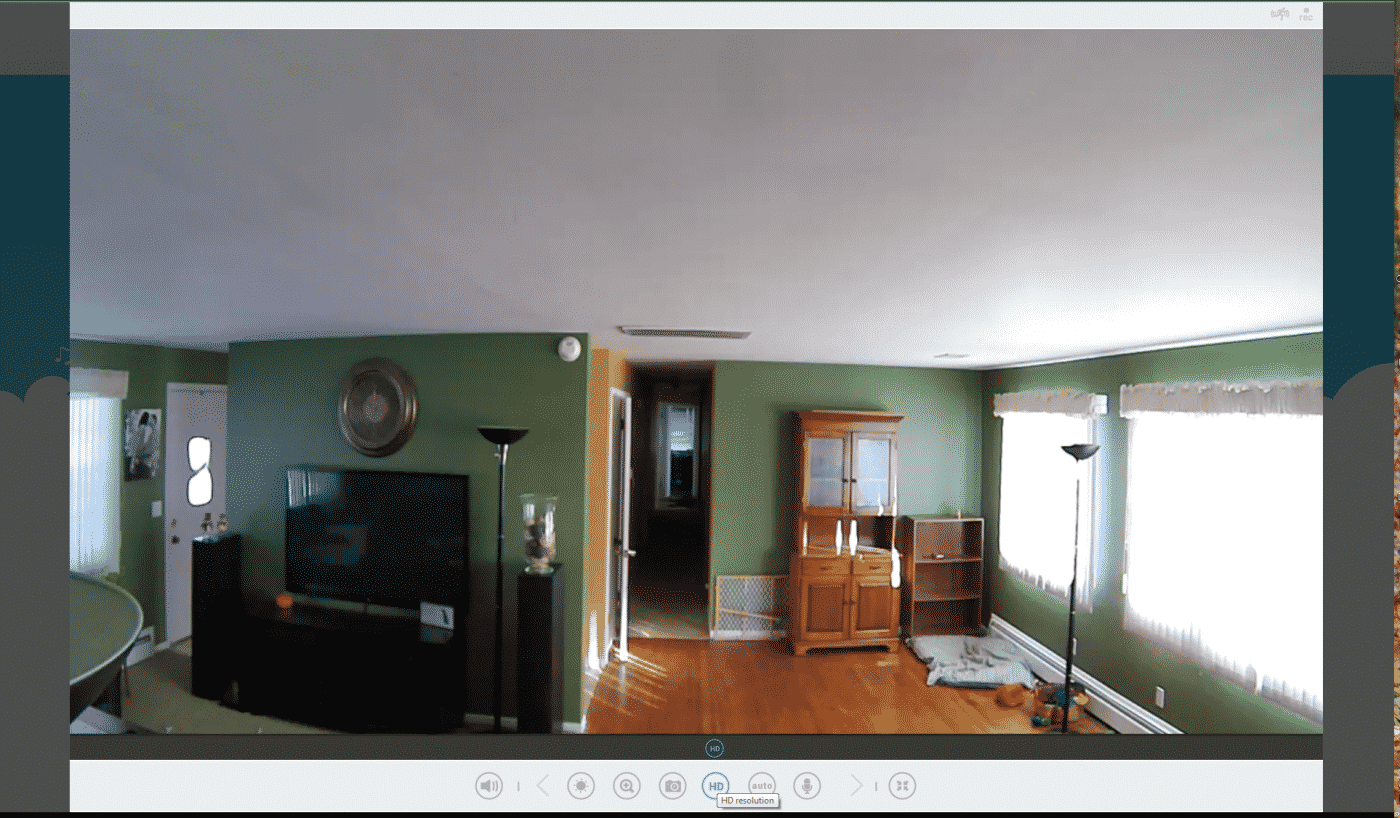
After you get past the update page you will find a view very similar to what you had on your smartphone but with more options. Your controls are; Sound on/off, Brightness, Zoom, Snapshot, HD Toggle, Night/Day vision settings, and the Two-Way Microphone toggle.
Beyond these on the fly settings you will also find a general settings tab. Here you will find your device information, email notifications settings, event trigger settings, basic SD settings, and a link to the Advanced settings page. Let’s take a look inside.
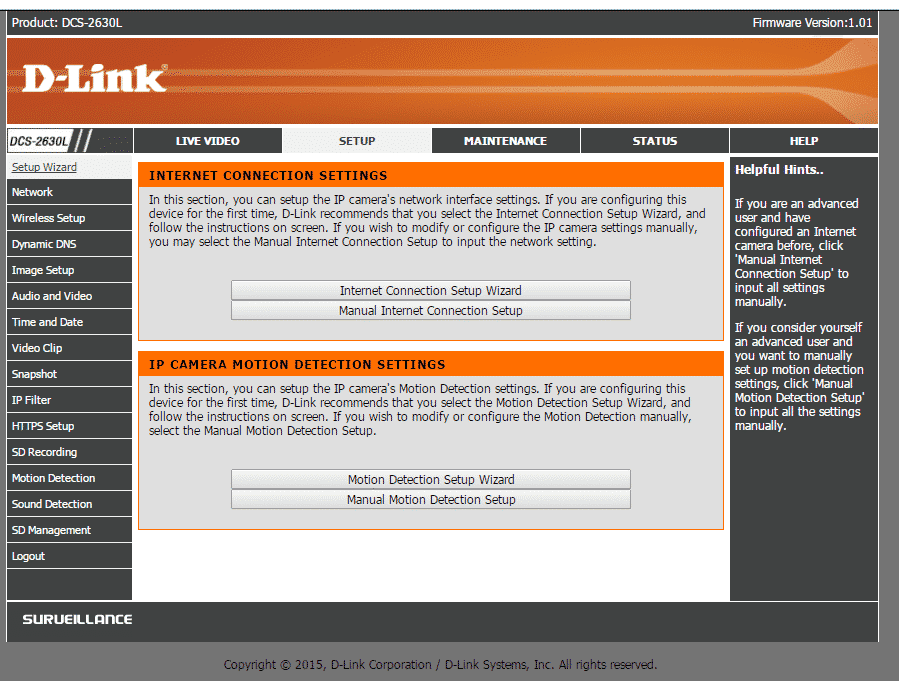
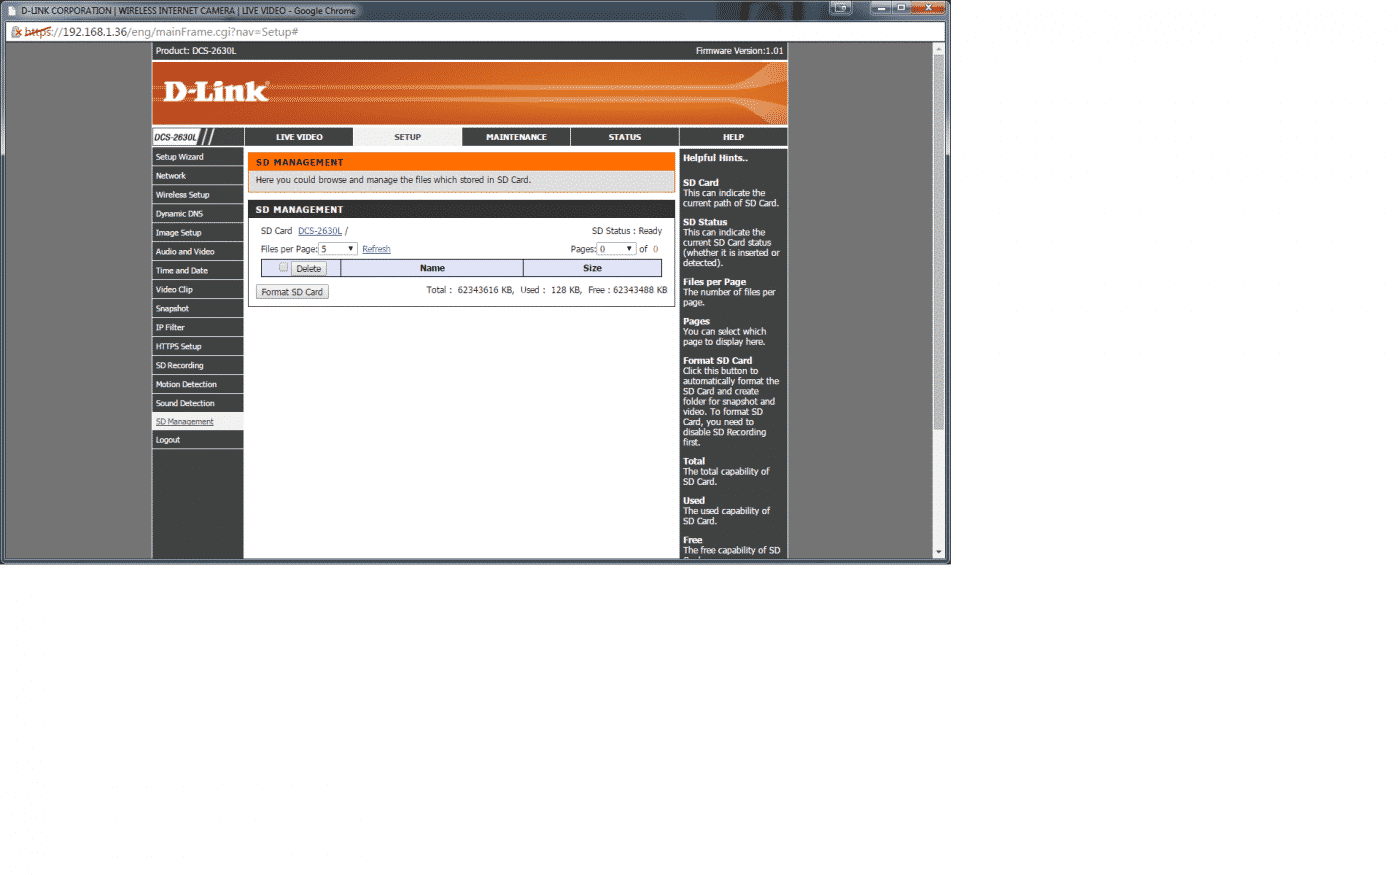
This is your camera’s IP address page similar to your router’s settings page. It gives you complete control over all parts of the camera but is far less user friendly than the mydlink settings page. All of the controls that you find there are repeated here but in more detail. In order to use your microSD card for recording you will need to come here to format it. Click on the SD Management tab and select Format SD Card. Once formatted I would suggest closing out of this window and returning the standard screen to proceed with setup. I found it to be just as effective but much simpler.
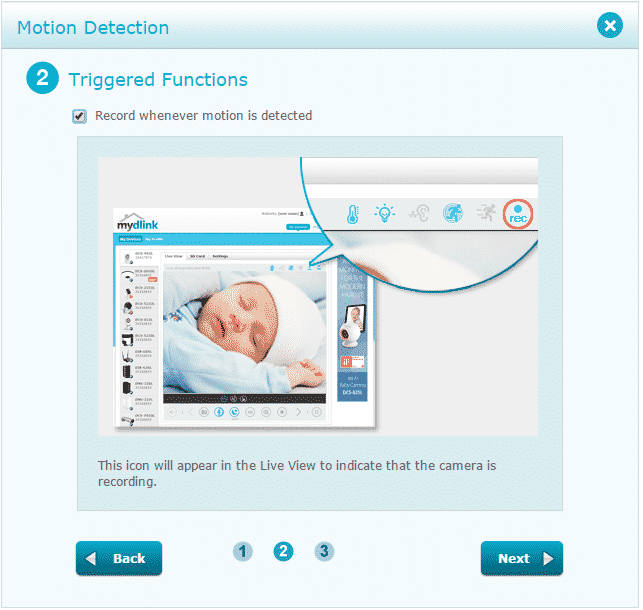
Now that the microSD card is usable by the camera we can go ahead and set up recording parameters and create a schedule. To begin you just click on the icon of the moving person under the Event Trigger Settings header. This will bring you to the Motion Detection setup process. It’s really simple, simply highlight the area in the camera view that you would like to be monitored (perhaps a door or window) and click next. On the Triggered Functions page check the box for “Record whenever motion is detected” and click next. On the final page the Active button should already be set, if not toggle it to active and click finish. Back at the settings page scroll to the bottom and click save.


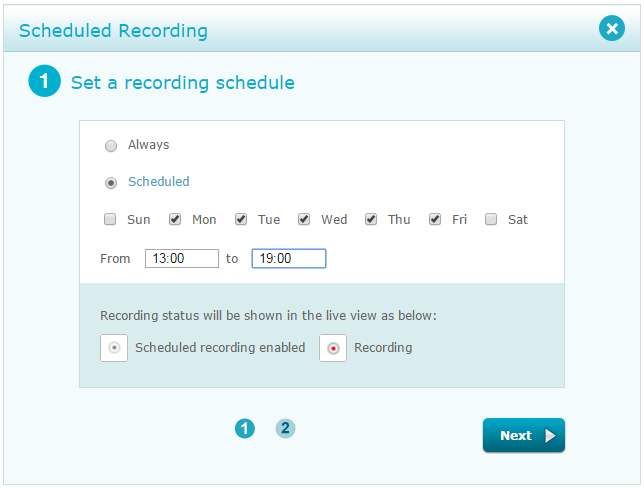
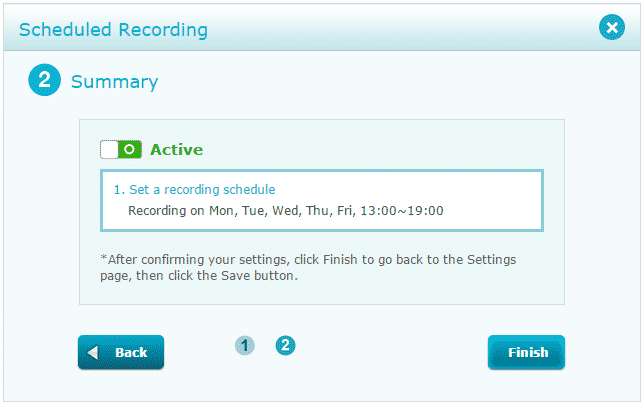
In addition to setting up motion detection, you can schedule the DCS-2630L to record to the SD card during certain time periods. Again we’ll be looking under the Event Trigger Settings header but this time click on the clock icon on the right. Simply select the dates and times that you want the recordings to occur, perhaps when you are regularly at work, and click next. Again make sure the toggle is set to Active and click Finish. And once again scroll to the bottom and click save.
After your camera has recorded a period of activity you’re going to want to play it back right? Well this is where things get a little sticky. Unfortunately the way D-Link has set up their site, they’ve not made this very easy. First you can not use Chrome for playback. If you are a Chrome user you might know that they no longer support video player plug ins as a security precaution. The player can be more securely encoded into HTML5 by D-Link and as a Chrome user there is no work around or fix at the time of this writing. You can go into the clip retrieval page and see your recordings but will be unable to play them. In addition to Chrome not supporting playback if you are a Microsoft Edge user you will need to find a new browser as it is not supported at all.
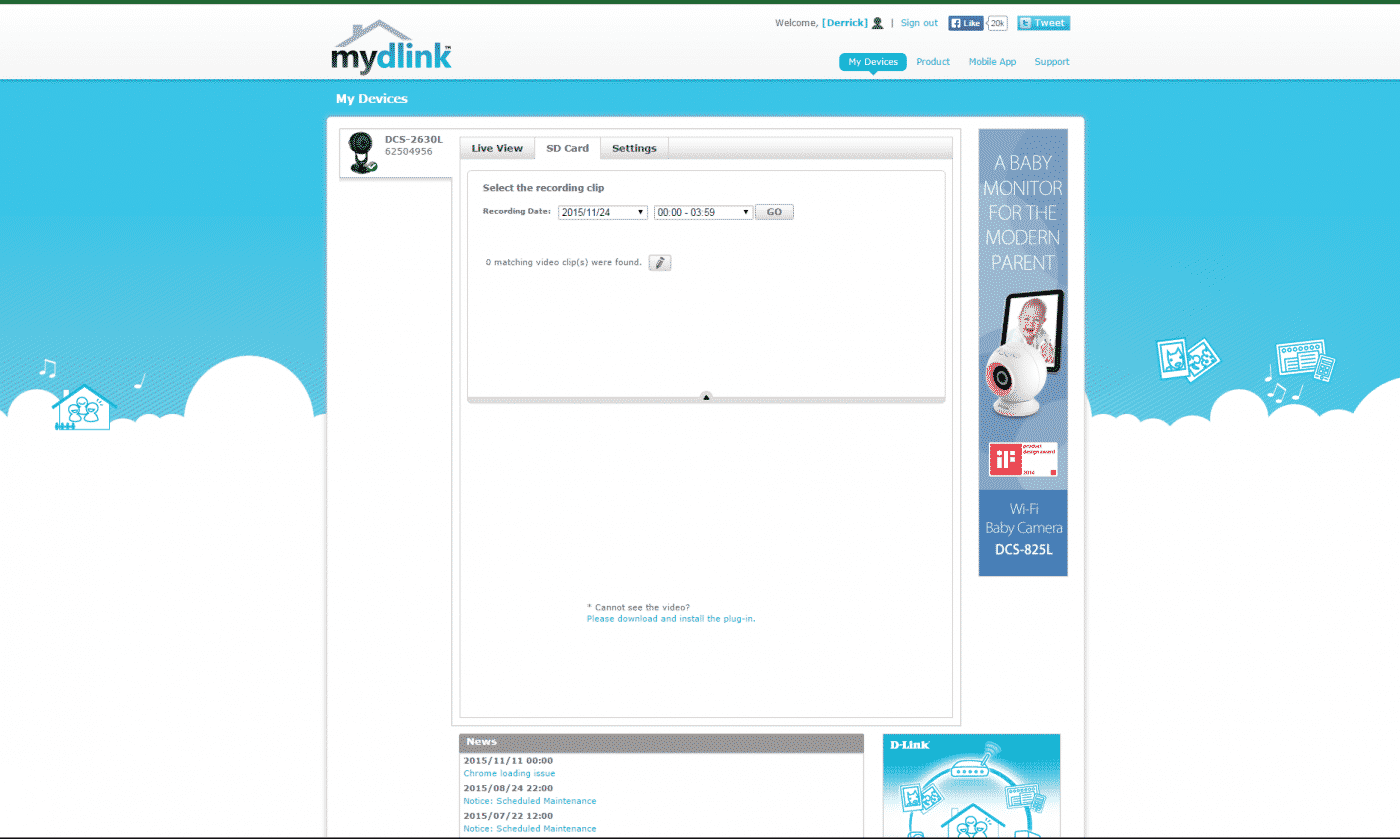
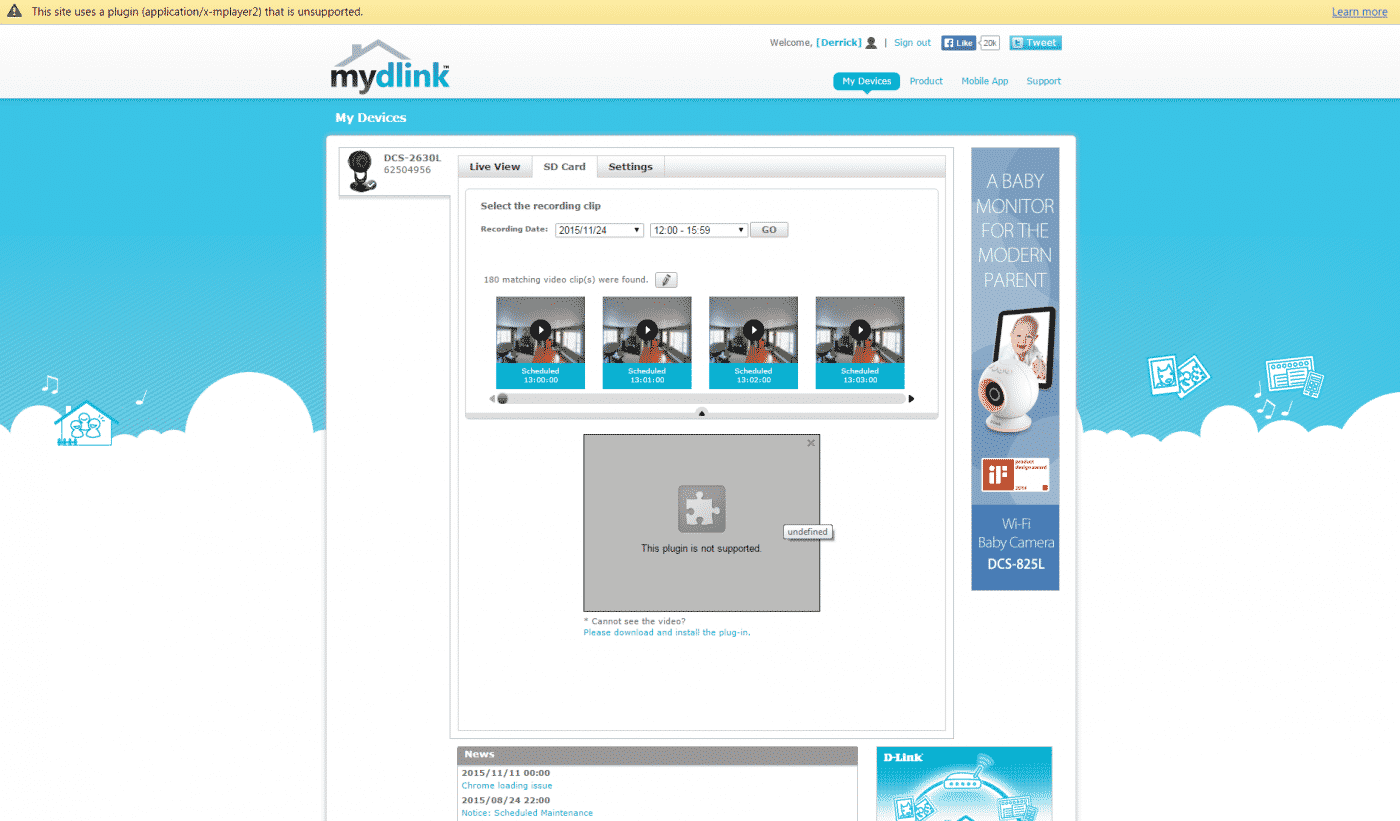
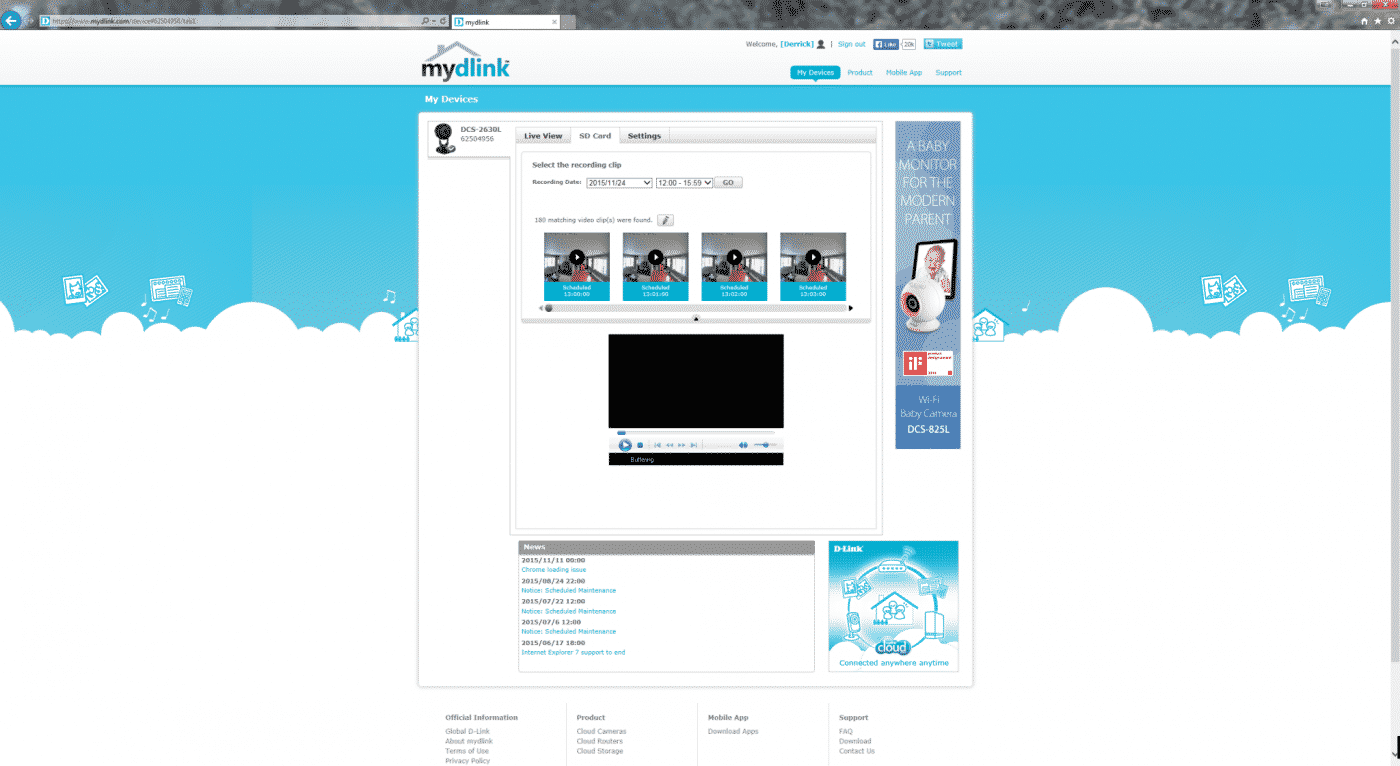
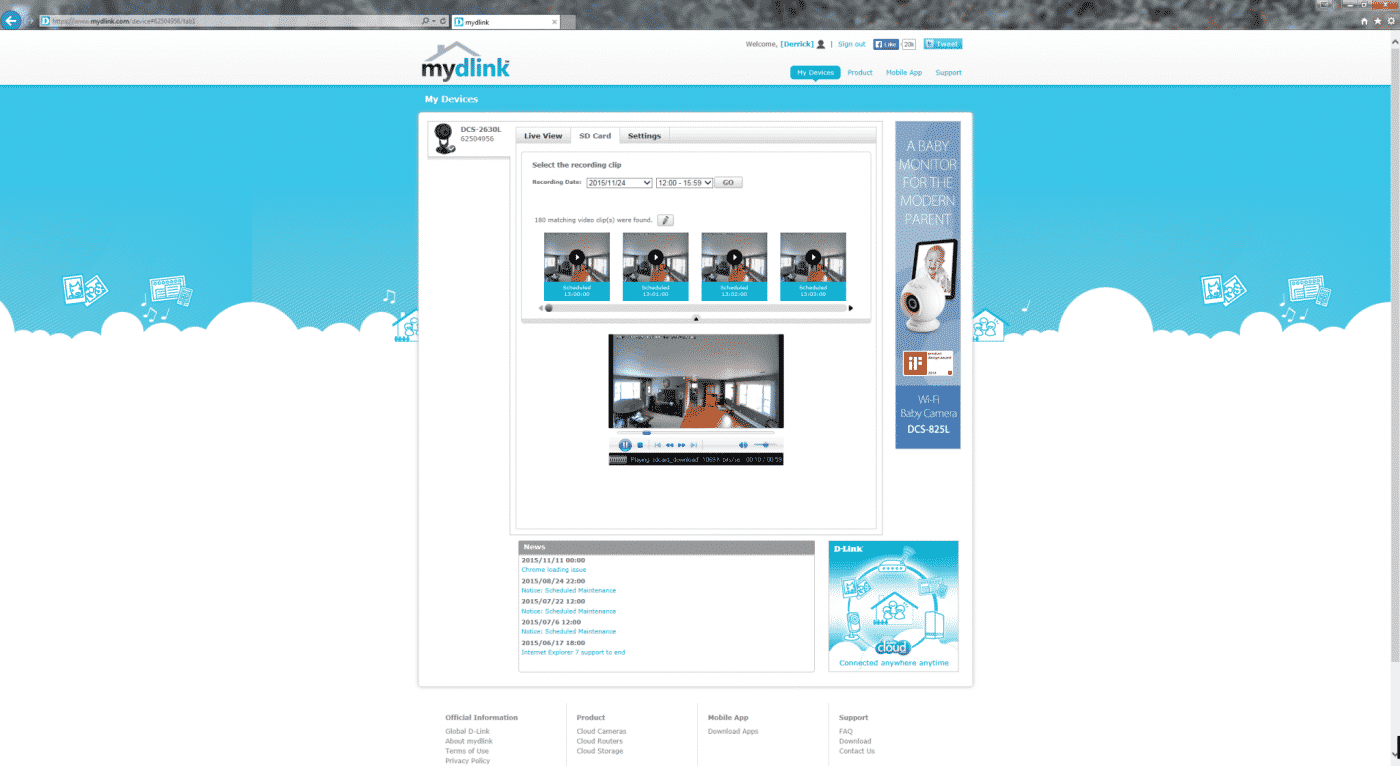
So that leaves you with Mozilla’s Firefox and Internet Explorer as options. Both of them work, I found that IE actually worked more easily. In Firefox I had to mess around with the plug ins quite a bit. The standard VLC player plug in would not load the clips so it had to be deactivated. Then you need to download and install the Windows Media Player plug in and make sure that it is turned on and active. Once all that is done you will have playback. On the other hand IE worked without any fuss or extra installations. Whichever you may choose playback is done in the same way. Click on the SD Card tab. Once loaded select the date and time you would like to retrieve the clip from. You will then be served the first four, one minute clips from the time period you selected. Clicking on one of them will load it into the player below. My experience was that this is extremely slow. You will see the message Connecting for quite some time until the clip is finally retrieved from the card. Once you have successfully accessed a time period I did find that the loading time of the clips in the near time period was reduced. It is however not a smooth process and is likely due to the clip being played from the SD card in the camera through the D-Link servers.
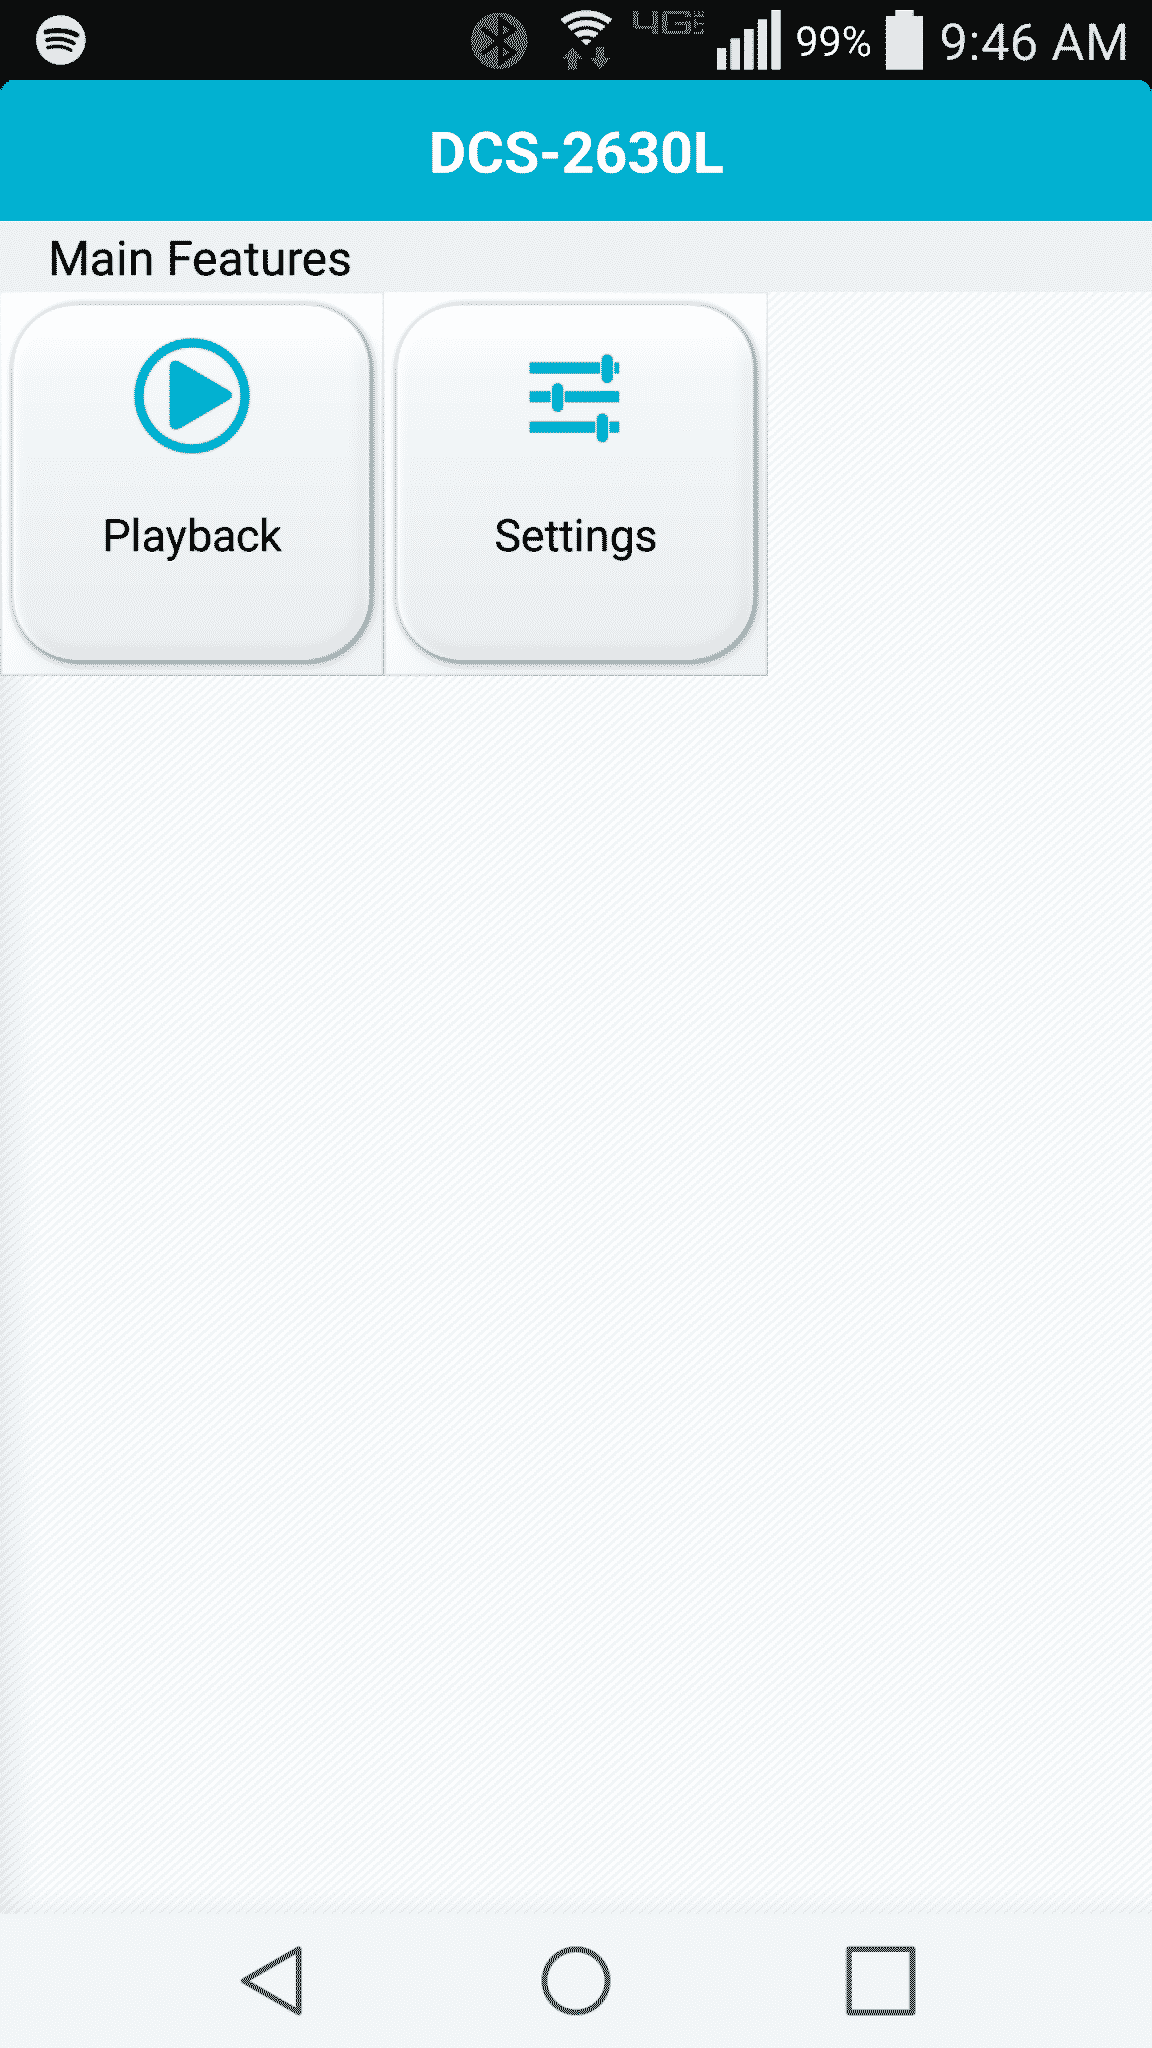
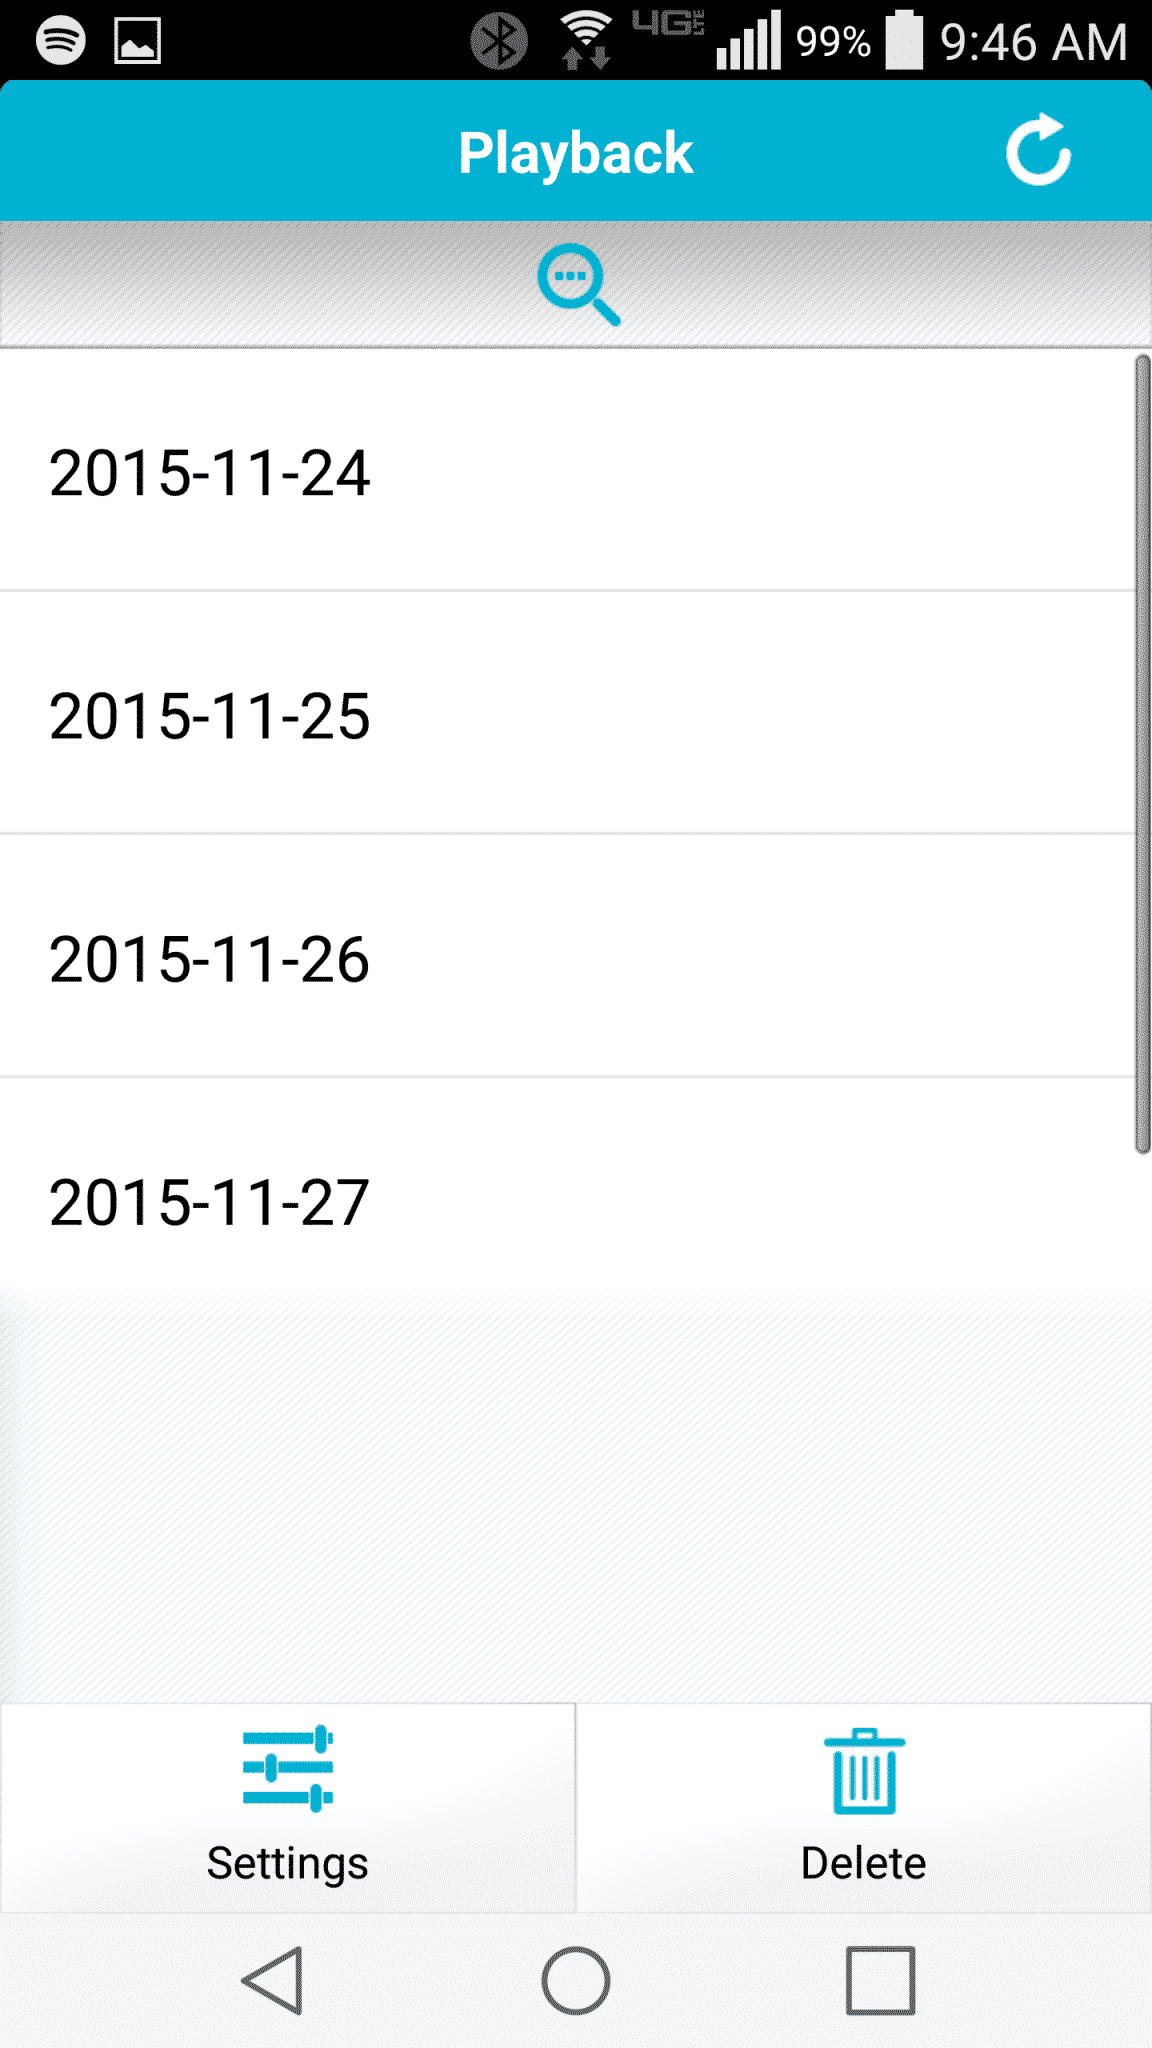
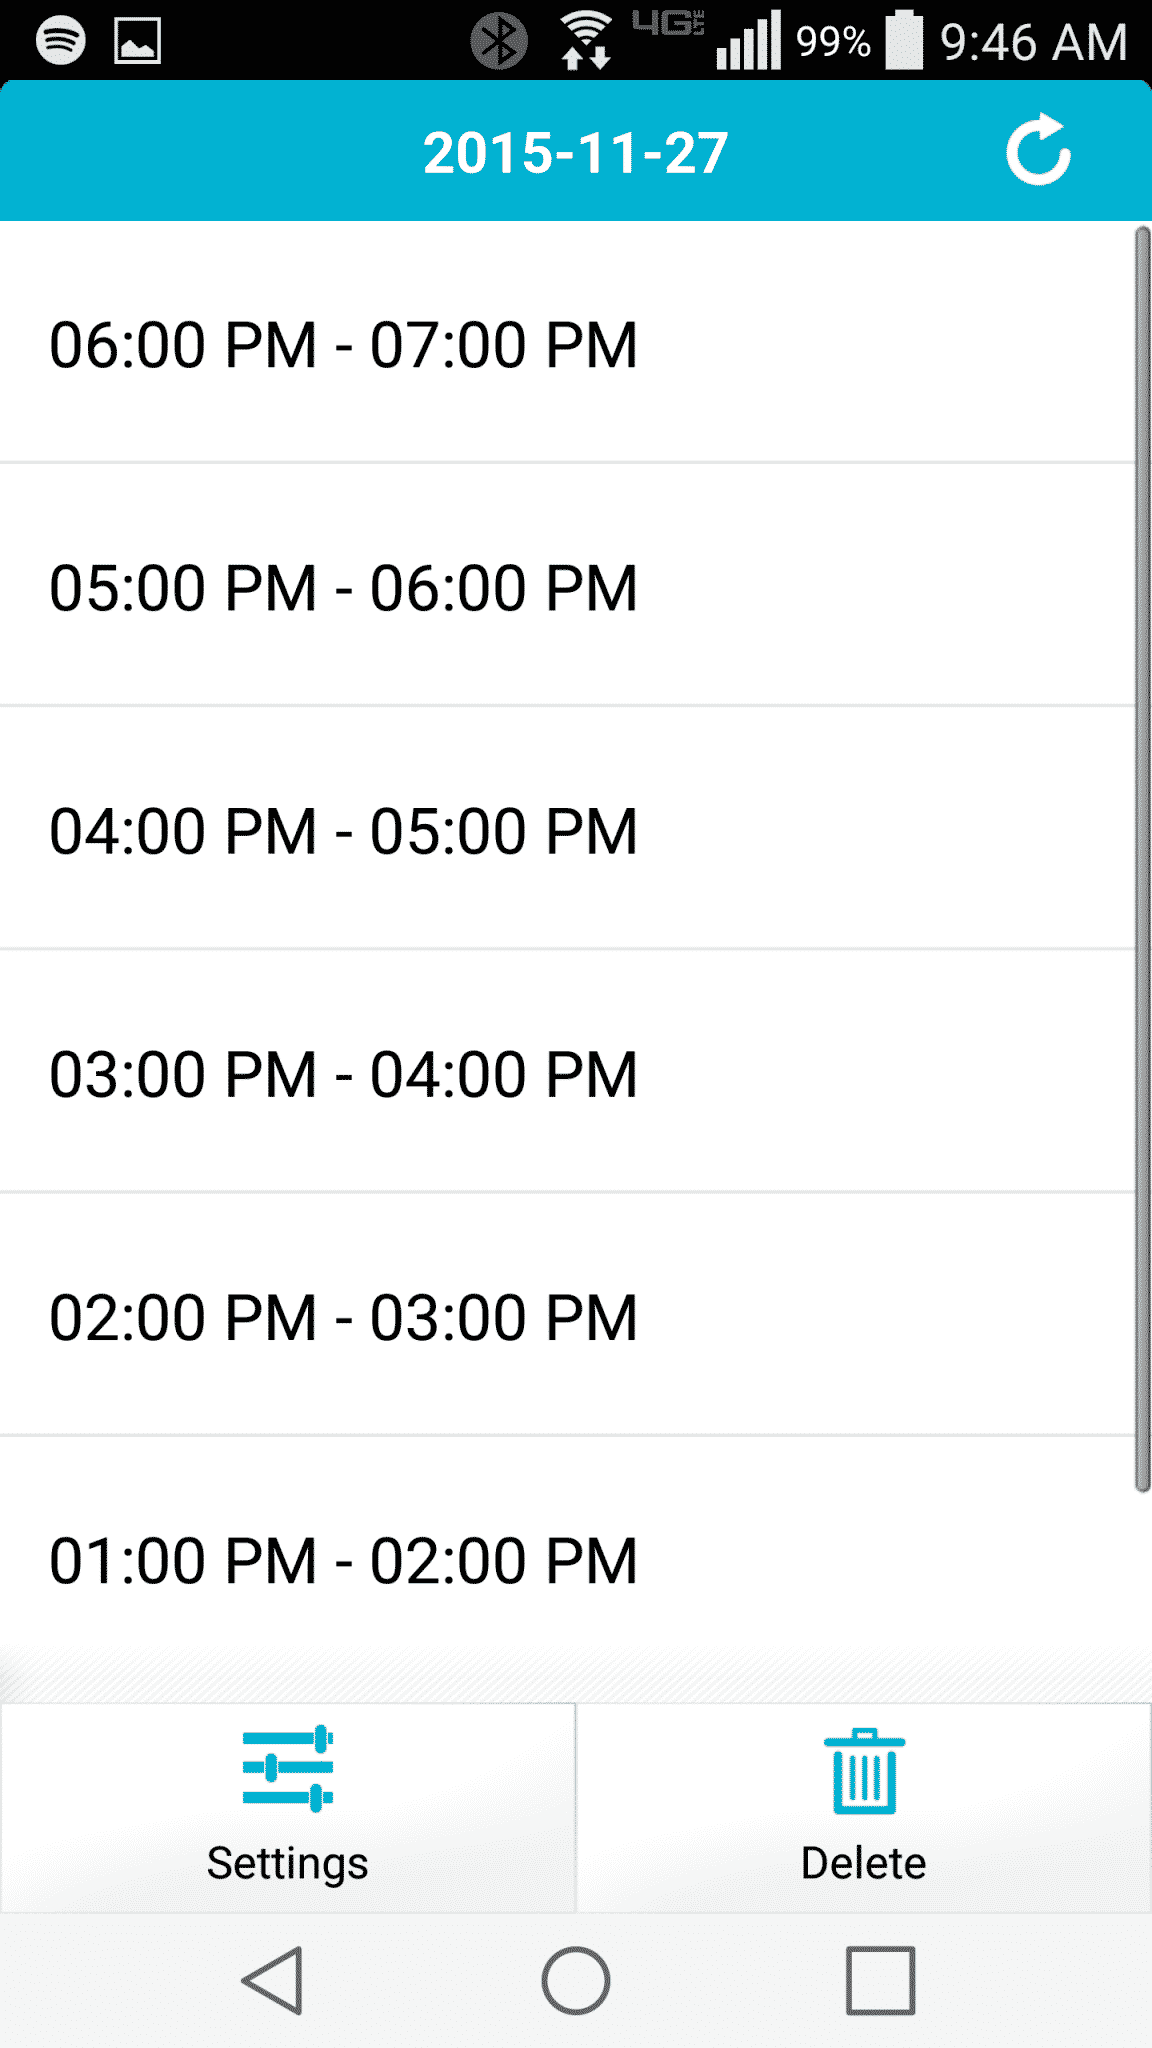
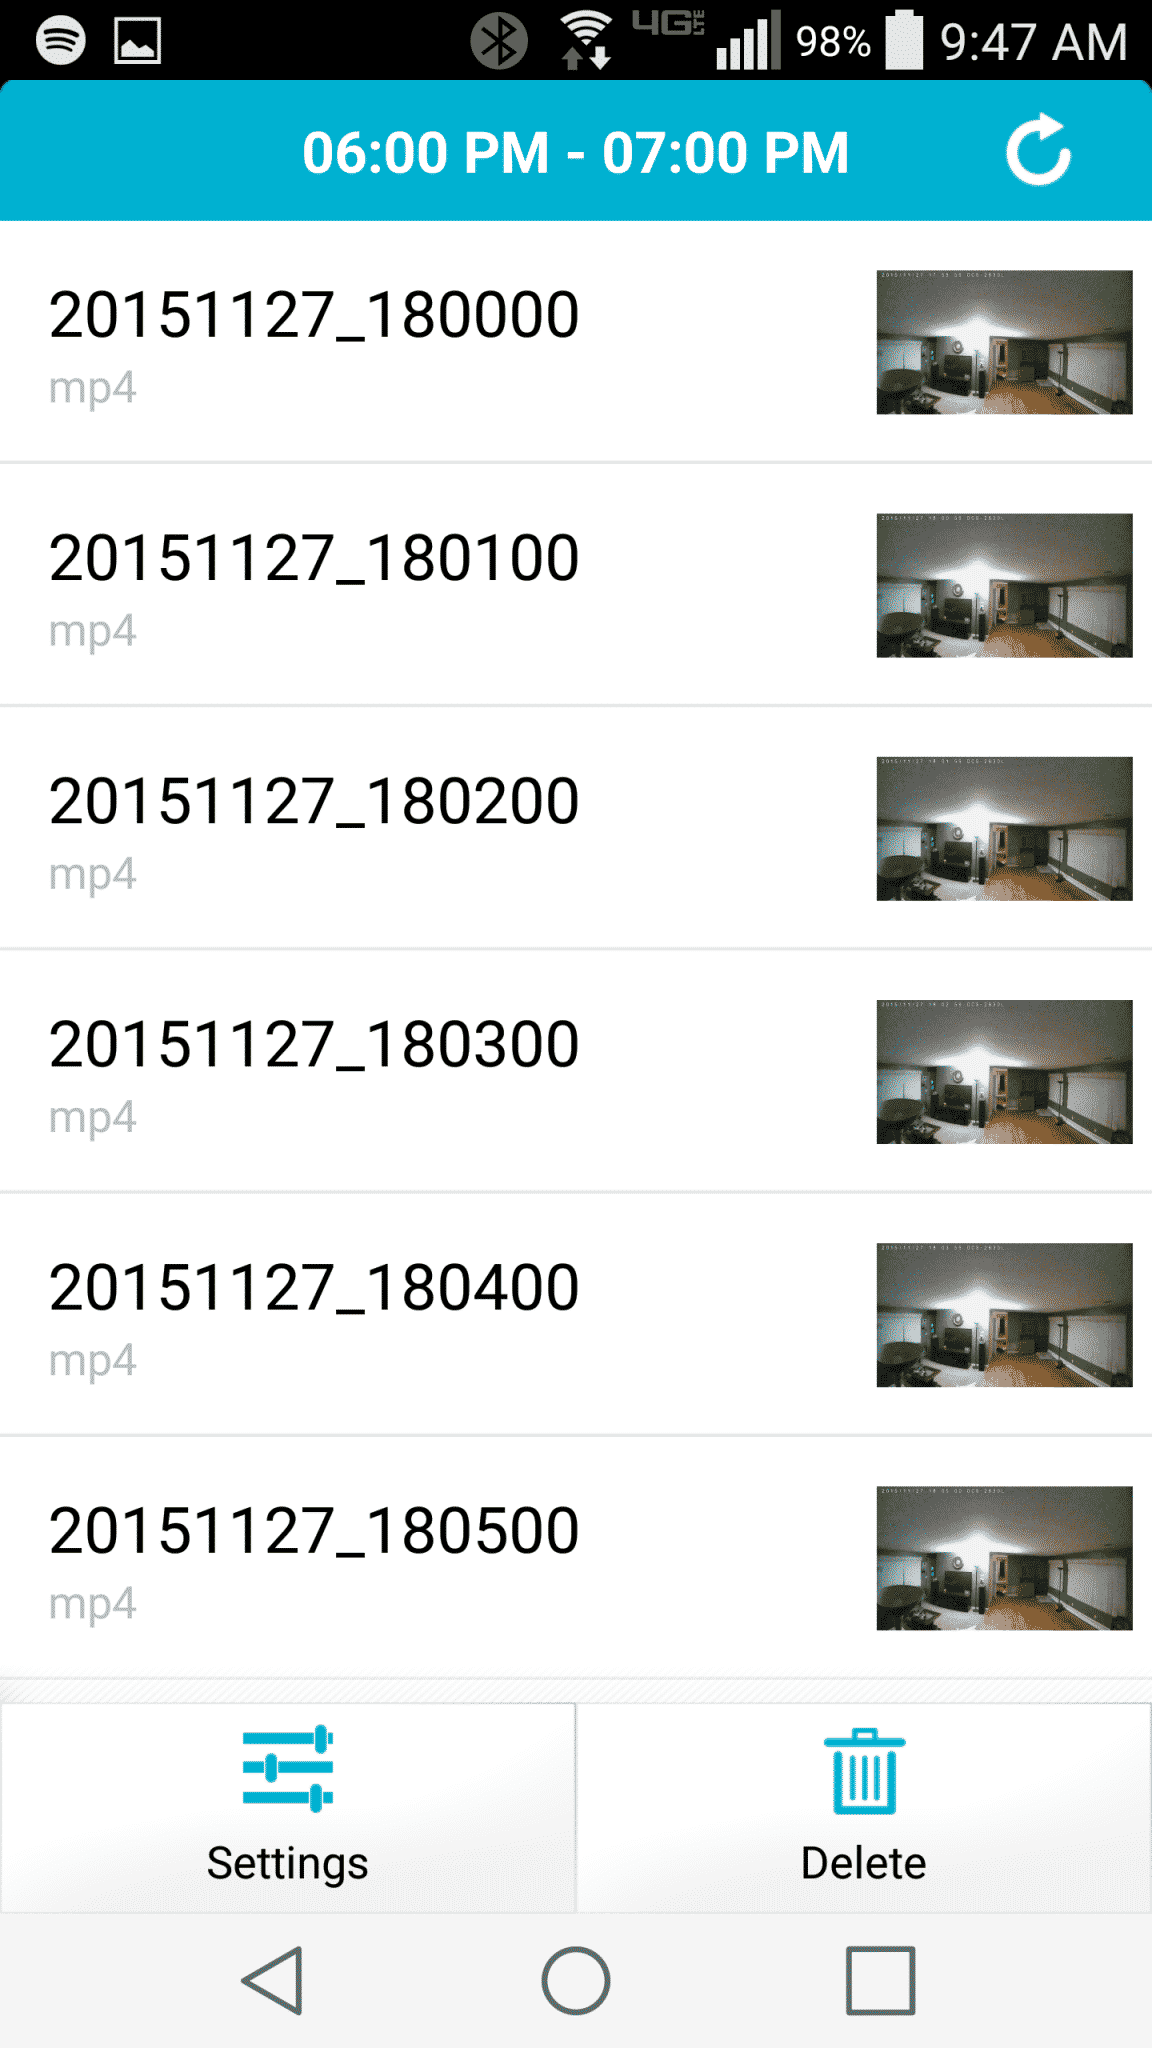
As well as being able to view a live stream from the camera in the mydlink Lite app, you can also play back clips from the SD card. Clicking the Features icon in the upper right corner brings you to the Main Features section. Clicking on the playback button you will be brought to the dates selection. Choosing one of the dates brings you to the time period page and one more selection here gets you to the individual minute long clips. No additional players are needed, select a clip and wait a little bit for it to load and begin playing.
In addition to these two simplified methods of clip playback you can also access the SD card directly through the IP address page by clicking on Advanced Settings and logging into the camera. This method offers faster playback, but does not provide thumbnails to preview the clips and is presented to you more as a group of clip titles mixed with screen grabs. It makes choosing your time frame confusing and somewhat difficult. Although I didn’t try it out, the fastest and least confusing method for SD playback might be to simply pull the card from the camera and access the clips through your OS’ interface.
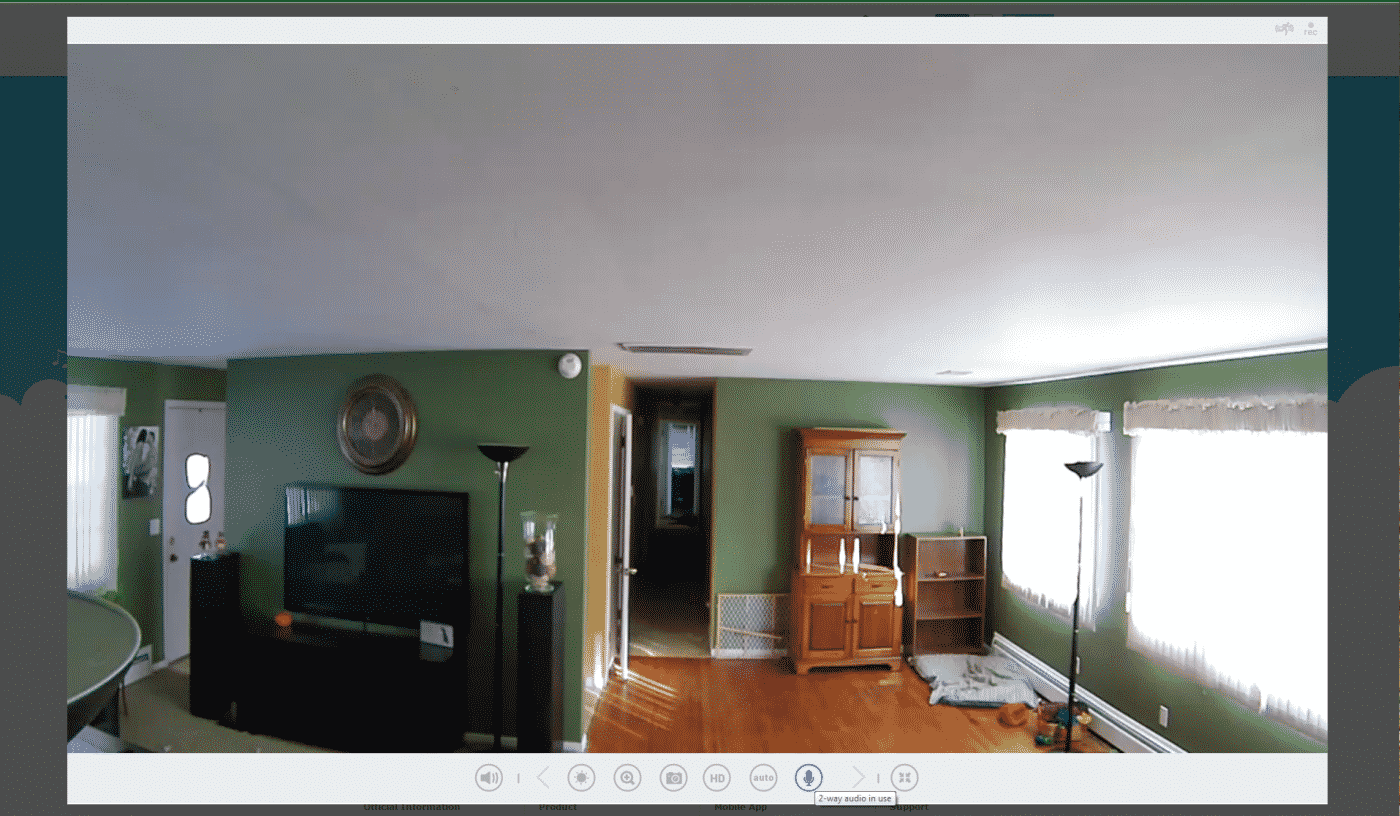
One feature that I found to be really useful was the two-way audio. Selecting the microphone let’s you actually speak through the camera which is a really neat. I was able to have a conversation with my wife while at work and talk to my restless dog which more or less just confused her. I could also see using this to scare away would be thieves or remind your children that you can see what they are doing while you are away.