

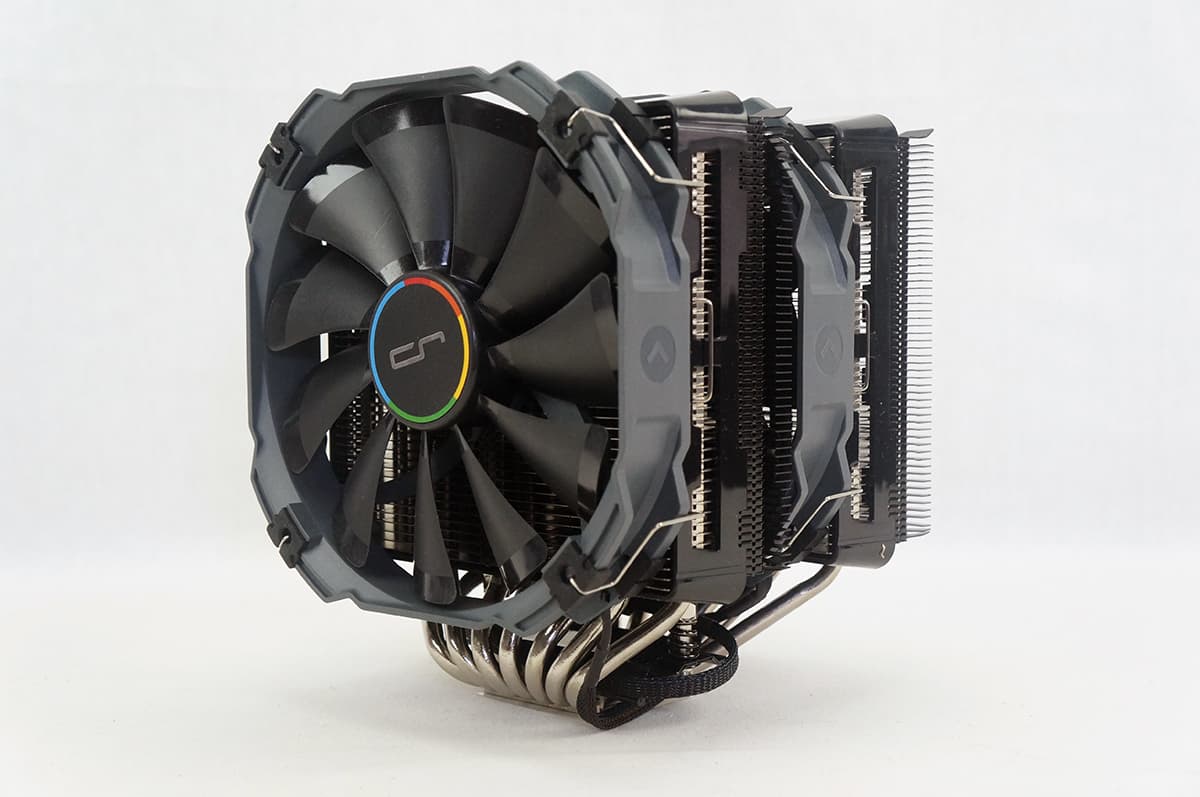
Installation
Getting the R1 Ultimate installed is actually easier than I thought it would be, especially for its size. We will be installing the cooler on our LGA2011 motherboard so the first thing we need to do is install the four screw pillars as shown in the photo below.
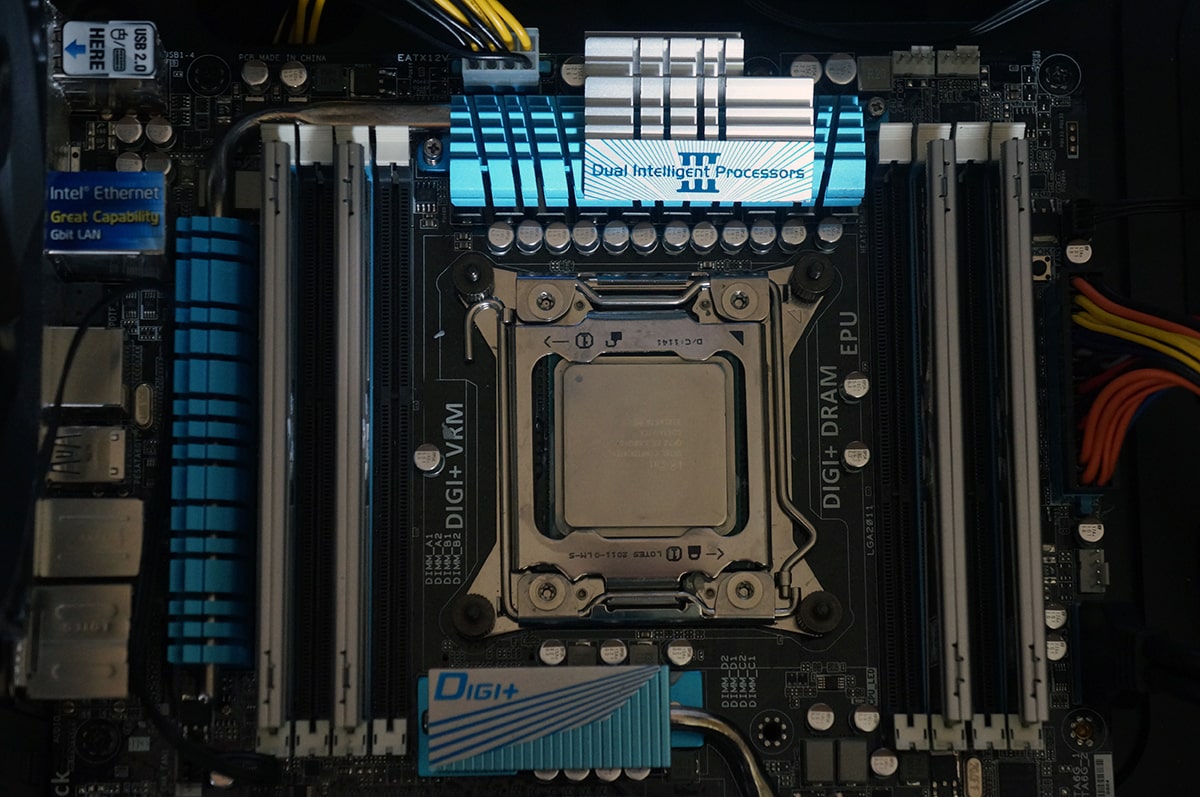
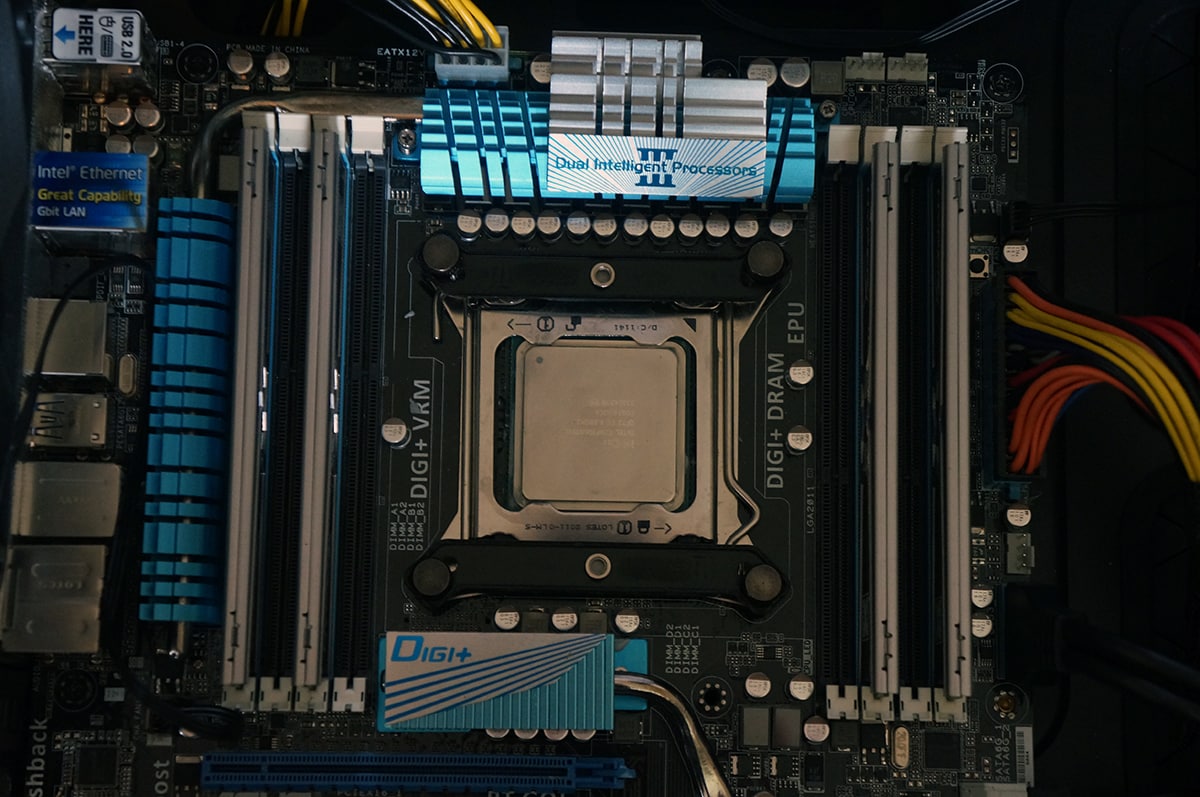
Next you will need to install the Intel mounting bars. Their orientation all depends on how you want to cooler to operate. The orientation shown below is to that the cooler will exhaust out of the back of your case.
Next apply the included thermal paste and carefully place your cooler on top of your CPU with the screws lining up with the holes on the mounting bars. CRYORIG includes a large screwdriver that you can use to tighten the screws.
Now you can tighten these screws with the fan installed, but I found it easier to do this with the fan removed. Either way this installation was very easy and went without incident.
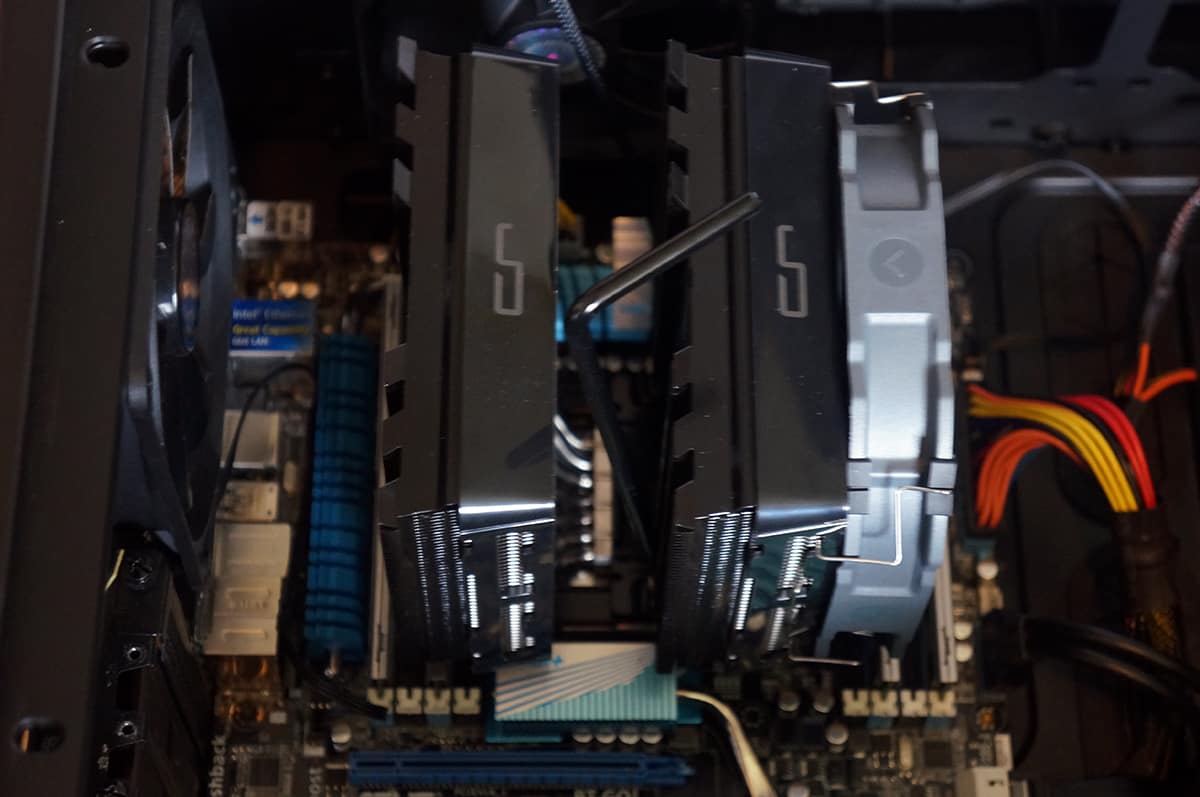
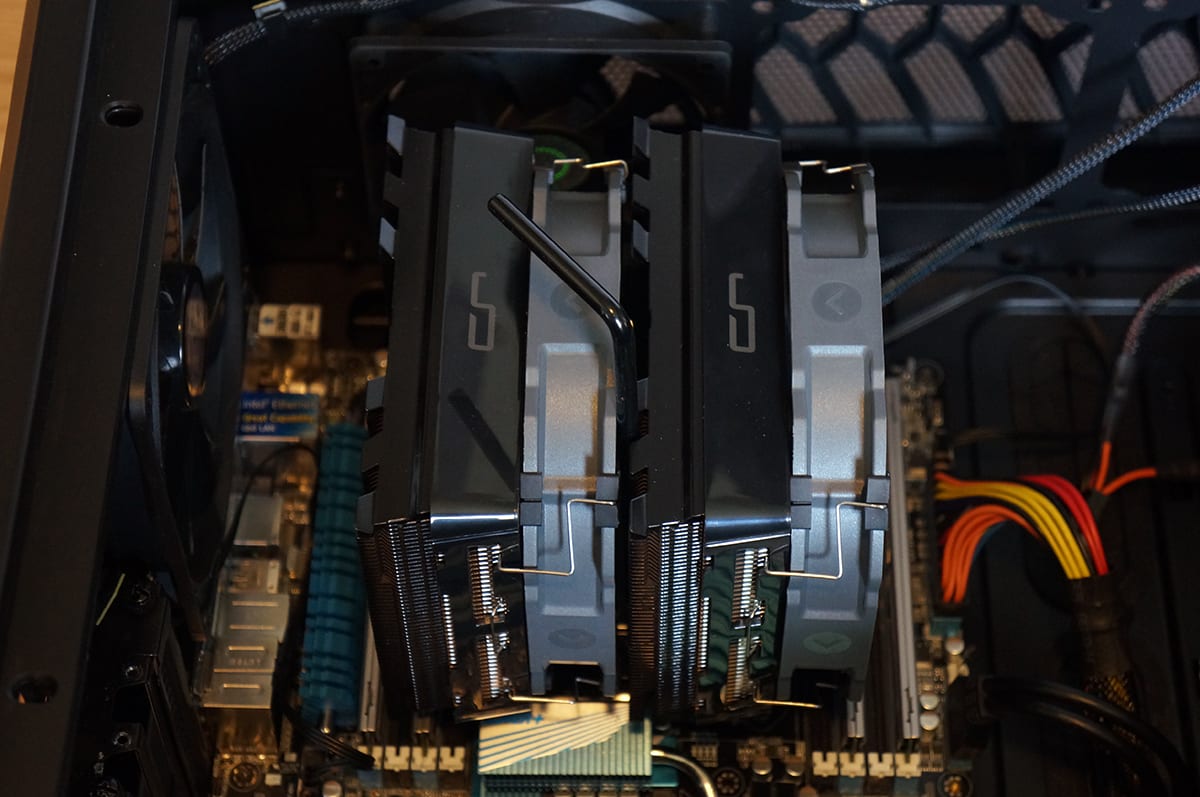
With the cooler installed we can see there is even room for our memory on one side of the cooler. This is great especially on LGA115x motherboards where all of the memory is on this side of the CPU cooler.
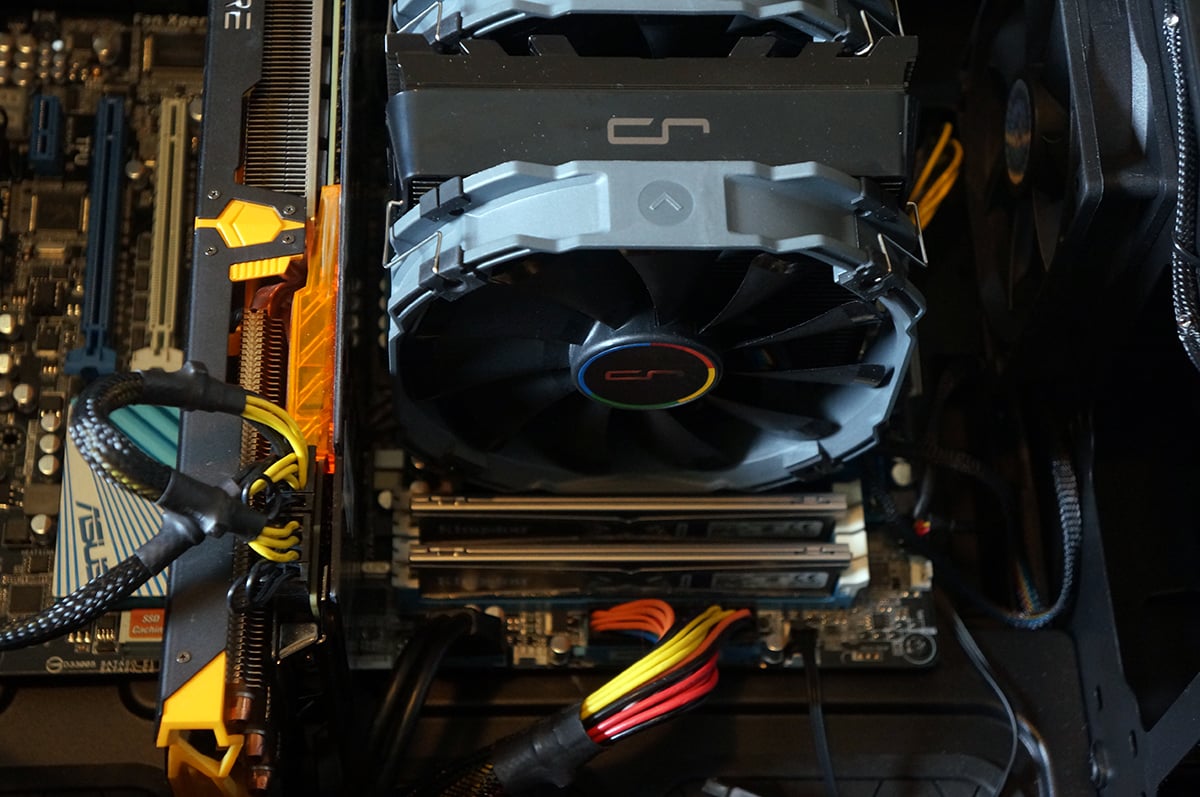
Finally take the included Y-cable and connect your fans to it, then plug that into your CPU fan header and you are good to go.