Installation
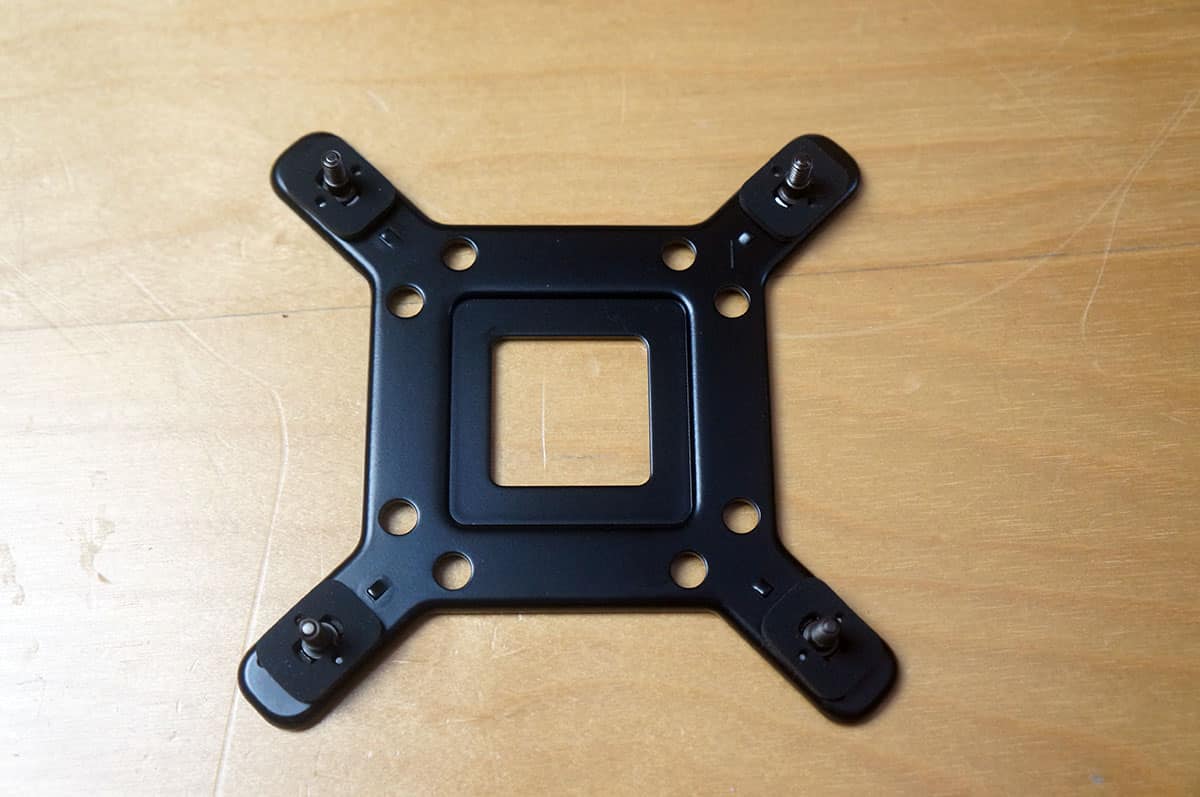
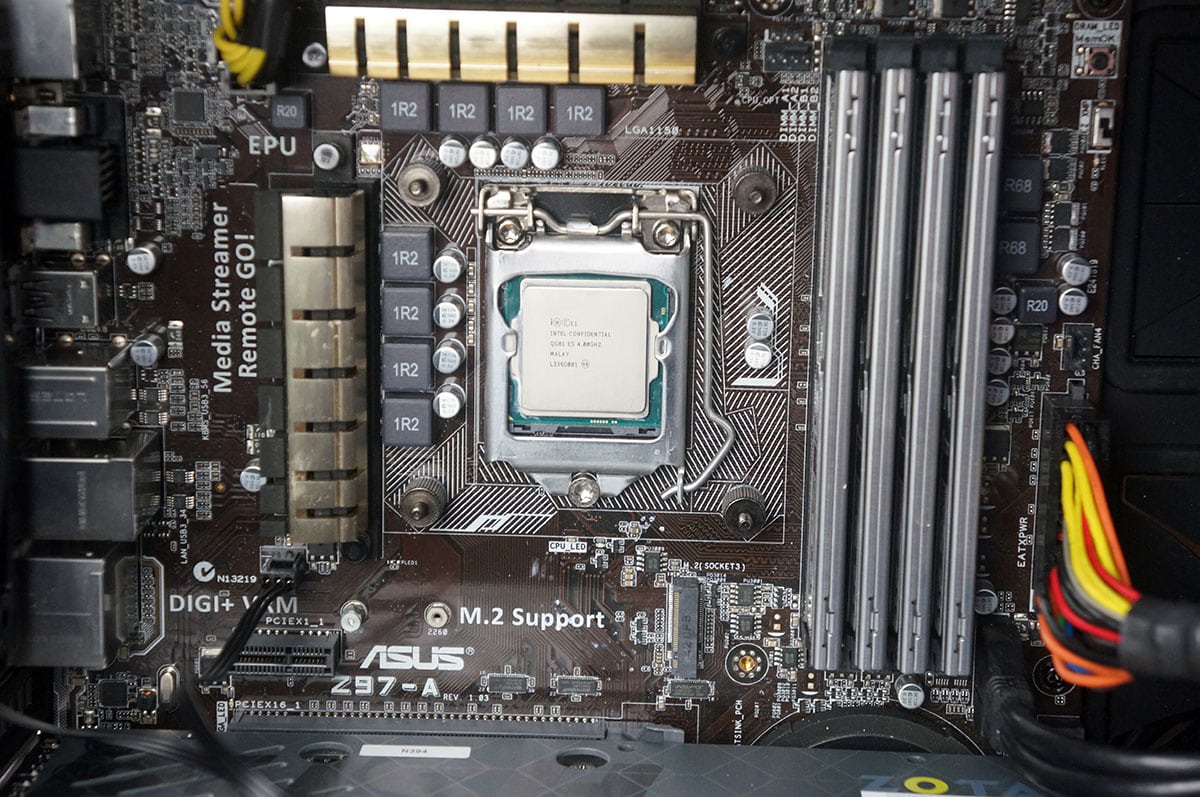
Installation of the H5 Ultimate should be pretty simple as CRYORIG says it only takes five steps. We will be installing the H5 Ultimate in our Intel system so we will need the Intel backplate. It came with the bolts already installed in the 115X spots. If you are installing in an 2011 or 775 system be sure to refer to the instructions to see which slots the bolts go in.
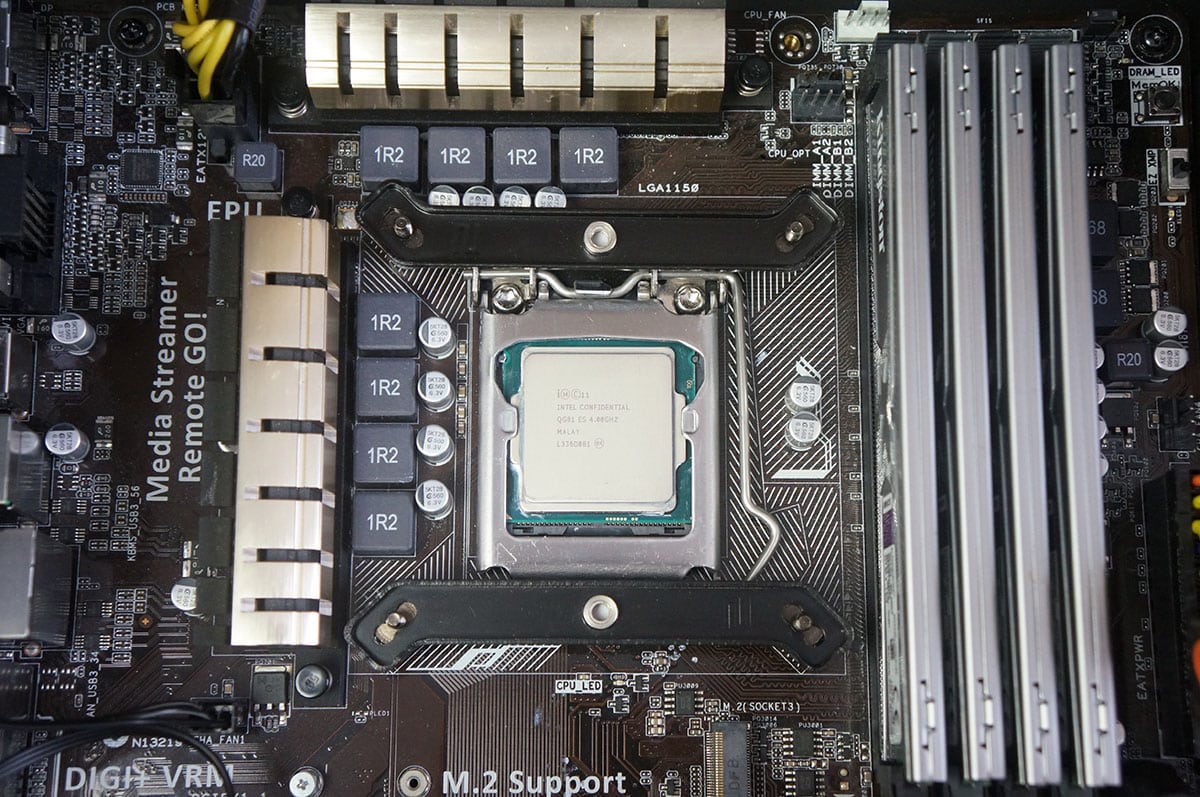
Not attach the backplate to your motherboard carefully sliding the bolts through the holes in your motherboard.
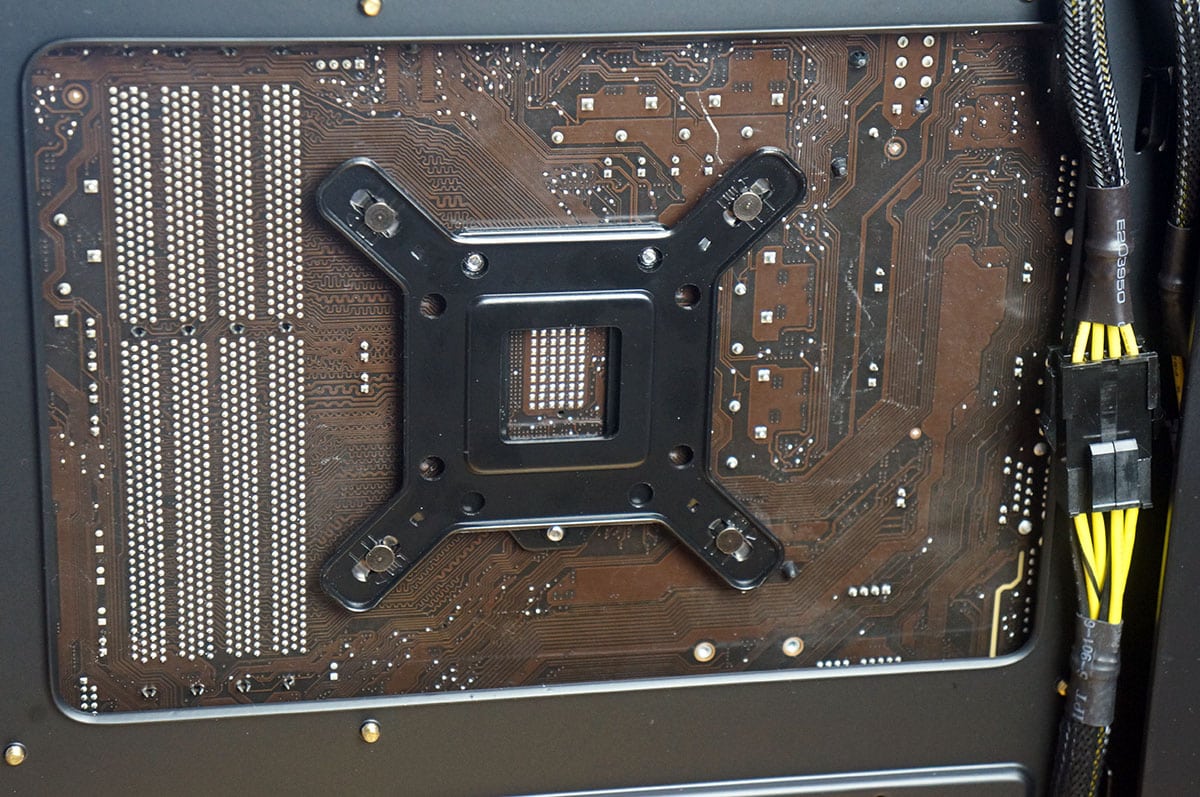
Now secure the backplate by installing the screw pillars on the bolts.
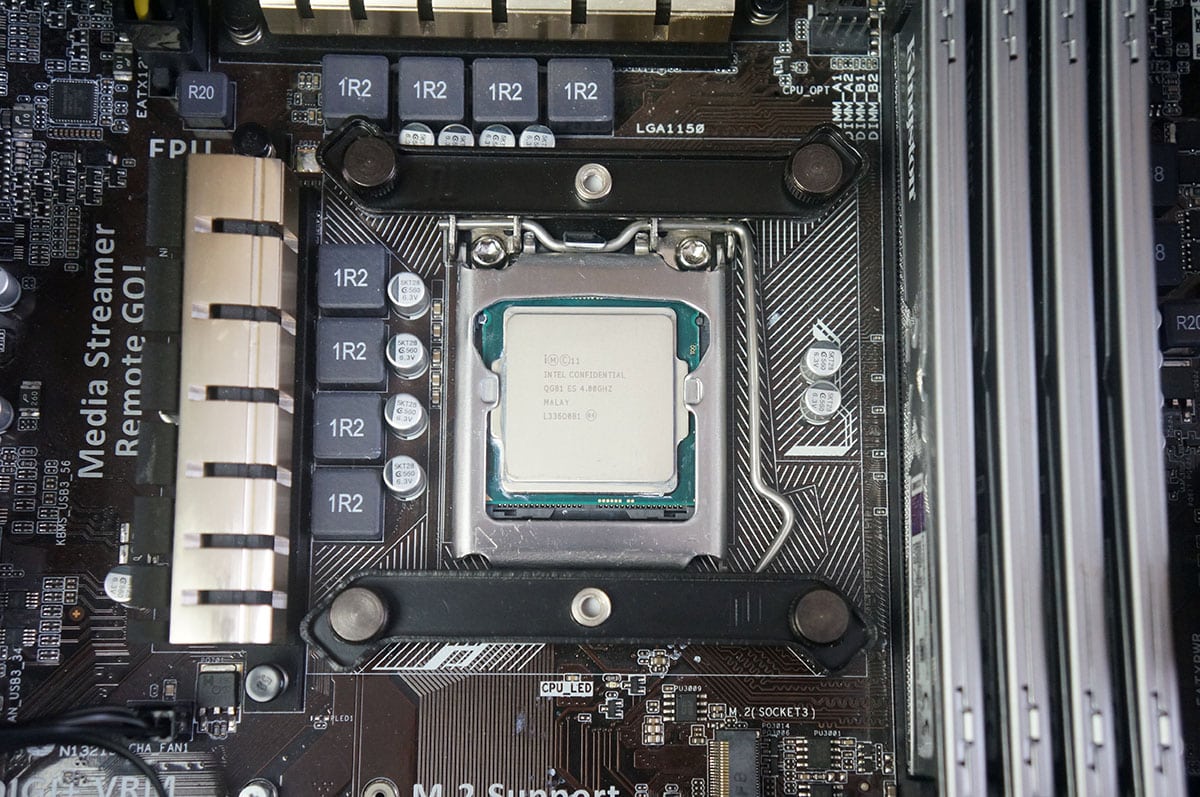
It is time to install the mounting bars. If you want to have the cooler in a horizontal position with it exhausting out of the back of your system install the mounting bars how we have them below. Refer to the instructions to see which holes you need to use for your socket. Secure the mounting bars with the thumbscrew caps.
Apply the included CP9 thermal paste and very carefully place the cooler on top of your CPU lining up the spring screws with the screw holes in the mounting bar. Taking the included screwdriver place it down through the heatsink so you are able to secure to cooler.
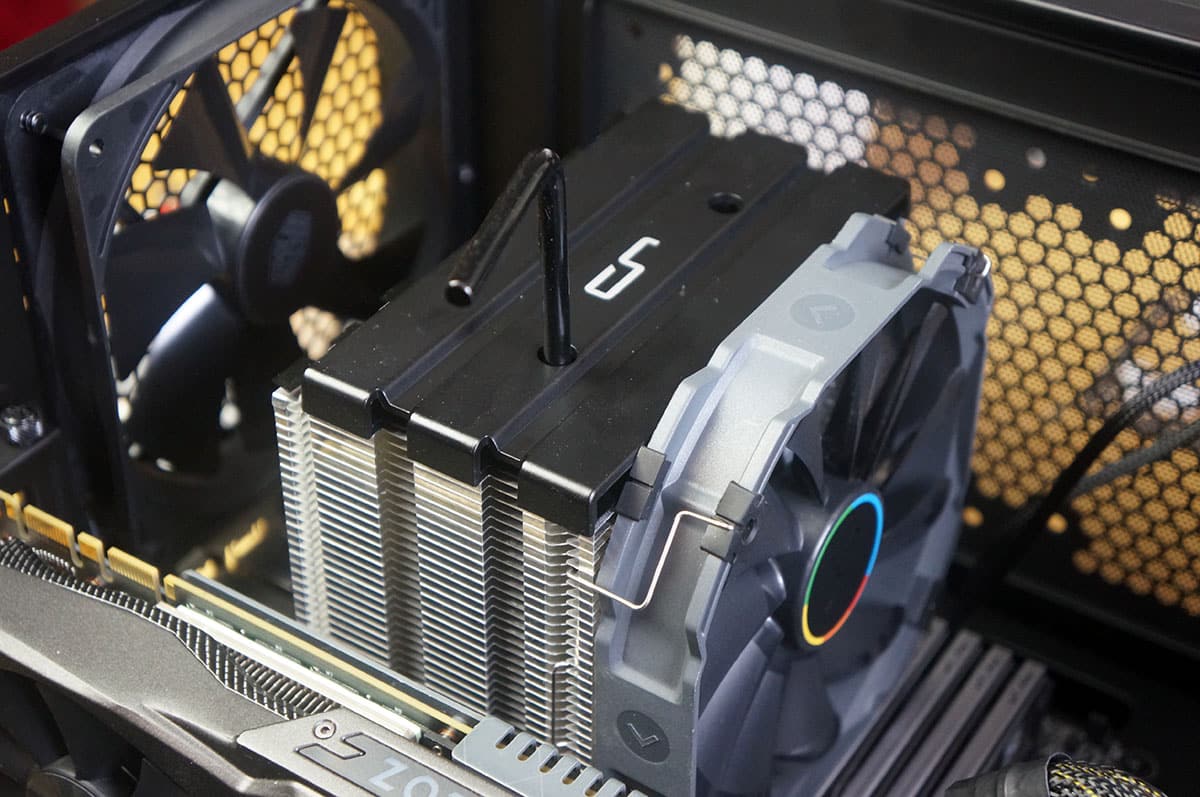
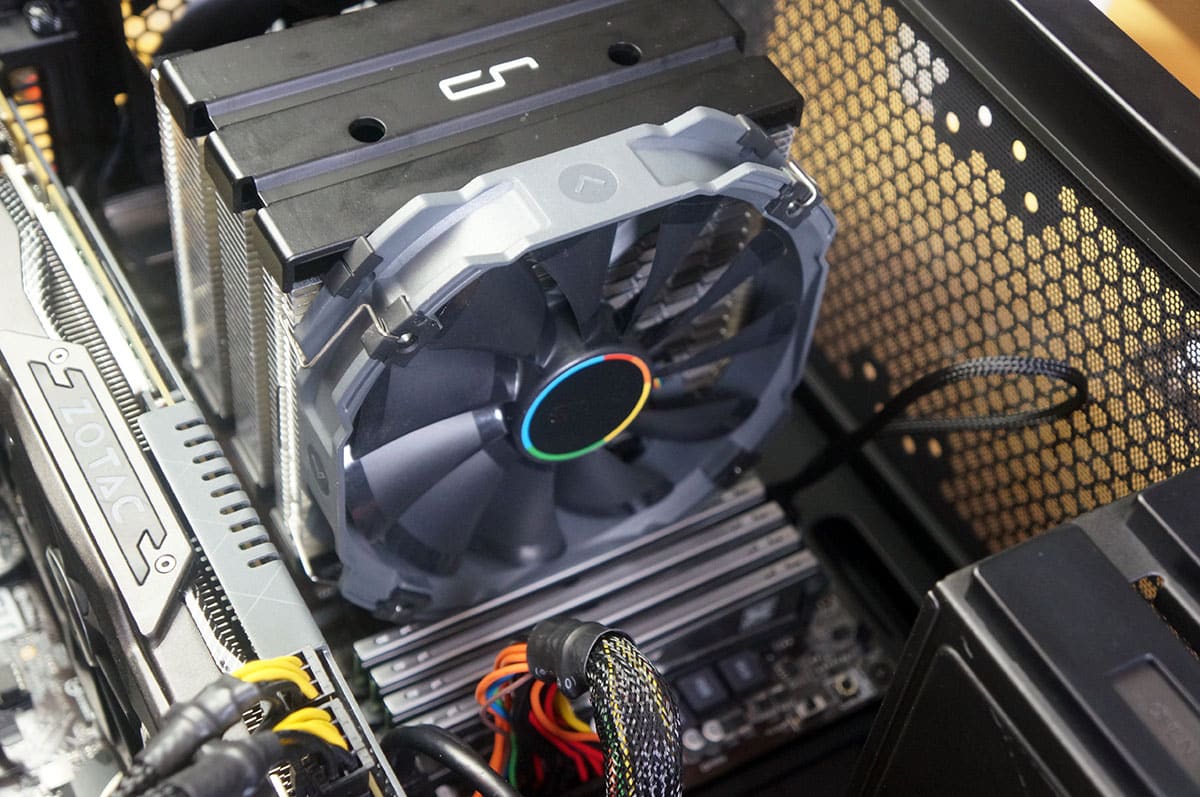
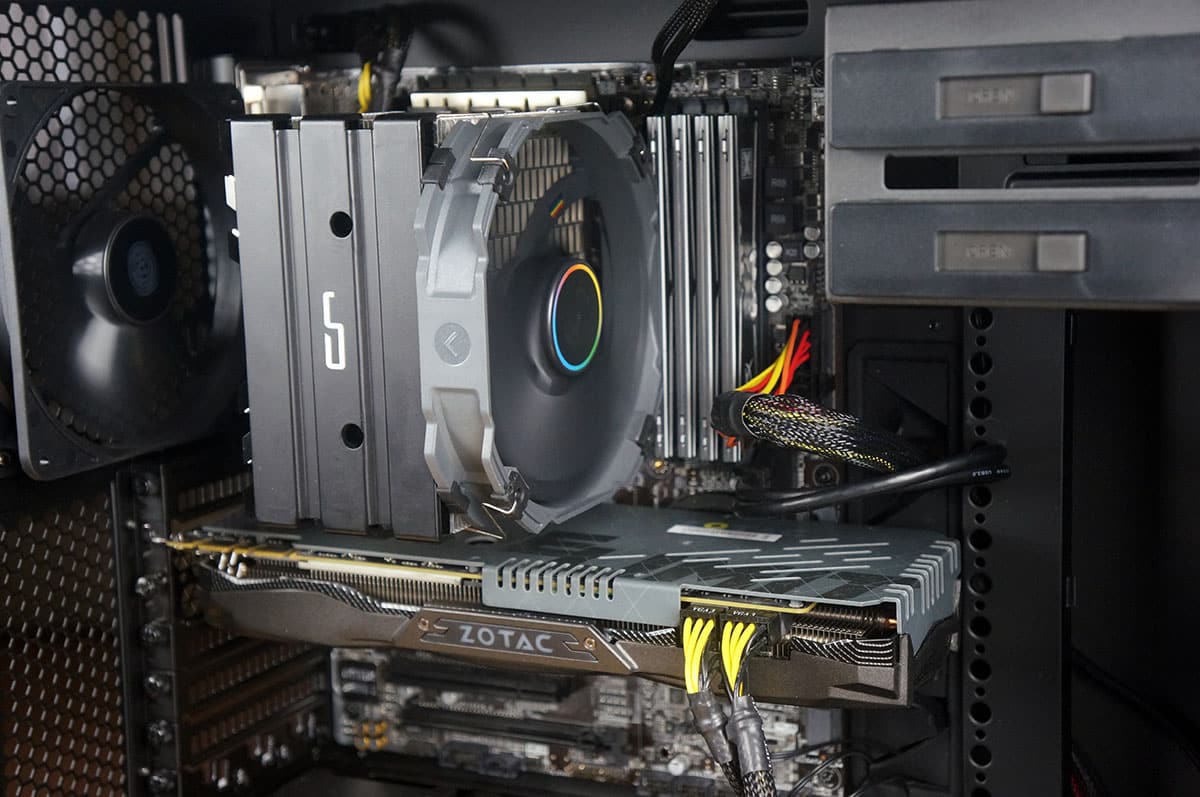
Installation was very easy and took us less than 10 minutes. We also were able to do installation inside our case with our graphics card installed and the fan attached to the cooler. You may however need to move the fan up so it does not interfere with your memory.