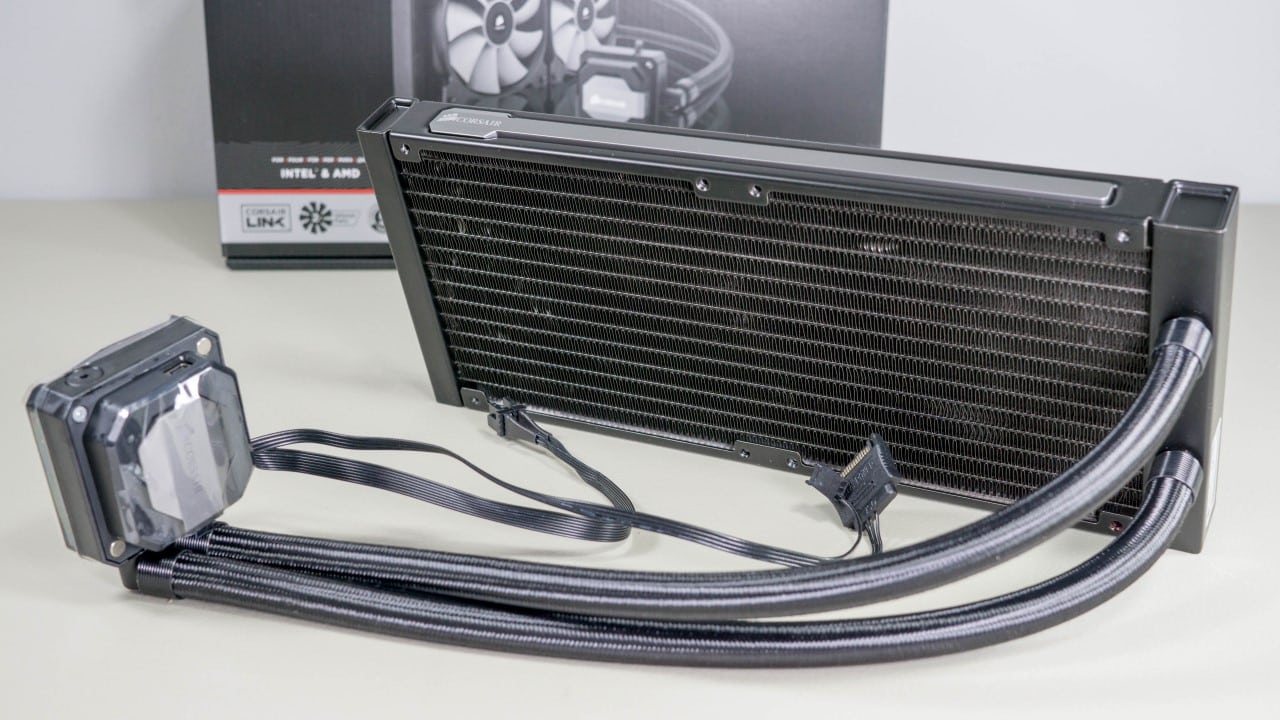
Corsair H110i GT Installation
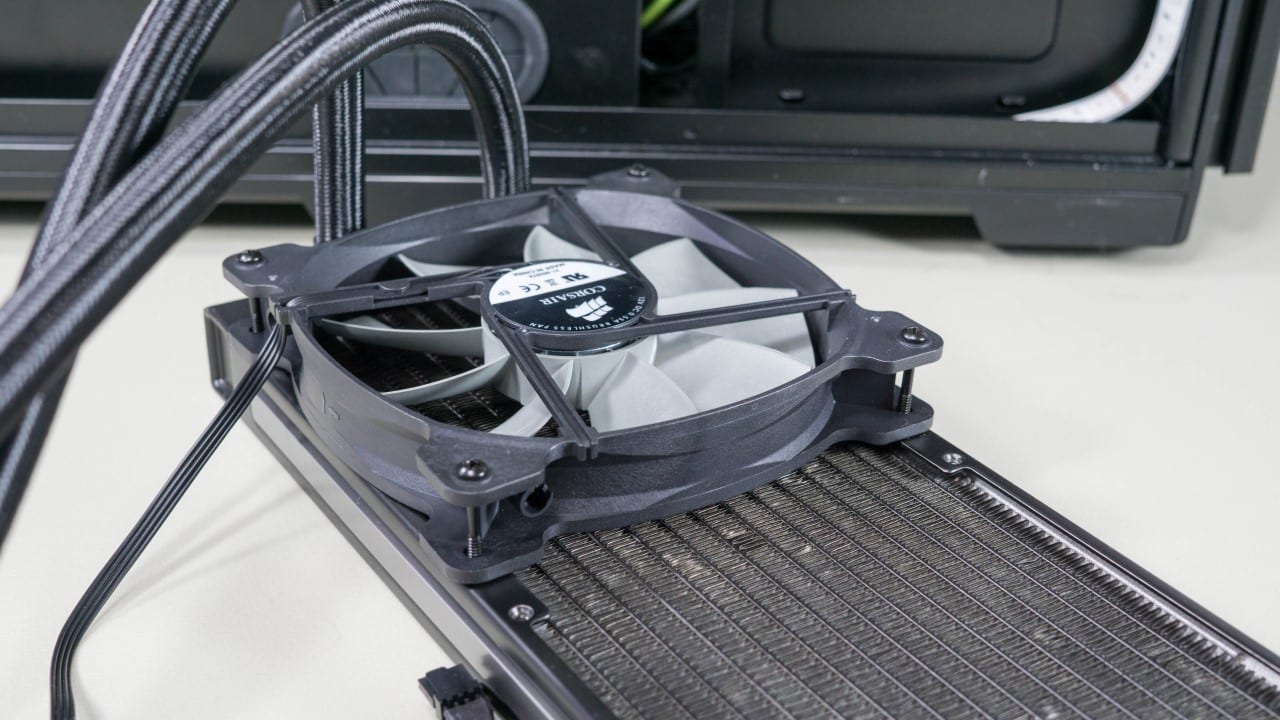
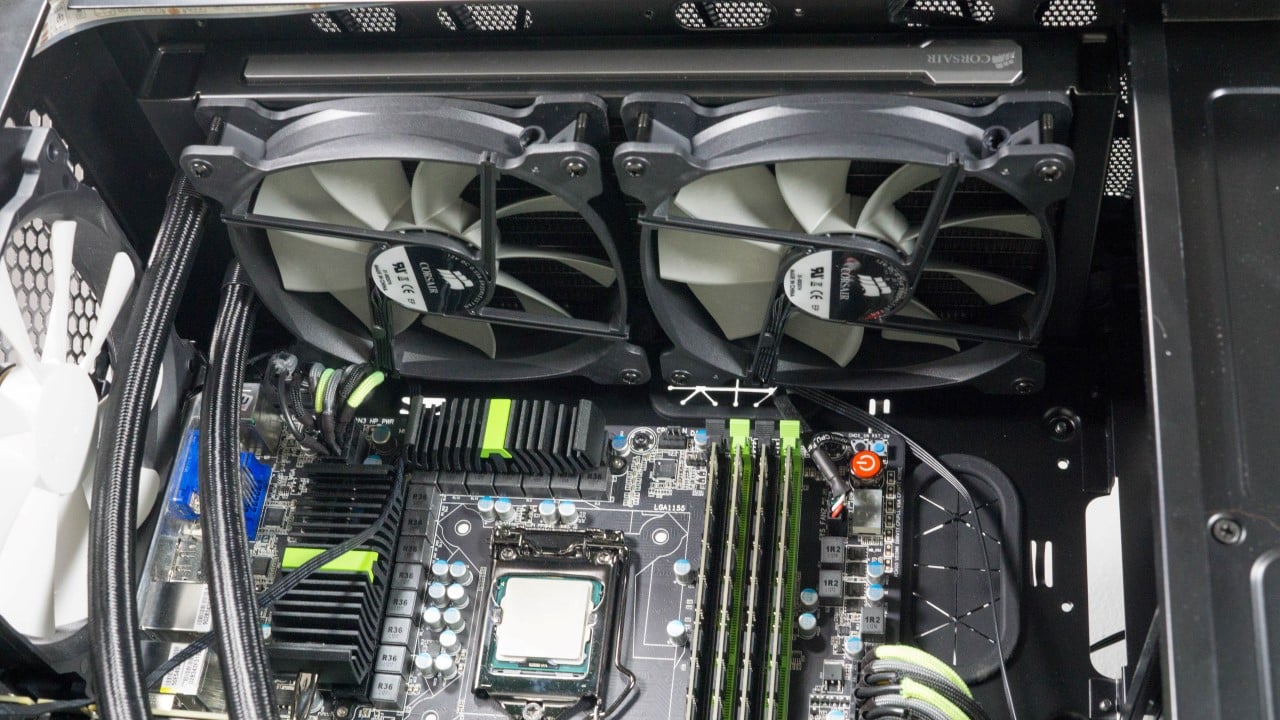
For our installation we are going to start by attaching the 140mm fans to the bottom side of the radiator. That is, the side the tubing protrudes from which will face into the case. Do this using a Philips head screwdriver and four of the long screws per fan tightened until snug but be careful not to overtighten as you may damage the radiator. Pay attention to which direction the fan wires face as you will want to be able to run this out to the back side of your case. Repeat for both fans.

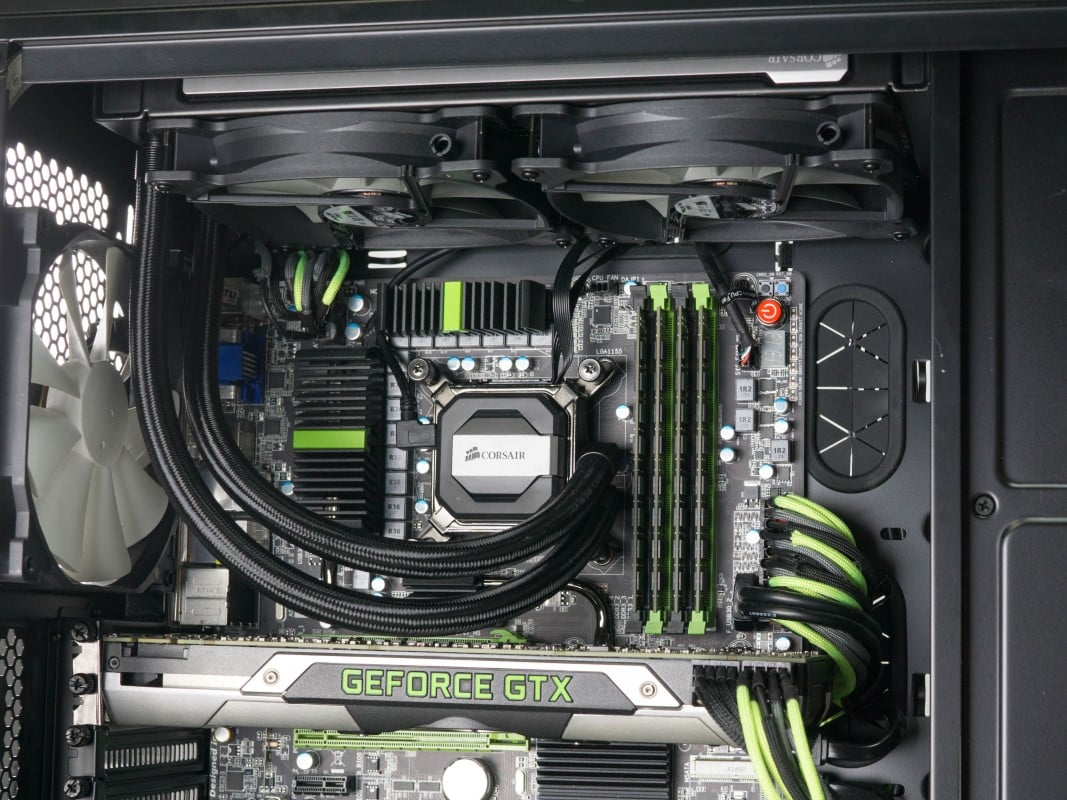
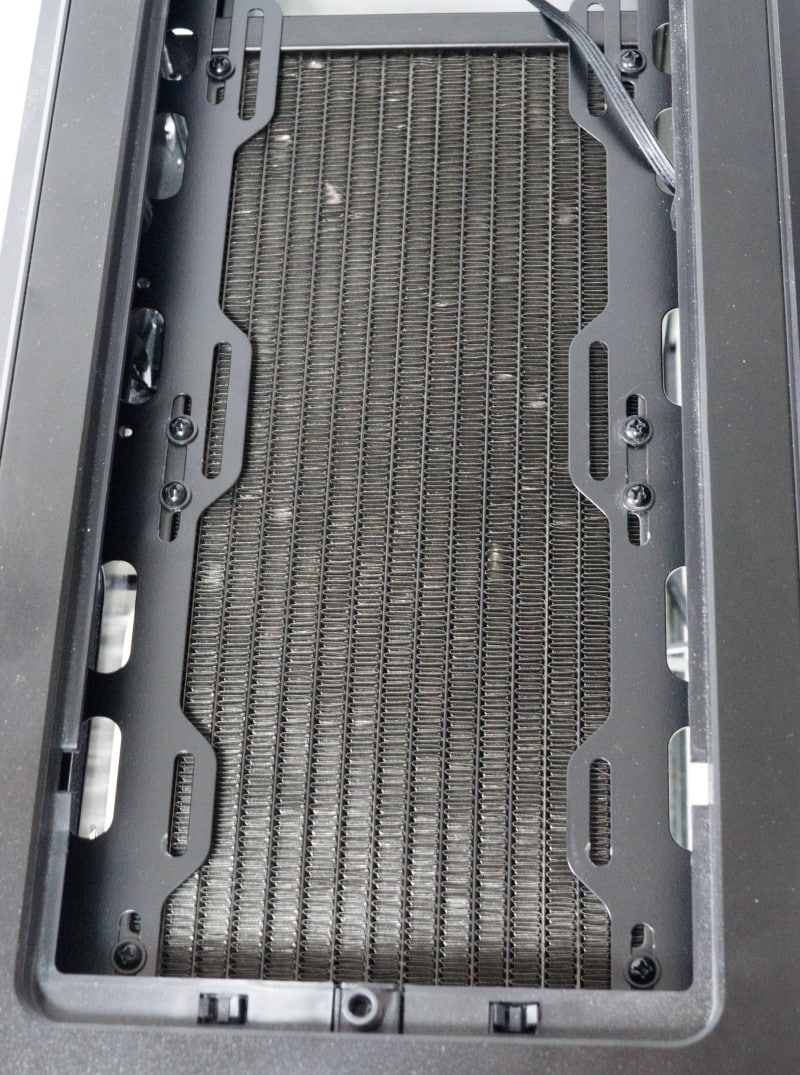
Next you need to install the radiator with fans attached in your case. We are putting our radiator into the top of the case with the tubing oriented towards the back. You can put the radiator anywhere the tubing will reach of course. Secure the radiator with the eight short screws and the washers.
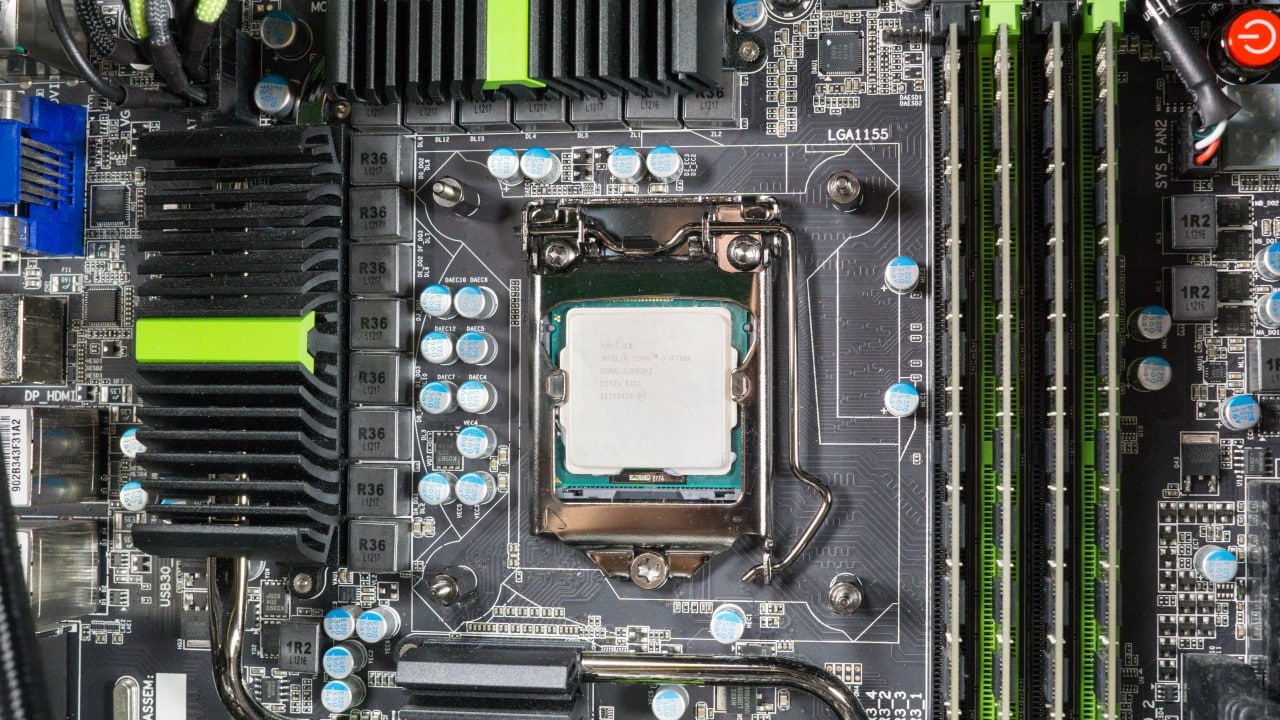
Now we will attach the bracket to mount the pump to the CPU. We are using an 115X motherboard for which we simply slide the pins to the correct position marked on the bracket. With the pins in the correct position push them through the mounting holes and hold the bracket in place with one hand.

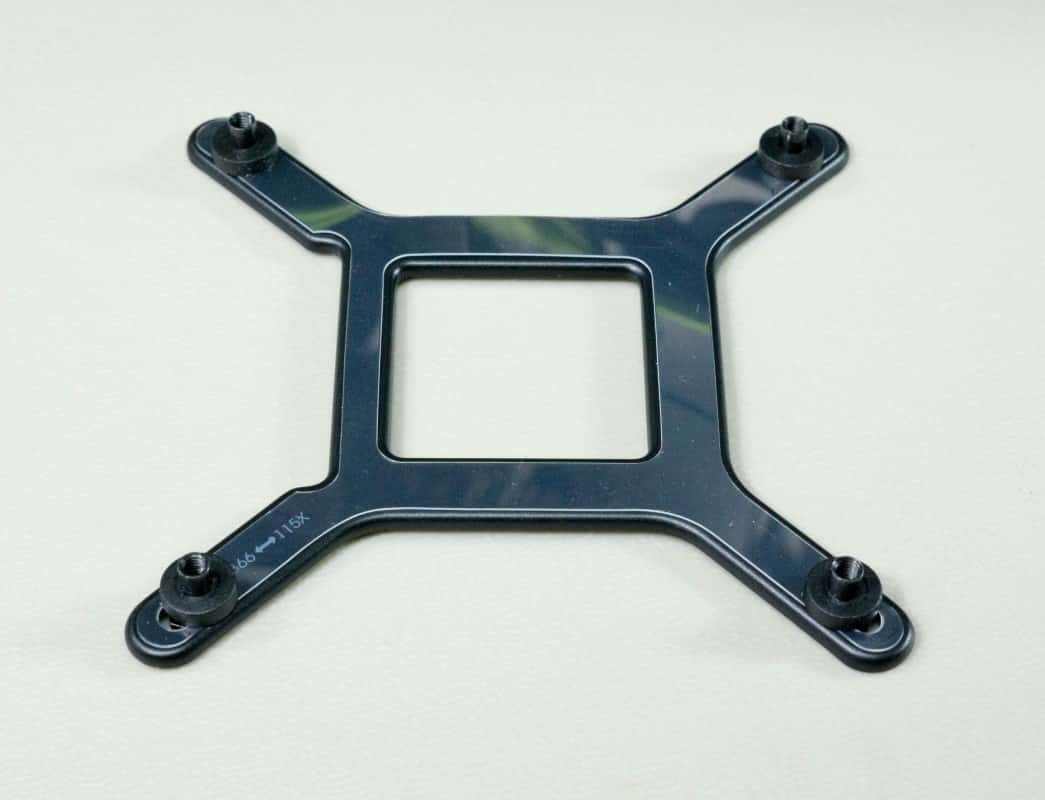
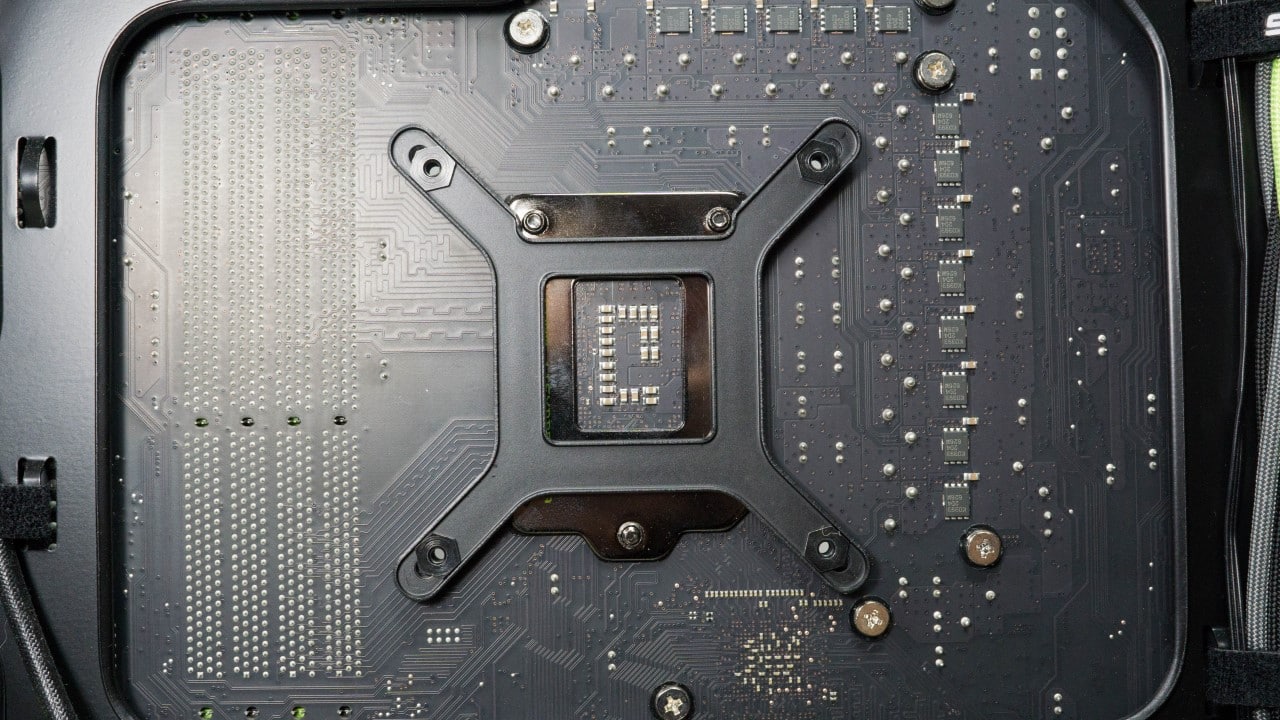
With your free hand thread the standoffs into the pins until they are all finger tight.
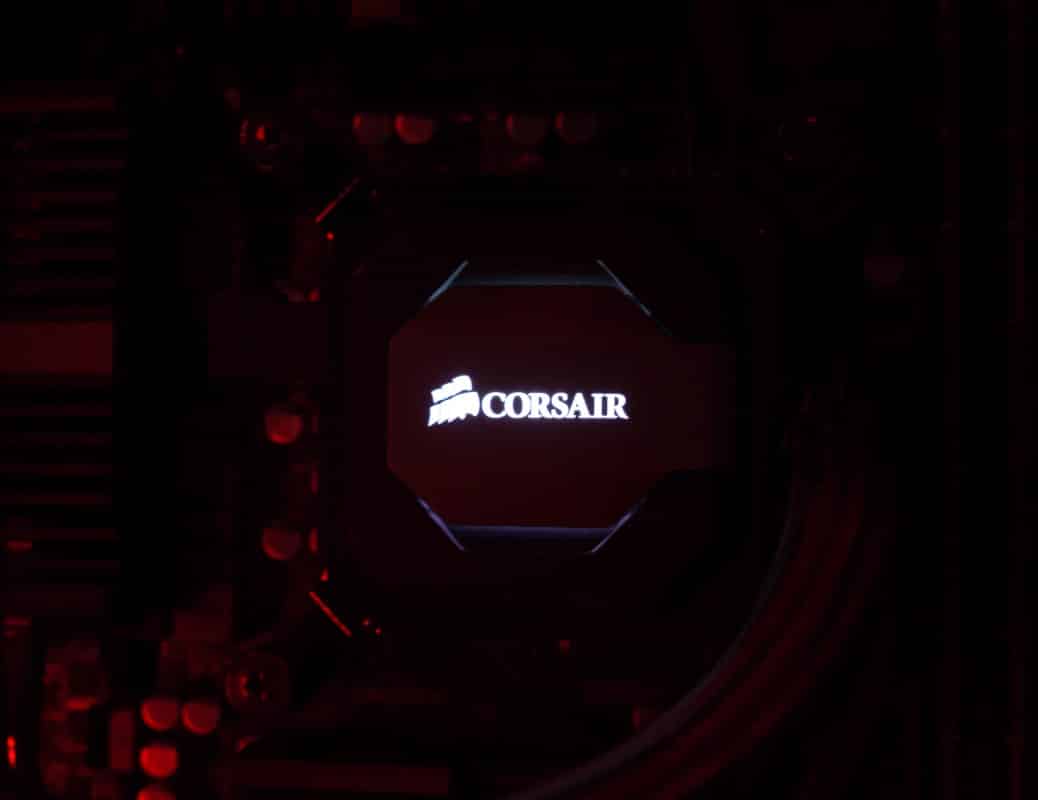
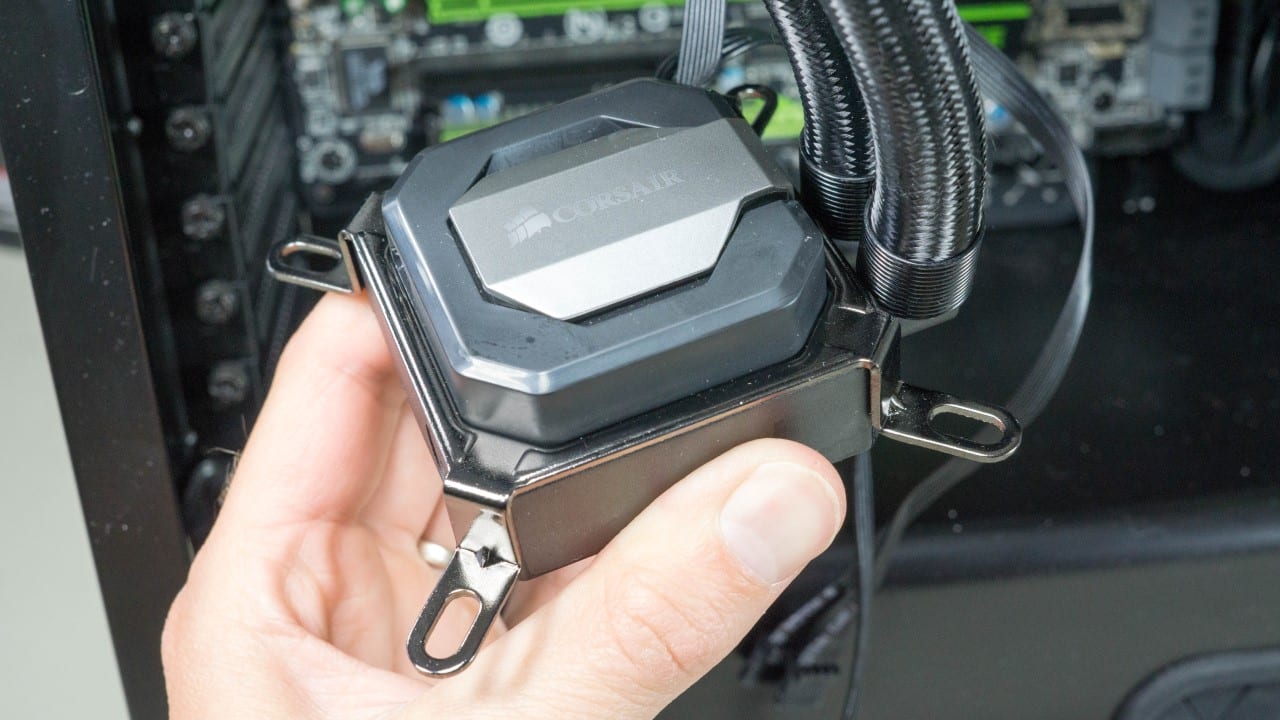
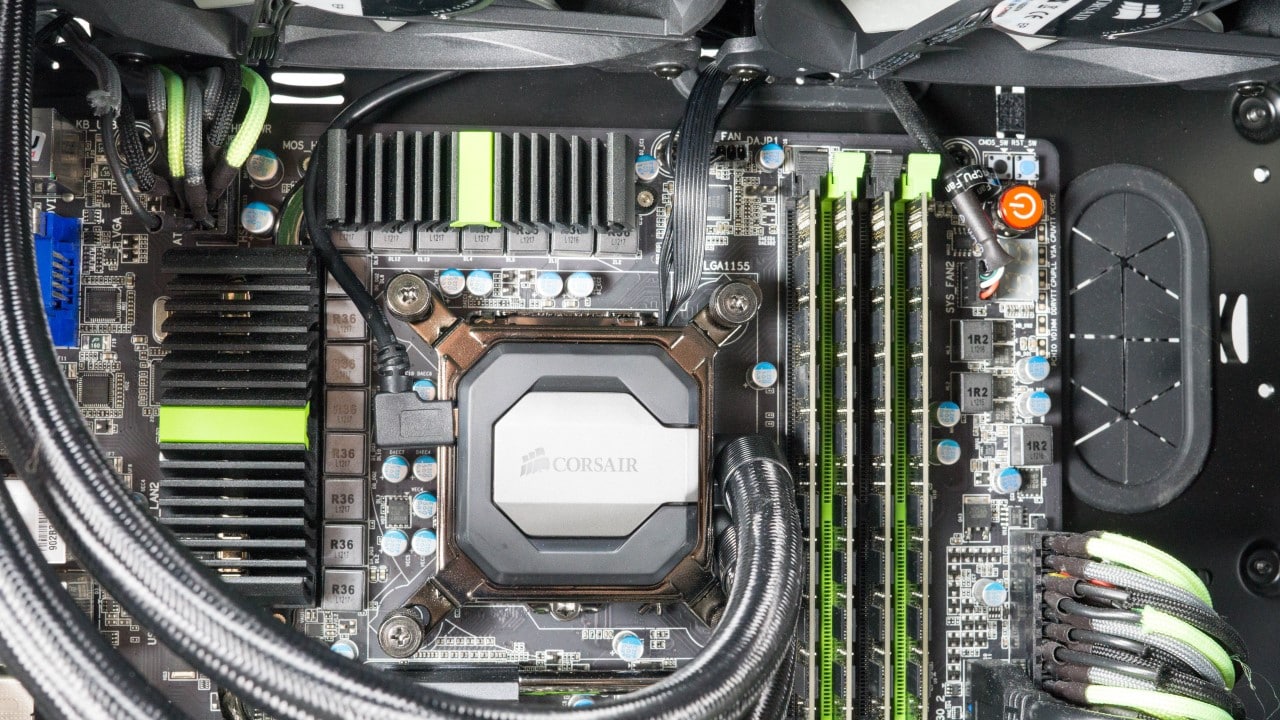
Take the pump bracket and slide it over the top of the pump until the magnets in the pump grab it and hold it in place. Carefully align the pump bracket with the stand-offs and press the pump onto the CPU. Holding the pump in place with one hand secure it to the CPU with the four thumbscrews until completely tight.
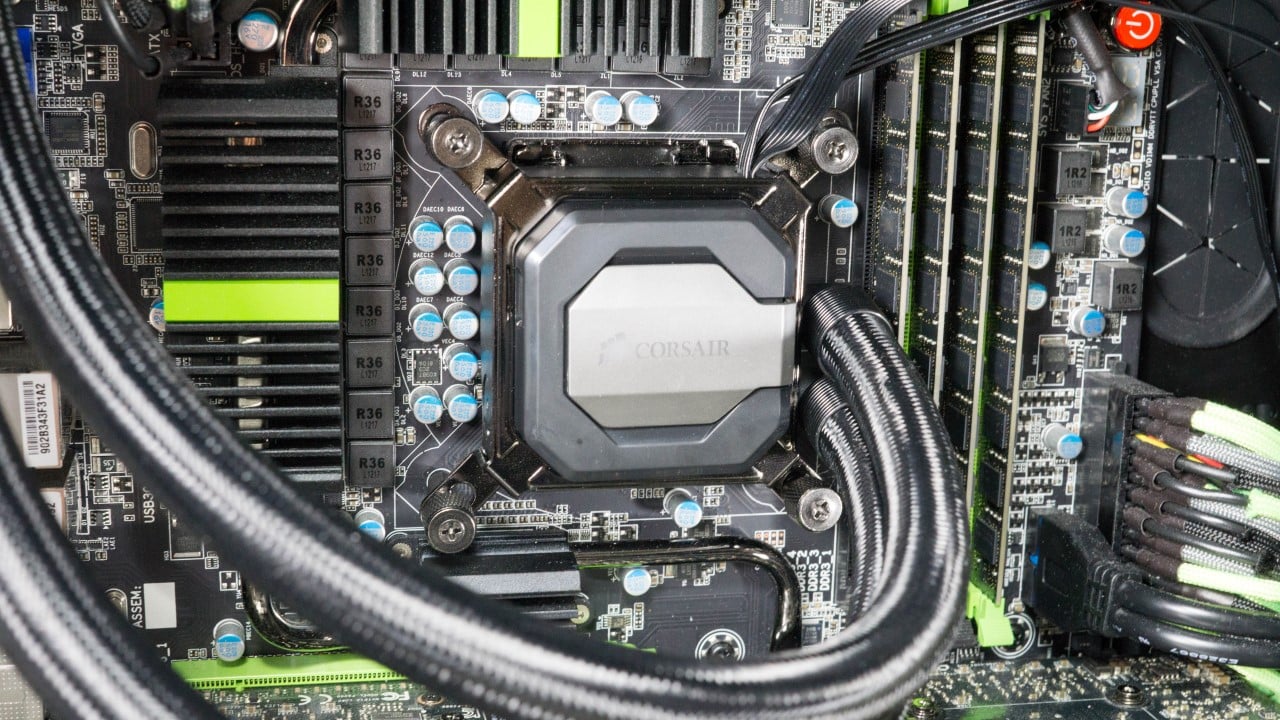
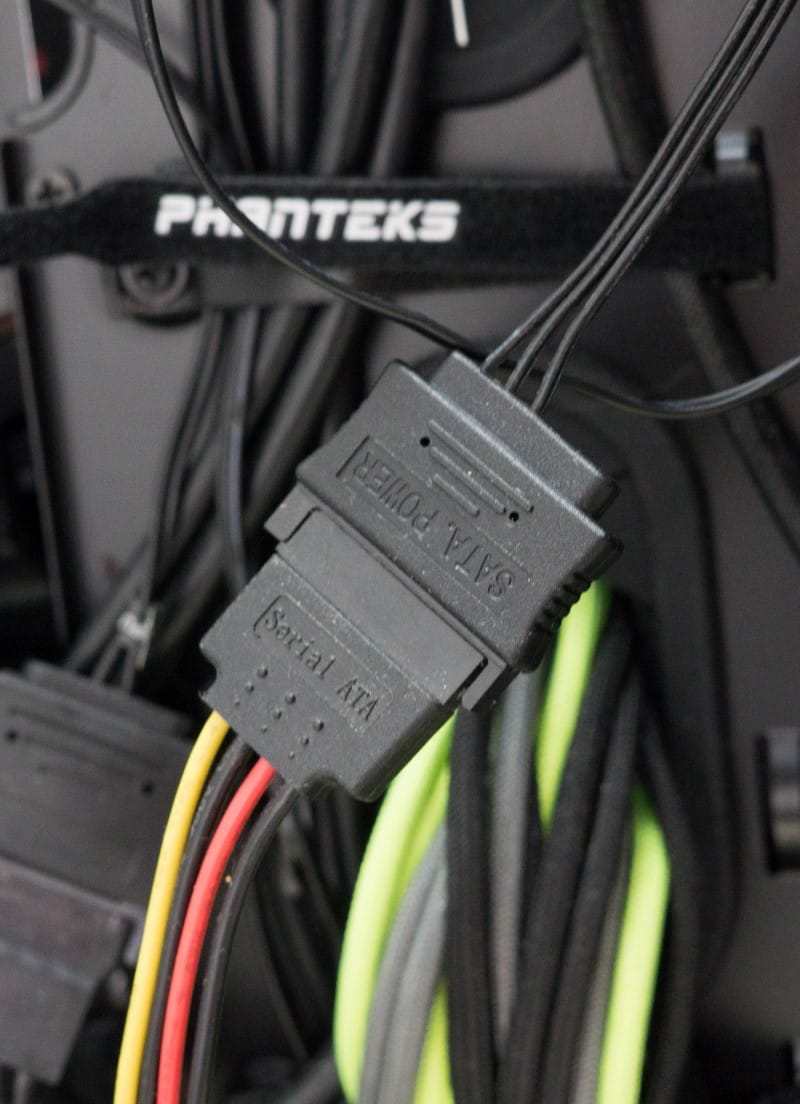
With the hardware in place we can attach the wiring. Start by passing the fan and SATA connectors through to the back side of the case. The single pin connector should be attached to the CPU_FAN header on the motherboard. Connect the SATA power connector to an open connector from your PSU. The fans should be attached to the fan connectors running from the pump.

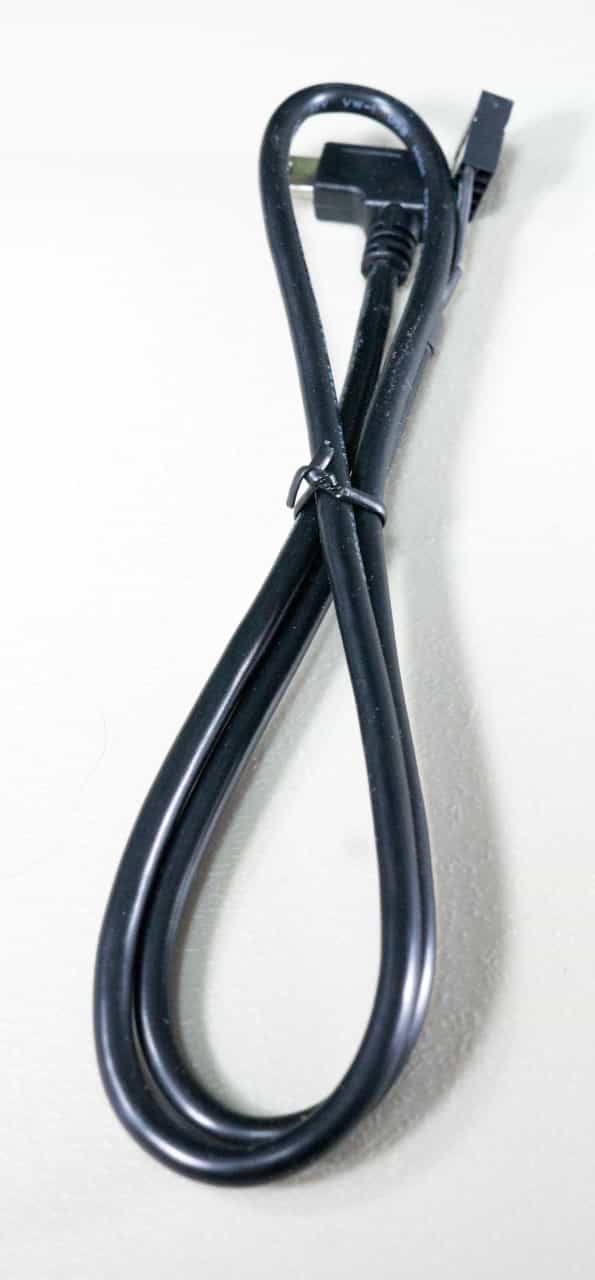
Attach the USB cable to the mini USB connector on the pump. Run the cable to an open USB 2.0 header on your motherboard and attach it there.
With the electrical connections made, you are now complete with the installation. Plug your rig in and hit the power switch. Our unit made almost no noise when the pump turned on which is great as it means there is little to no air trapped in the loop.