


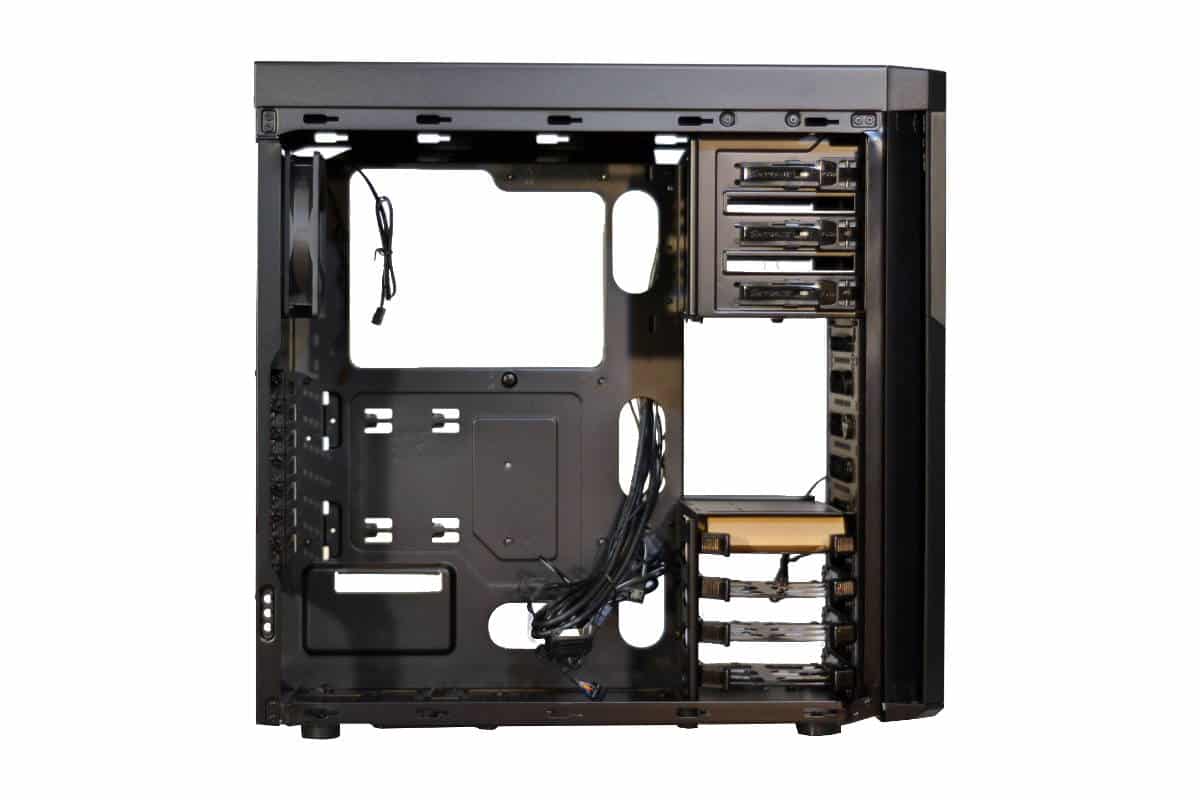
Inside of the Corsair Carbide 330R Titanium Mid Tower Case
I think the first thing that struck me about the interior of the Corsair Carbide 330R Titanium Edition was the lack of rubber grommets in the wire access holes, but then I realized. Wait… This case is not made to be gazed into like most gaming or glamour type cases. The Corsair 330R Titanium Edition is made for a totally different purpose. This case is made to isolate noise and sound and be as quiet as it possibly can be so adding the eye catching rubber grommets that made Corsair as famous; these little rubber hiders would never be seen under regular conditions so no need for the famous rubber grommets to be there and for that matter no reason to even do any wire management except for aerodynamics inside the case. You build it and close it up tight and when it’s completed it blends in to the silent surrounds of the room and the soft music playing through the speakers.
The only tools you may need with building inside this case would be pair of wire cutters and a Phillips head screwdriver for mounting the tiny SSDs as they need those little screw underneath them to secure them to the slide and lock Corsair hard drive cassettes that they have stacked four high in the bottom front of the case. The slide in and lock tool less optical drive bays or 5.25 inch drive bays are very high quality and accurately made.
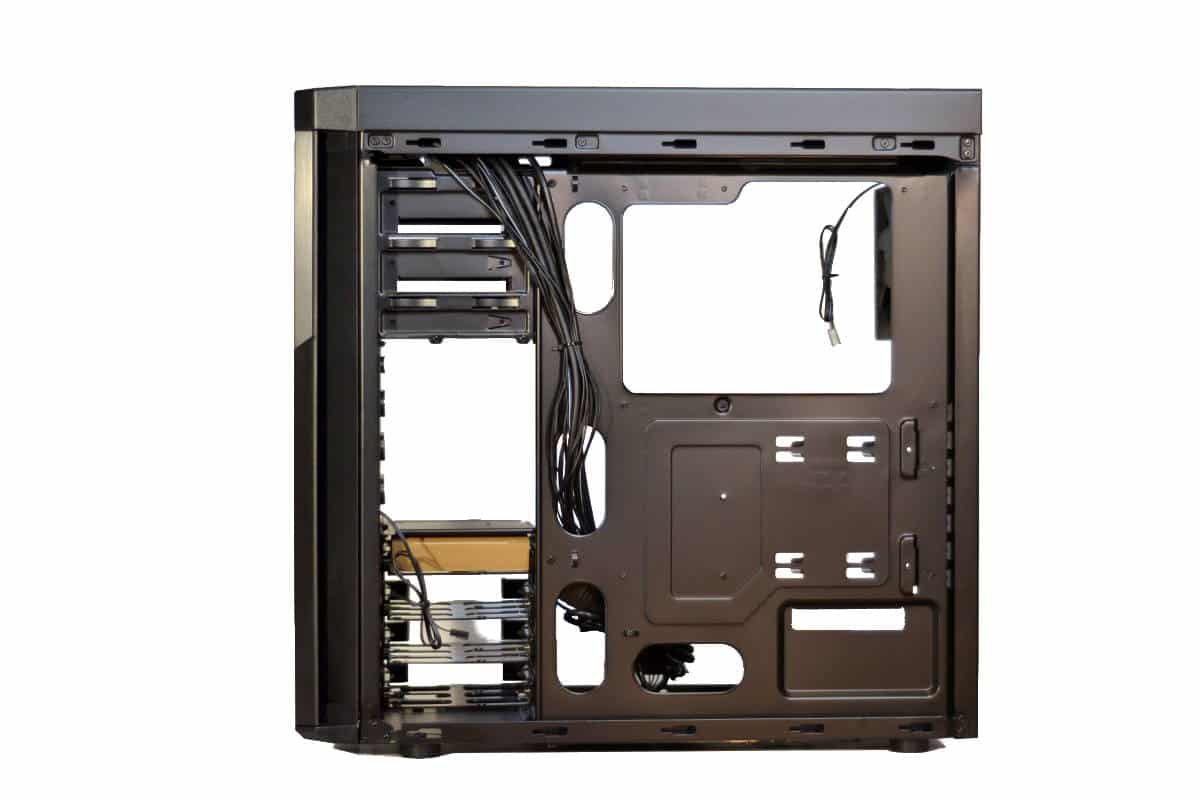
Seven PCI slots grace the back of the Corsair Carbide 330R Titanium Edition which gives an ATX motherboard the capability of a very quiet and cool Dual SLI or Crossfire and still add three smaller devices. This is not meant to be the high octane, hard core gamer that its cousins boast. This one is made for silence and civility and there is definitely a market for this type of case.
The back of the case is made to support an extremely large CPU back plate and allow for many different motherboard CPU placements and an additional space for two SSD mounts below it. The wiring area of the case is made very intelligently as we expect from Corsair cases and very easy to manage. The extra insulation on the back of this side panel may make a tight fit for wiring but we will see in the build phase of this review.
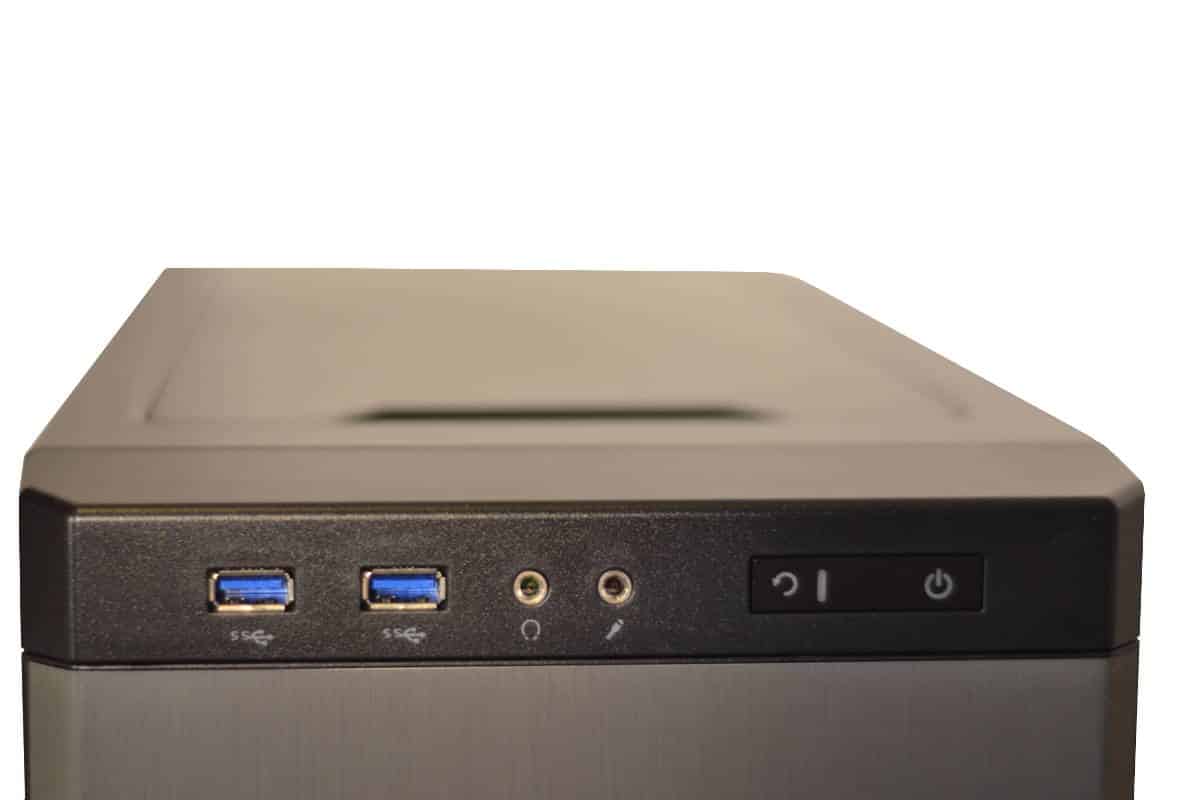
At the top front of the case are the very discrete USB 3.0/2.0 slots the sound in and out mini RCA jacks standard on all cases and a dimly light reset and power button all in a nice thin row for maximum airflow from the sides and bottom of the case front door.
Behind the convertibly Right or Left handed opening door is the centrally located 3 speed SP/TT Single Pole/Triple Throw switch that controls dc voltages (7vdc/9vdc/12vdc) to the internally located fans. If you have a simple build and not a huge hot graphics card you can get away with running these fans at a low speed for sub silent operation but if you need more flow of air or more cooling full power the interior fans can be ramped up to maximum speed and give the interior the full effect of all the available fans at maximum speed and cooling or you can just set on medium and get the best of both worlds.
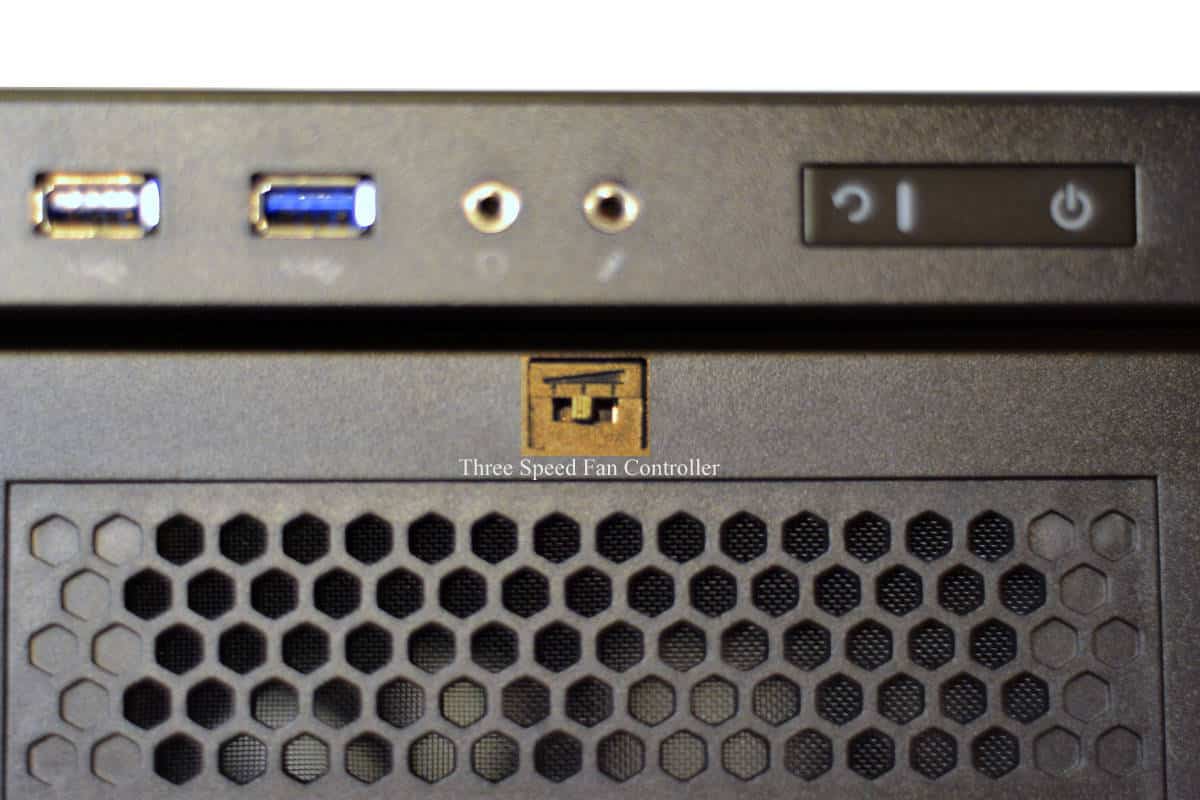
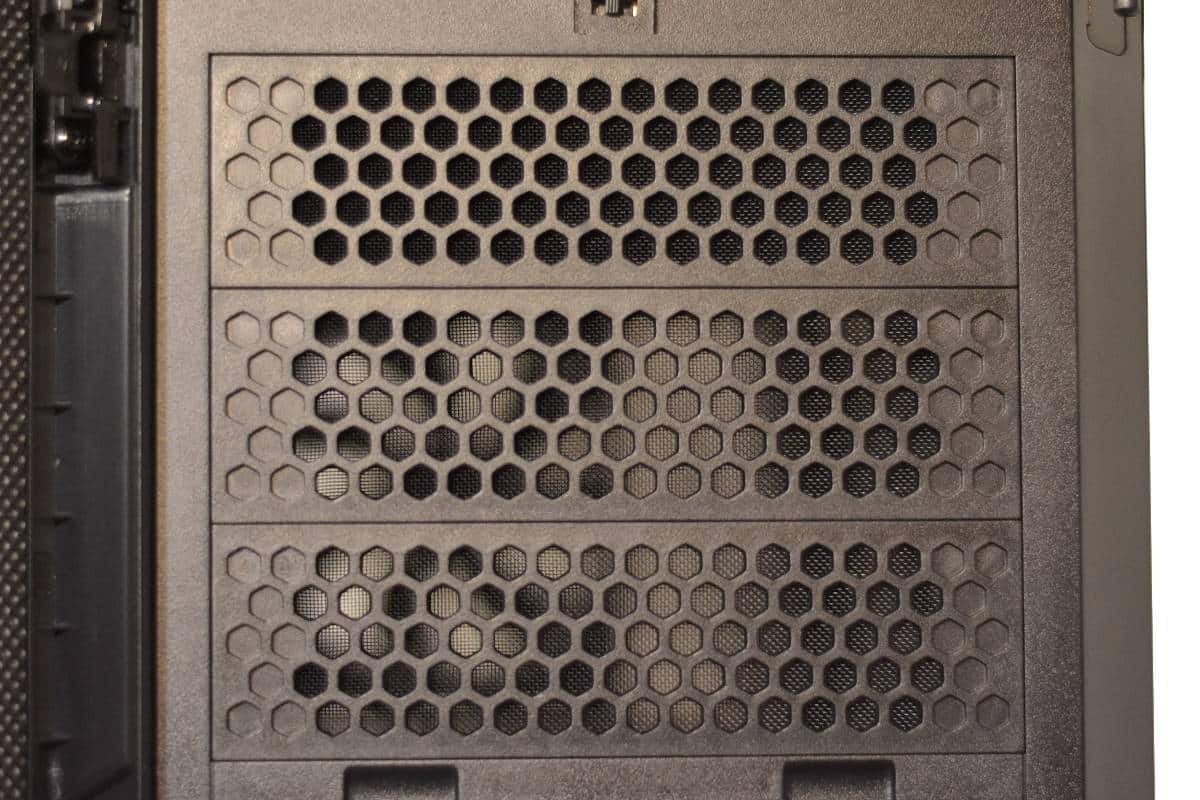
The three 5.25 inch ODD or optical disk drive bays are made with the best design for noise and aerodynamics. Taken from the honey bee we learned from the experts the best way to handle air flow with the least resistance possible, the hexagonal hole are natures own design for extremely low resistance to air pressures. The tool-less design allows for a effortless slide and lock for your outer Drive bay units. Neatly tucked under the door these bays allow for a full complement of additional controllers, card readers and other units and still keep everything neat and out of sight under normal operation.
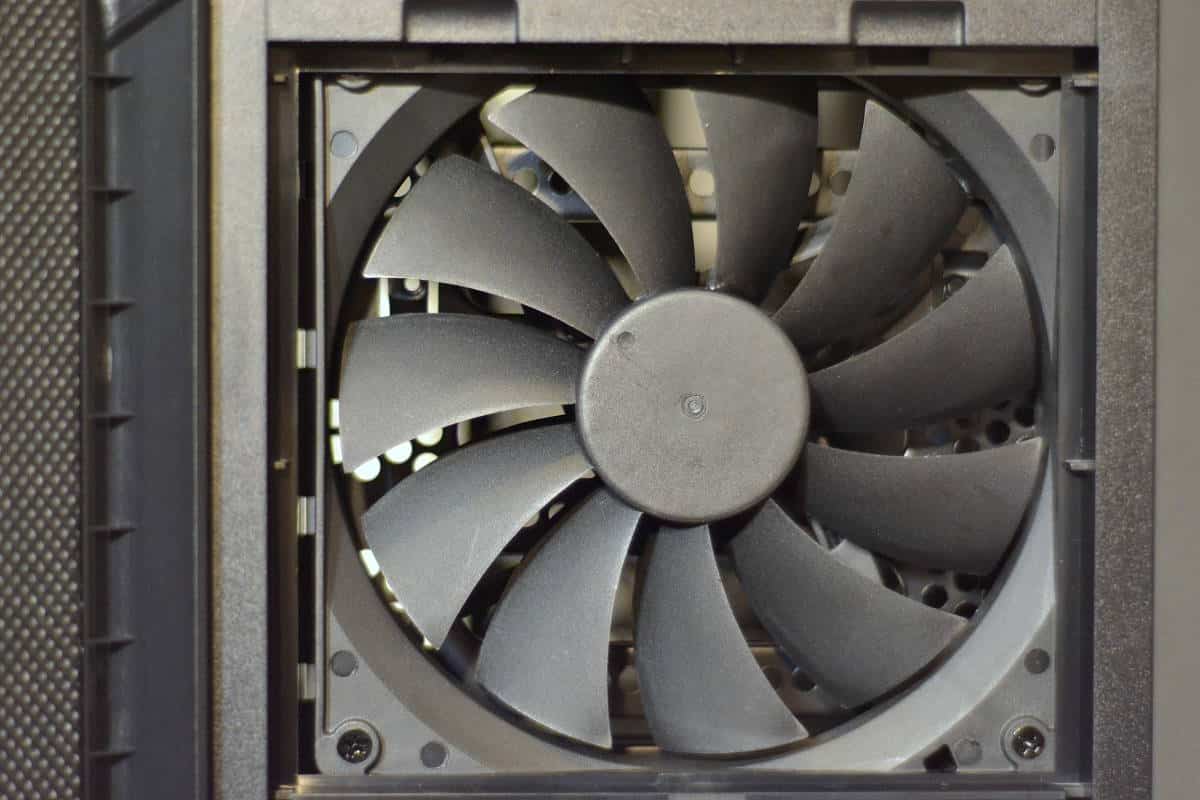
The single 140 front intake fan is centrally located and slightly obstructed behind with additional drive mounts for server setups but mostly the fan is very nicely placed in the center to blow directly onto the hot video cards and cpu area of the case.
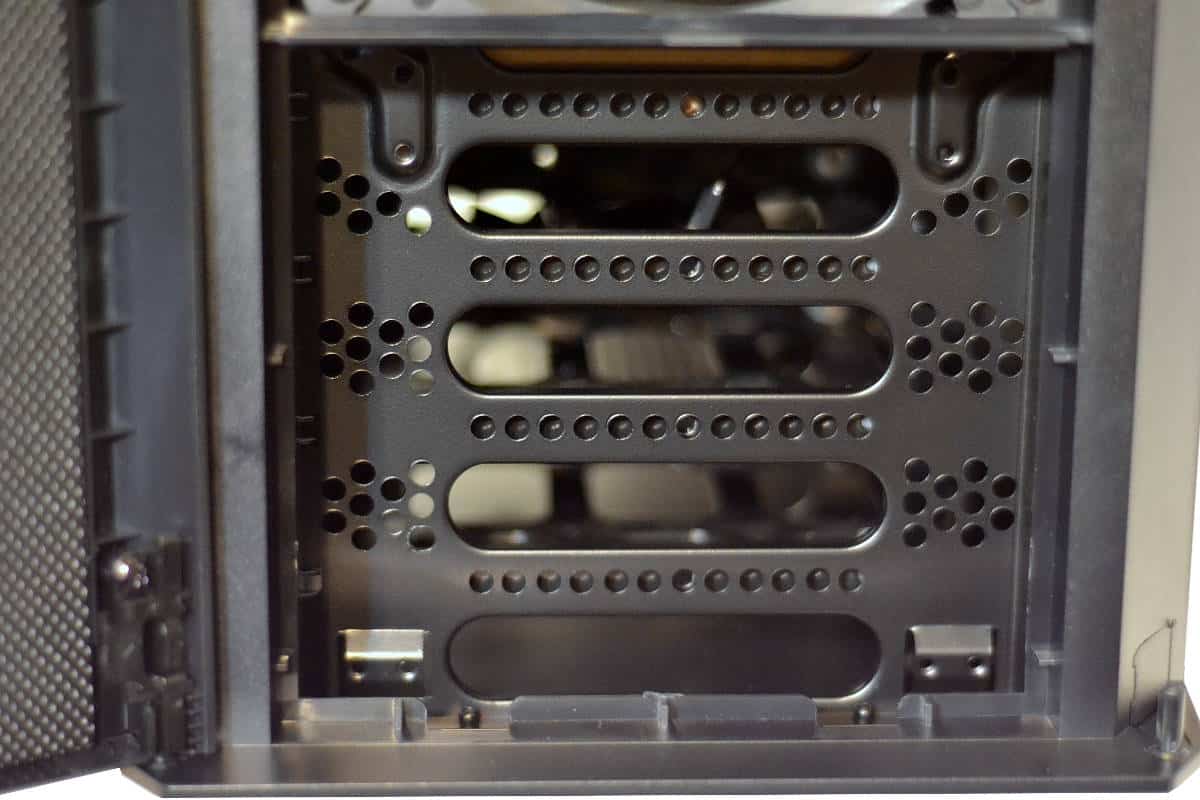
Under the centrally located 140mm fan is the another placement for a second optionally available fan if you need it. Since most people that will build in this case will probably not be building an UBER GAMING MONSTER computer inside this case the lack of the second 140mm fan will have little effect on cooling and more sound pressure to deal with so they opted for the single fan frontal unit.
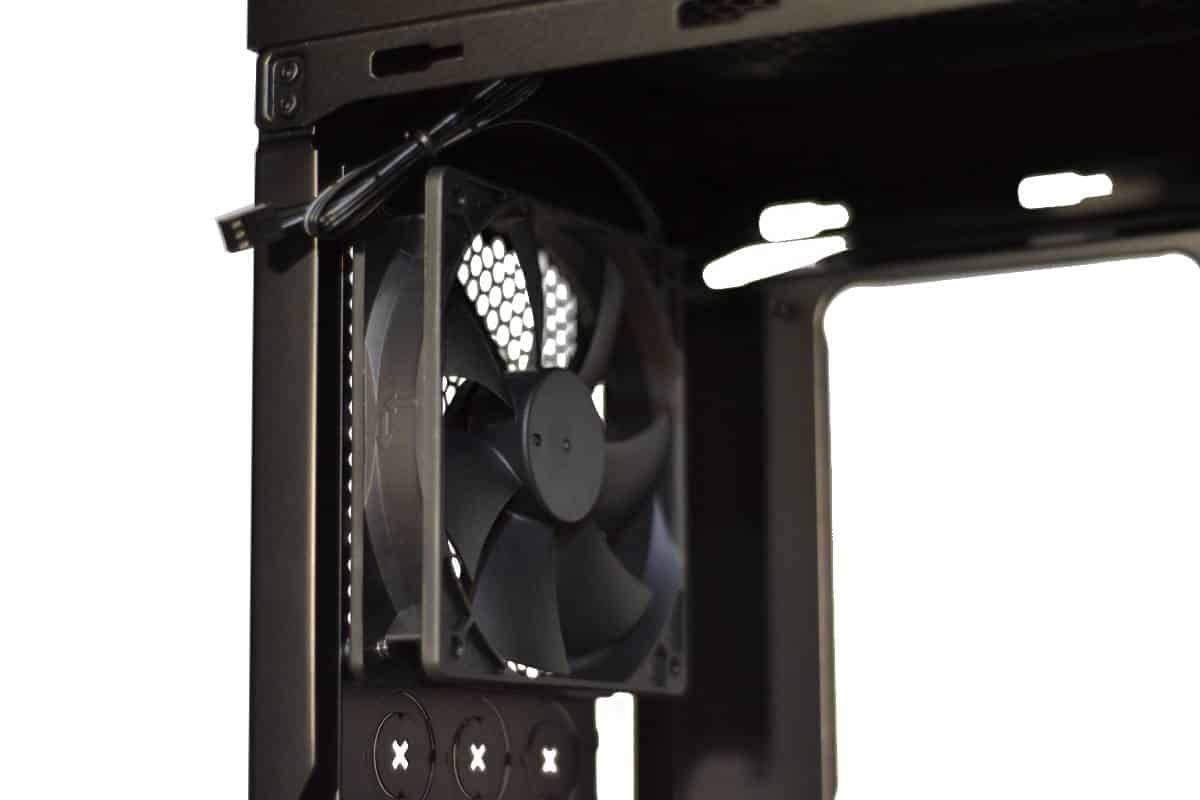
The Rear Exhaust fan is located farther down the back of the case to give ample room to the Radiator or the fans in the top of the case if the builder needs to use those spaces. It is a smart design that is widely used across the spectrum of quality cases worldwide including the Corsair Carbide 330R Titanium Edition case.
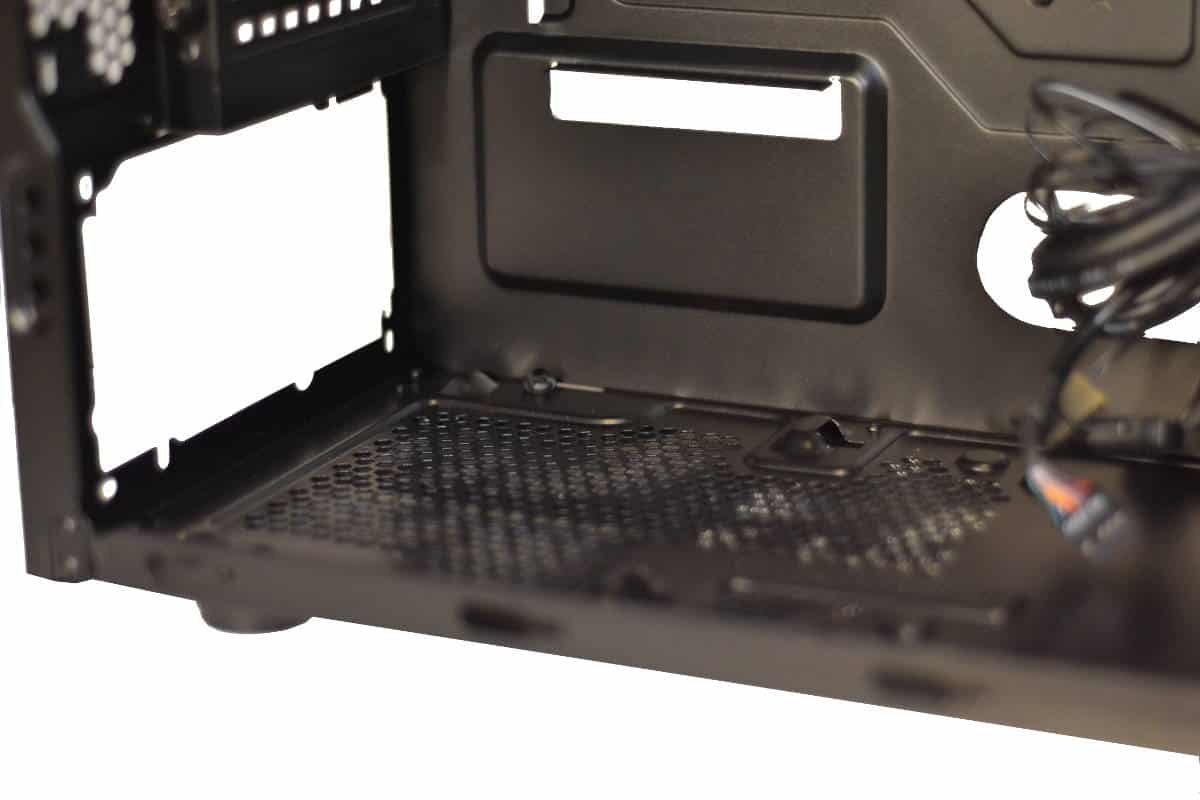
The power supply area is made to hold even the longest of Power Units and still give plenty of room for good wire management. The ability to mount the power supply both in the fan up or fan down position is also a nice engineering addition.
Taking off the front filter is as easy as opening the door and pulling the top tab of the fan forward then lifting the two tabs at the bottom away from case then taking it right to the kitchen sink to clean it. I like using a soapy dish brush to lightly scrub the filter then rinse it and let it air dry or if you need to replace it then take it outside and swing it in your hand and let centrifugal force air dry it. A common hair drier can also be used to dry off the shaken surface for extremely dry refitting.
