Installation
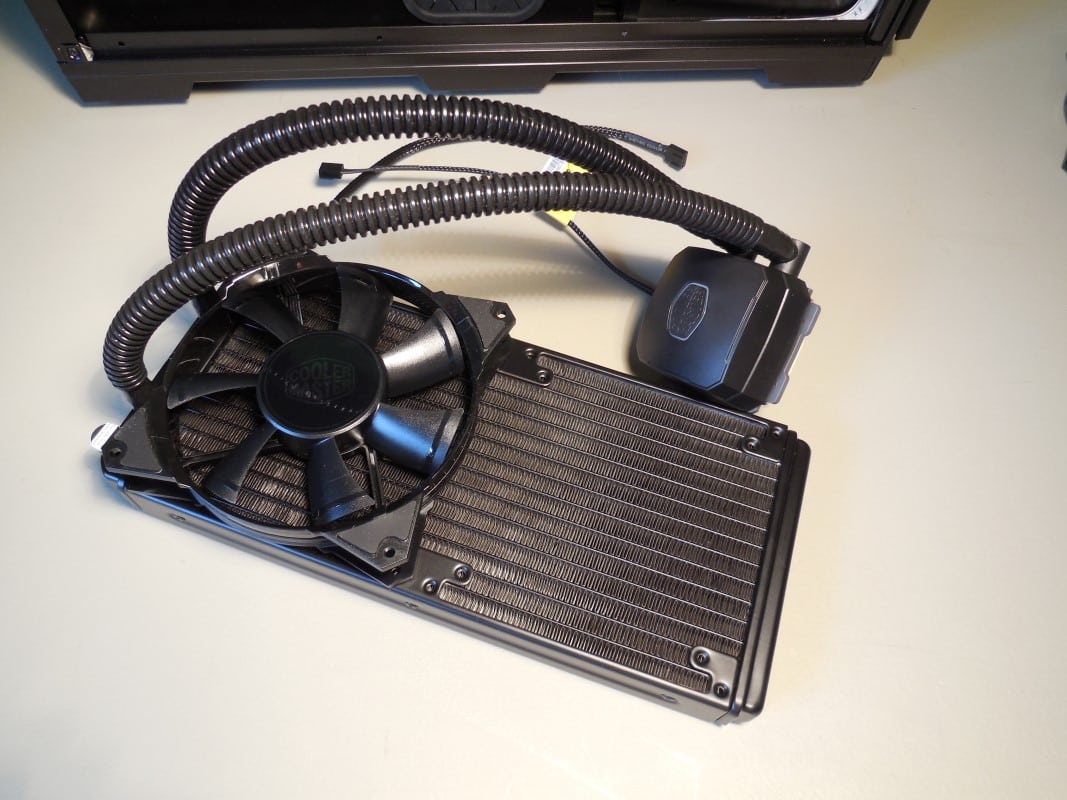
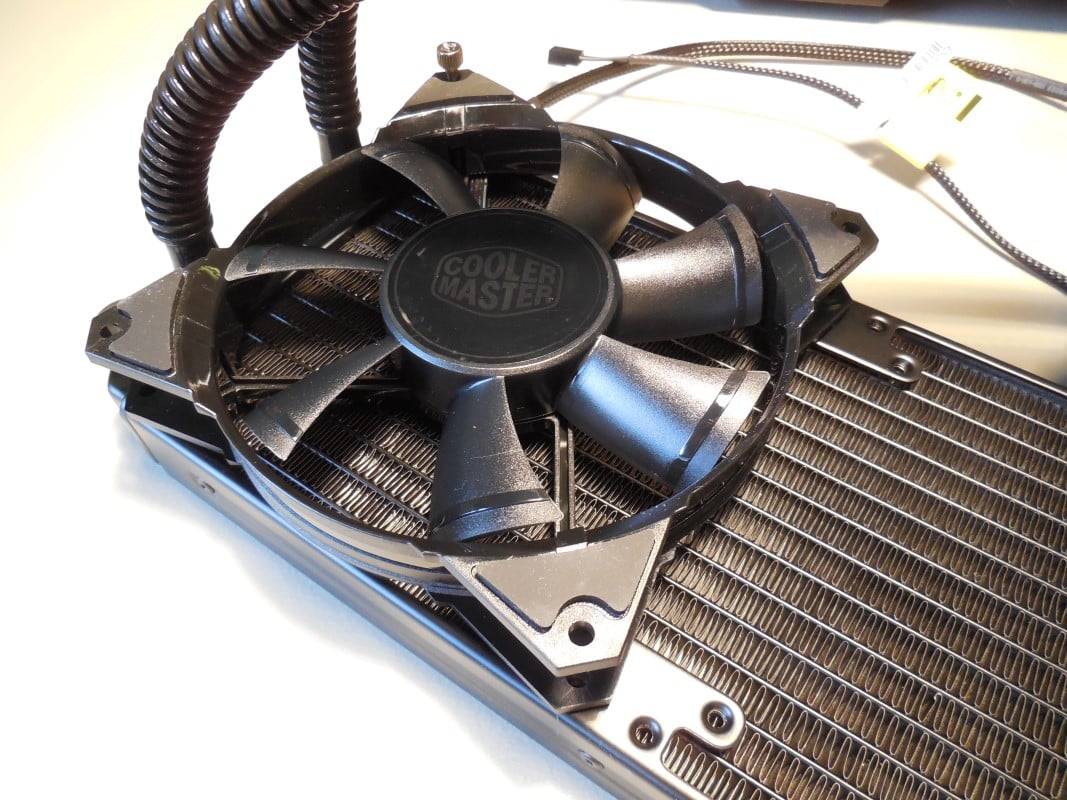
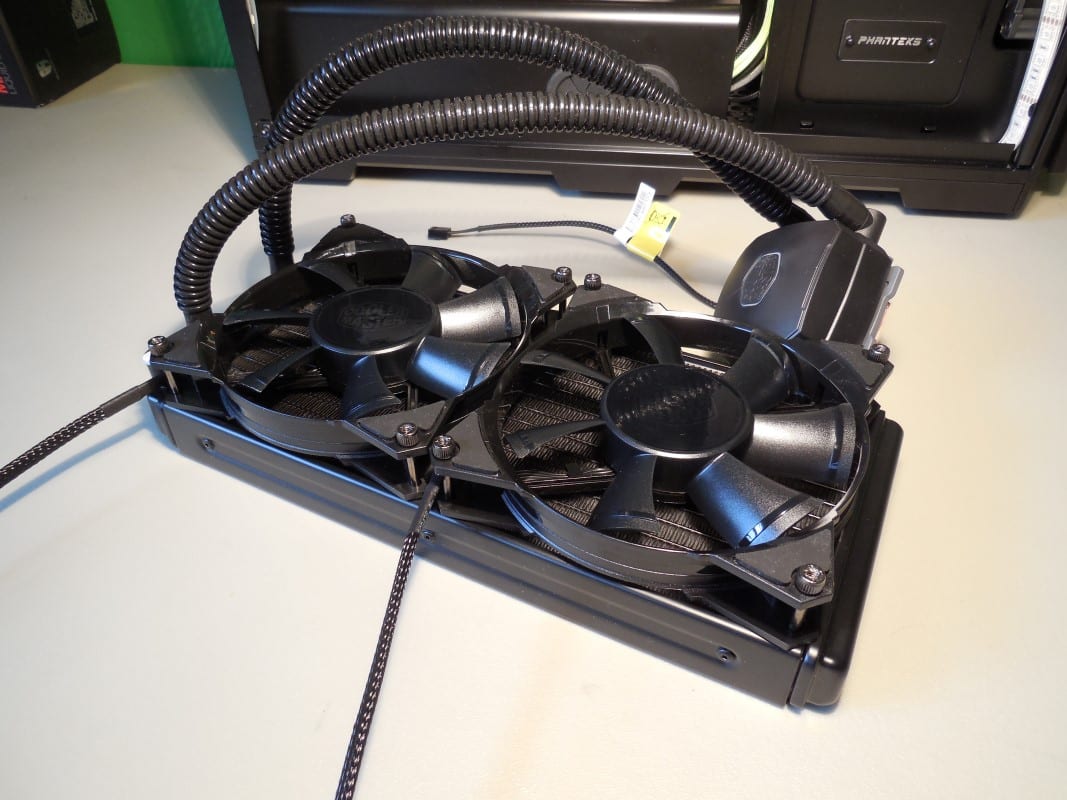
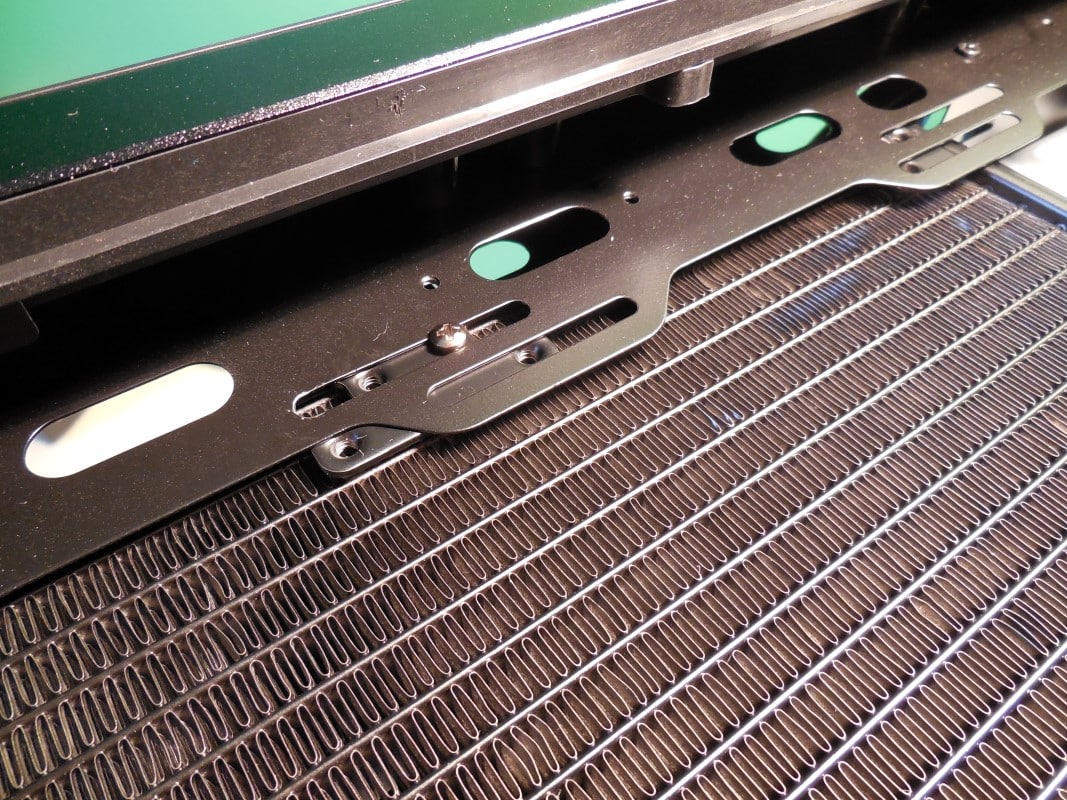
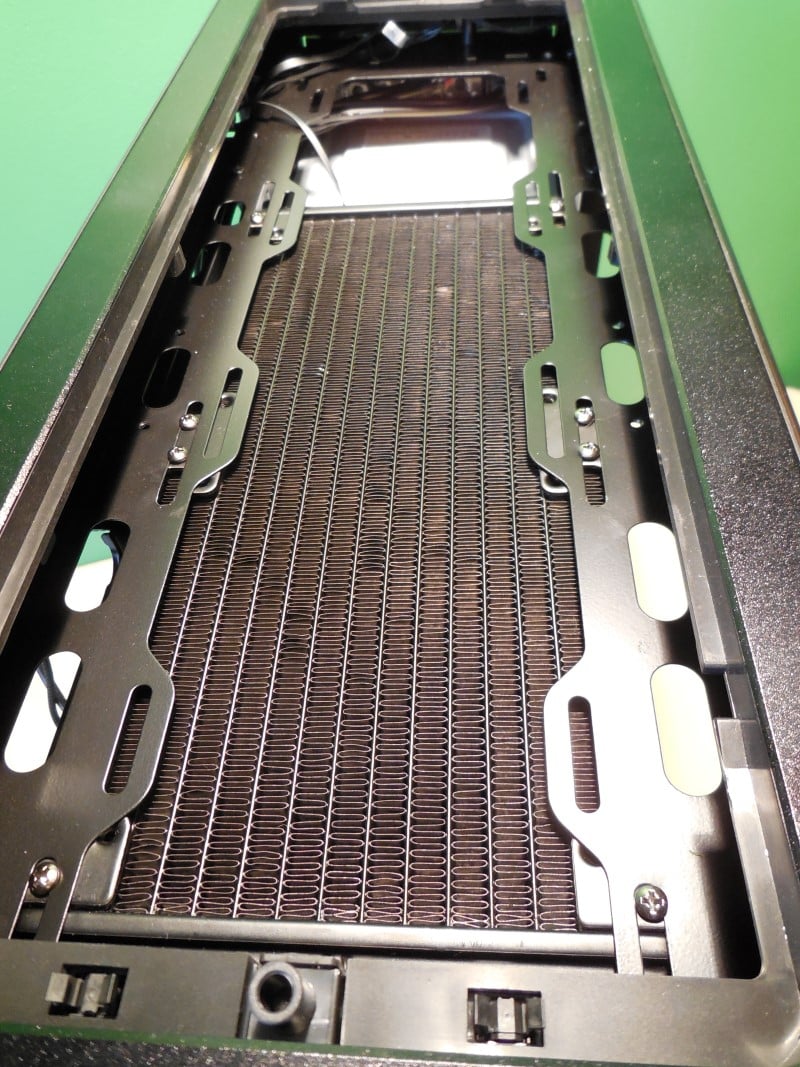
Installing the Nepton is surprisingly fairly straight forward. The first step is to attach the fans to the radiator. You want to make sure you have selected the shorter of the two sets of thumbscrews to avoid puncturing the radiator. Also consider which side the wiring should be on once the radiator is inverted and installed. Then simply attach all four screws to each fan, the thumbscrews make this much easier to accomplish.
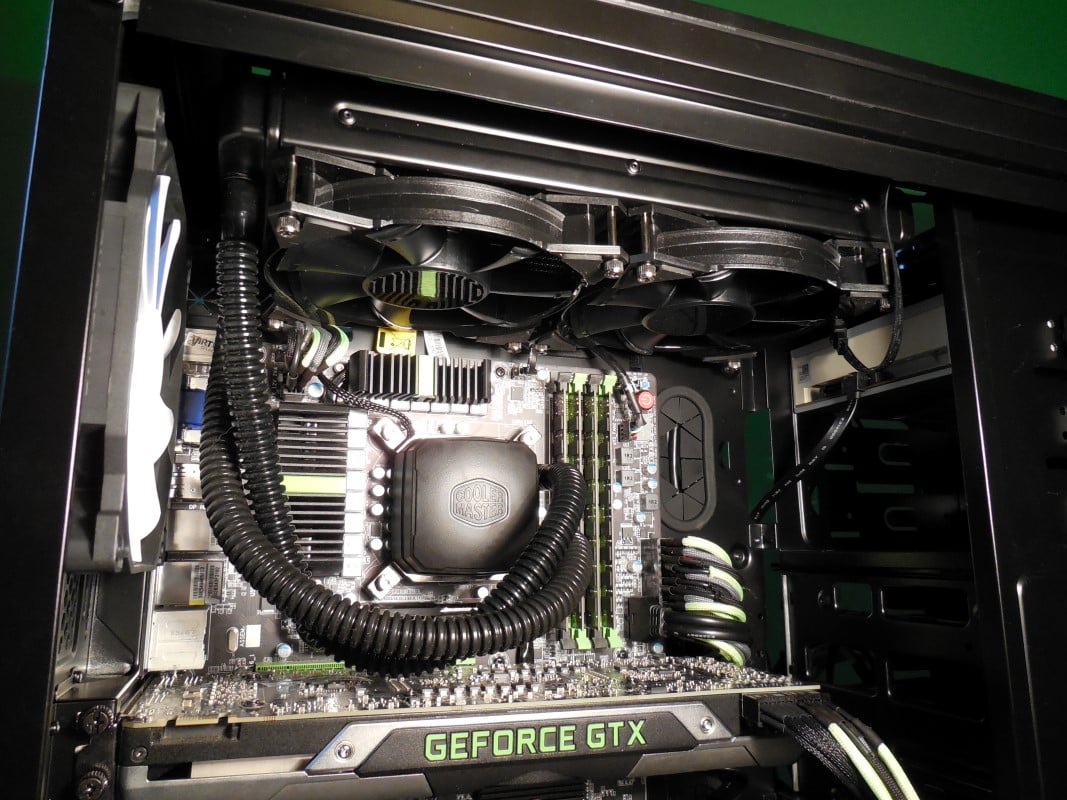
Next you will want to install the radiator into the case itself. Again this is as simple as attaching a few screws. There are multiple sets of holes in the radiator and you shouldn’t have a problem getting enough to line up with the slots in your case. Attach 4 screws per side and you are all set.
One benefit of the ultra thin radiator is amount of space it leaves you to work with. We had ample room around our mother board with the rad and fans installed. Our 8 pin did get a bit compressed, but that is pretty normal for this motherboard layout.

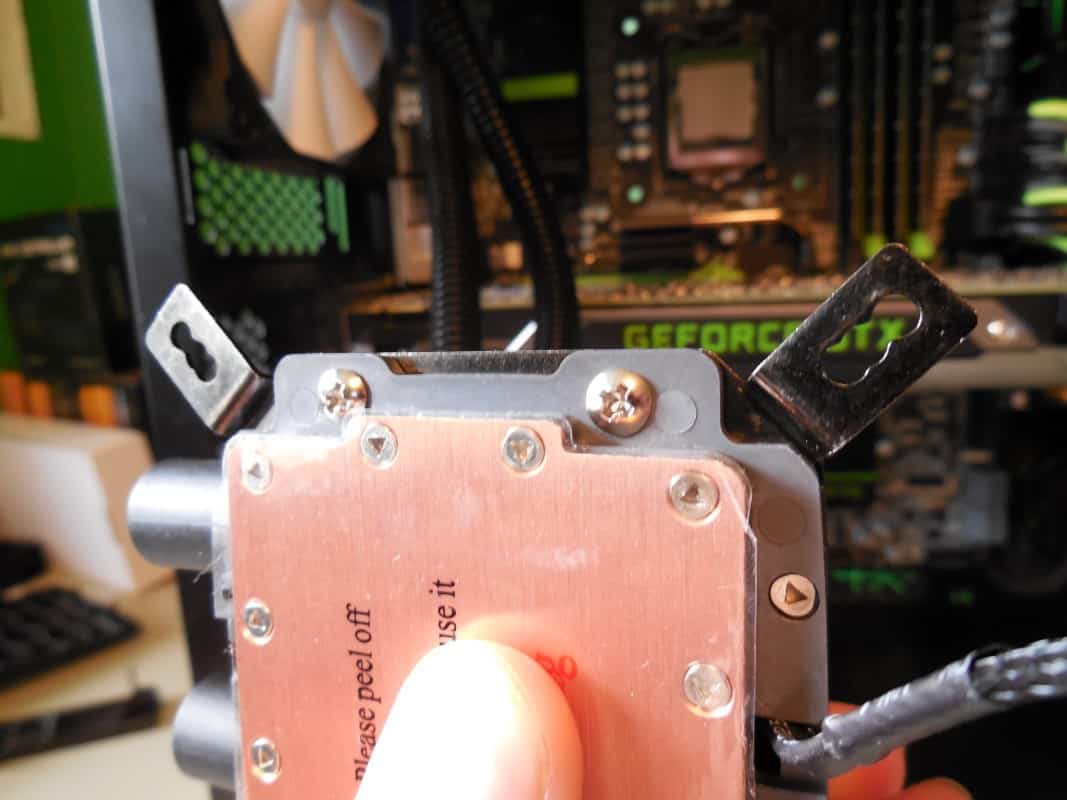
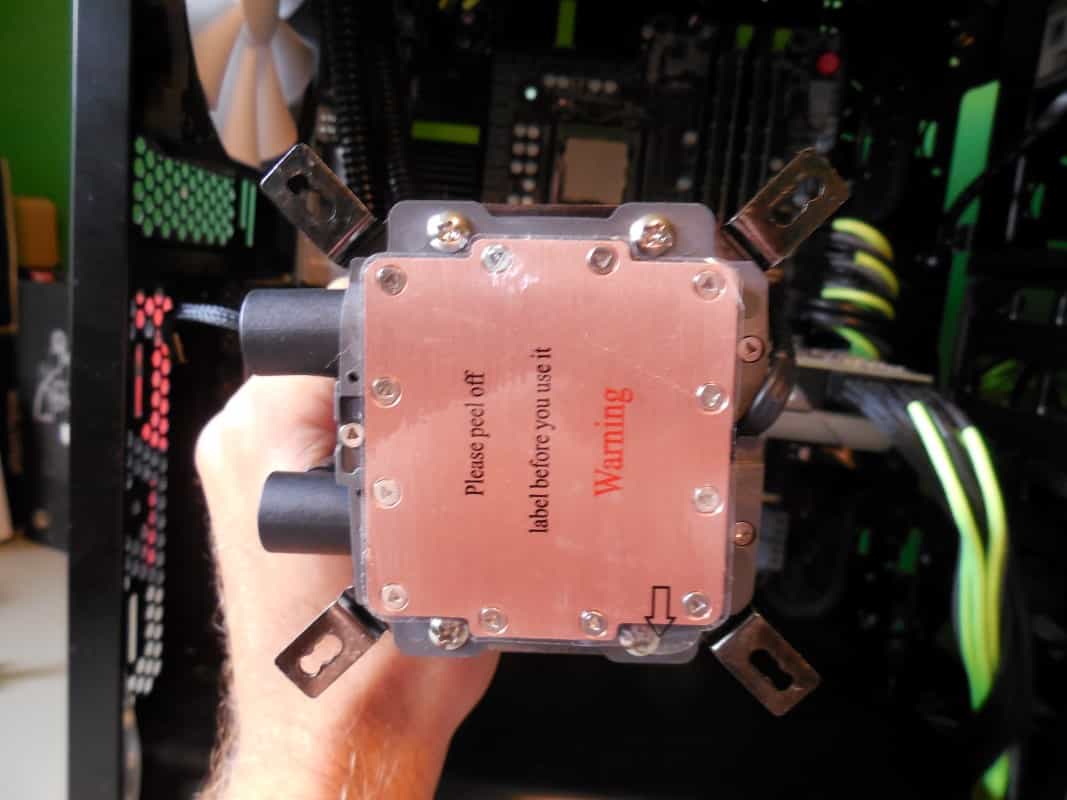
With the rad installed you now need to attach the wings for your socket to the pump. This design is pretty clever and leaves the pump looking clean afterwards. Simply slide the wing into place and secure with two screws per side.

Next using the correctly labelled bracket for your socket, install the screws and secure with the plastic clips. The clips allow you to easily adjust the position of the screws for different sockets and help to keep them from falling out. The correct position can be found in the install manual, or simply by lining them up and adjusting as necessary. Once they are in the correct position, slide them through the motherboard holes and hold in place.
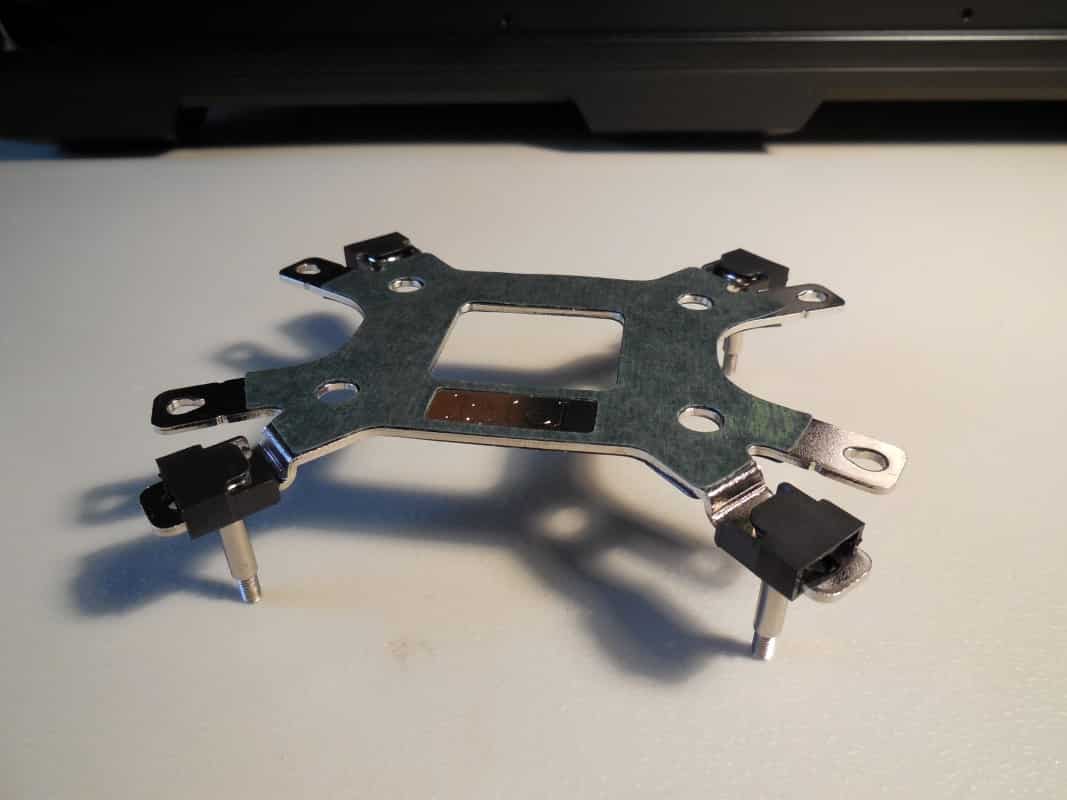
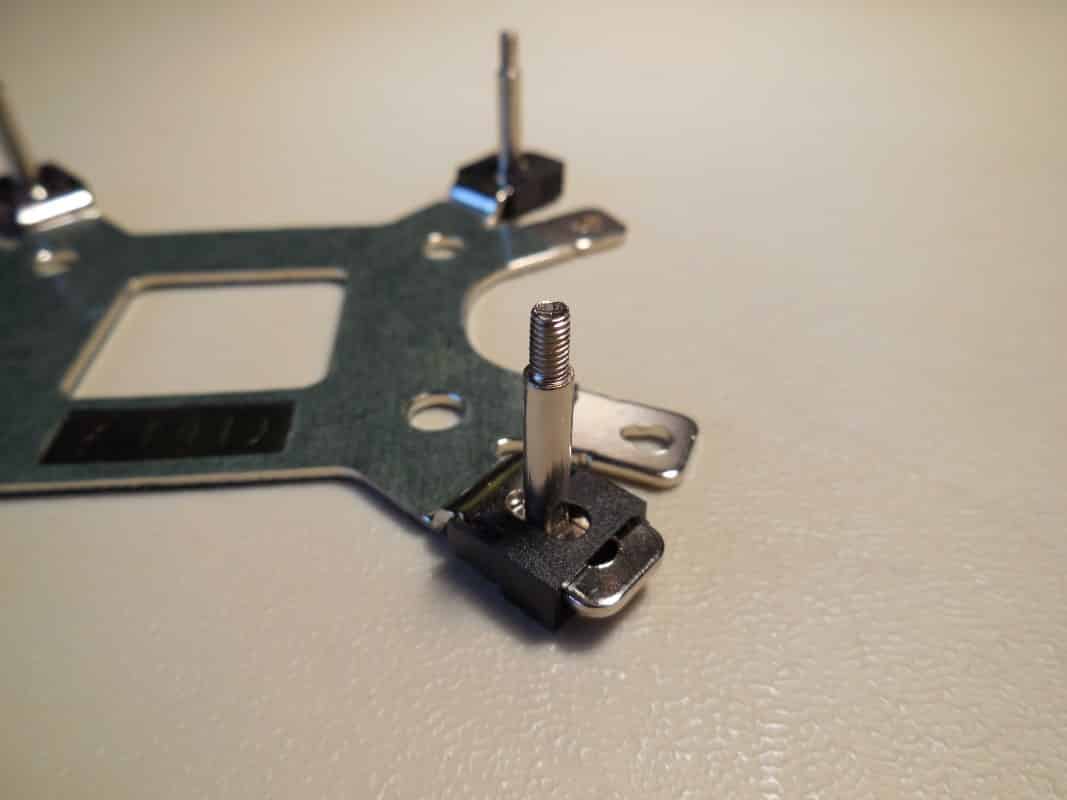
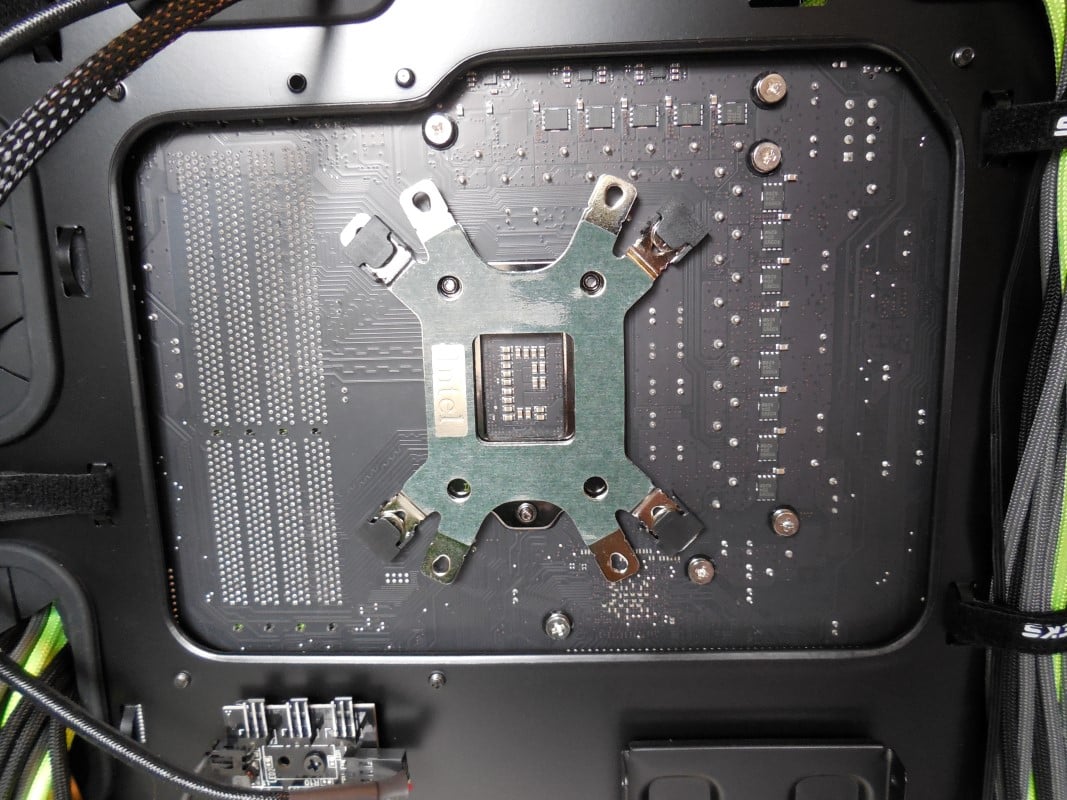
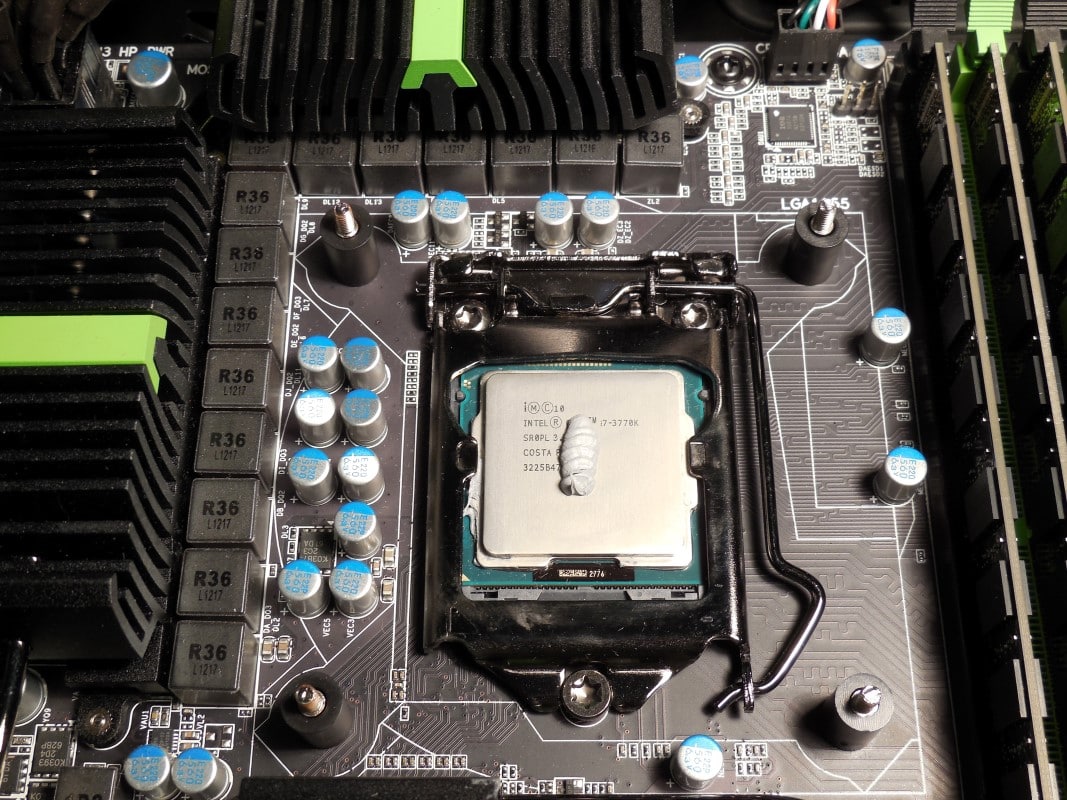
On the chip side of the motherboard install the black spacers onto each screw. These prevent you from over-tightening the pump and secure the back plate as well.
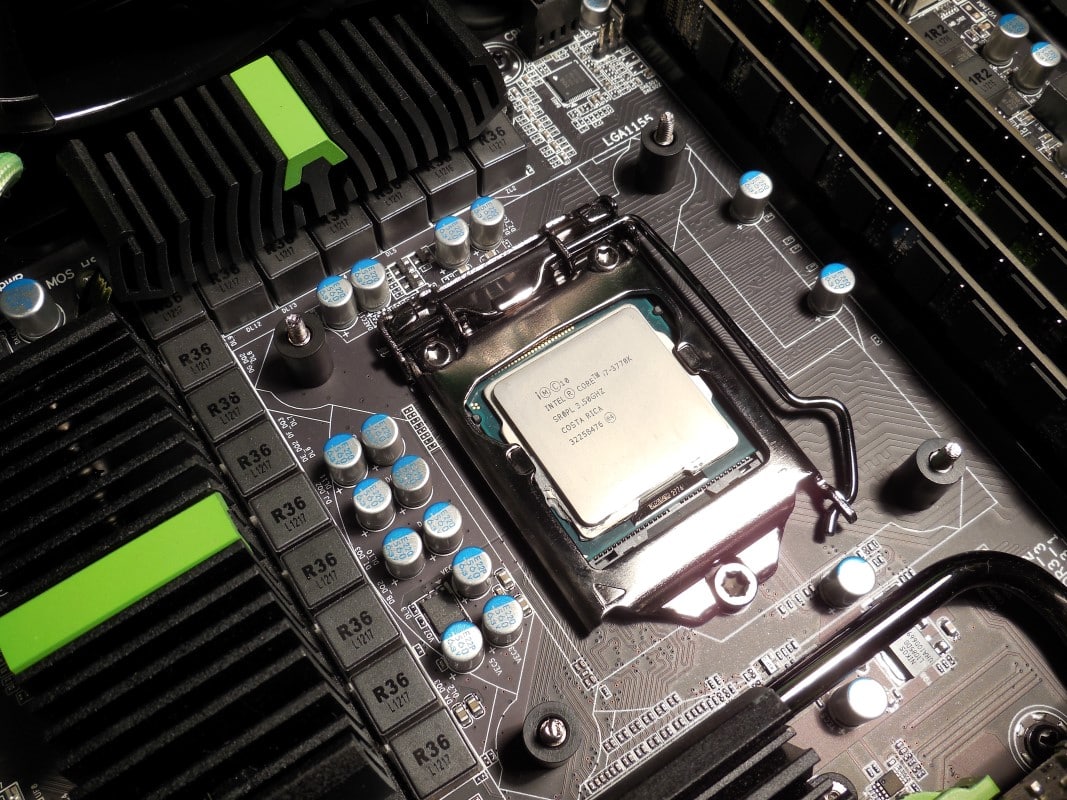
With everything all set apply your thermal paste, remove the plastic protector from the pump and press firmly into place. The pump is secured at the four corners with four thumb screws.
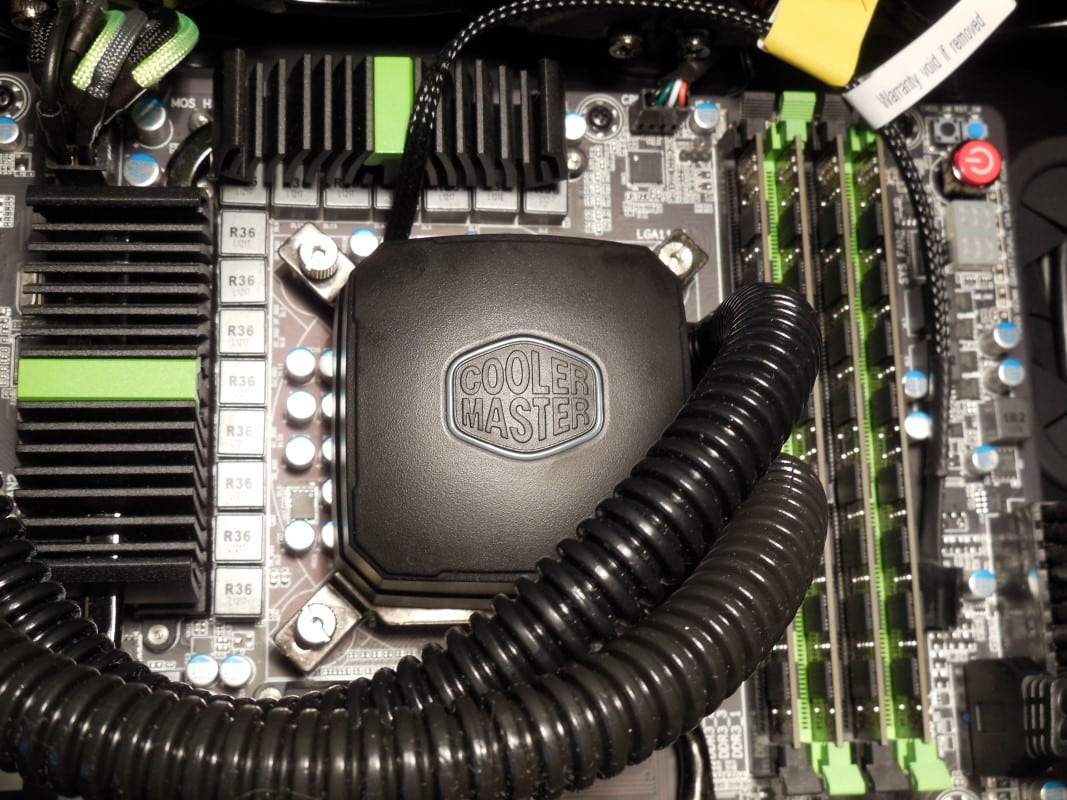
The only thing left is attaching power. The pump should be plugged into the CPU_FAN header and the fans can be plugged into their own headers, or into the included splitter and attached to a single header.