

CM Storm Pulse-R Overview
Upon taking the Pulse-R out of the box you will have the following contents: The headphones, the detachable mic and also the cable to plug into your Pulse-R and your PC.

The microphone is built pretty solid. On the one end with the headphone connector has 2 little grooves which will only allow you to install it one certain way. The middle part of the microphone is a flexible rubber which allows you to move the microphone into a better position.

This is the inline controller for the headset has a simple on and off for the microphone and also a easy slider adjustment for the Volume.

The connector that goes into the headset is a Micro USB. On the other end of the cord you will see it has a microphone cord which is labeled with a pink dot. The headphone connector is labeled with a green dot. Then there is a USB connector to power the white lights on the ear cups of the headphones.


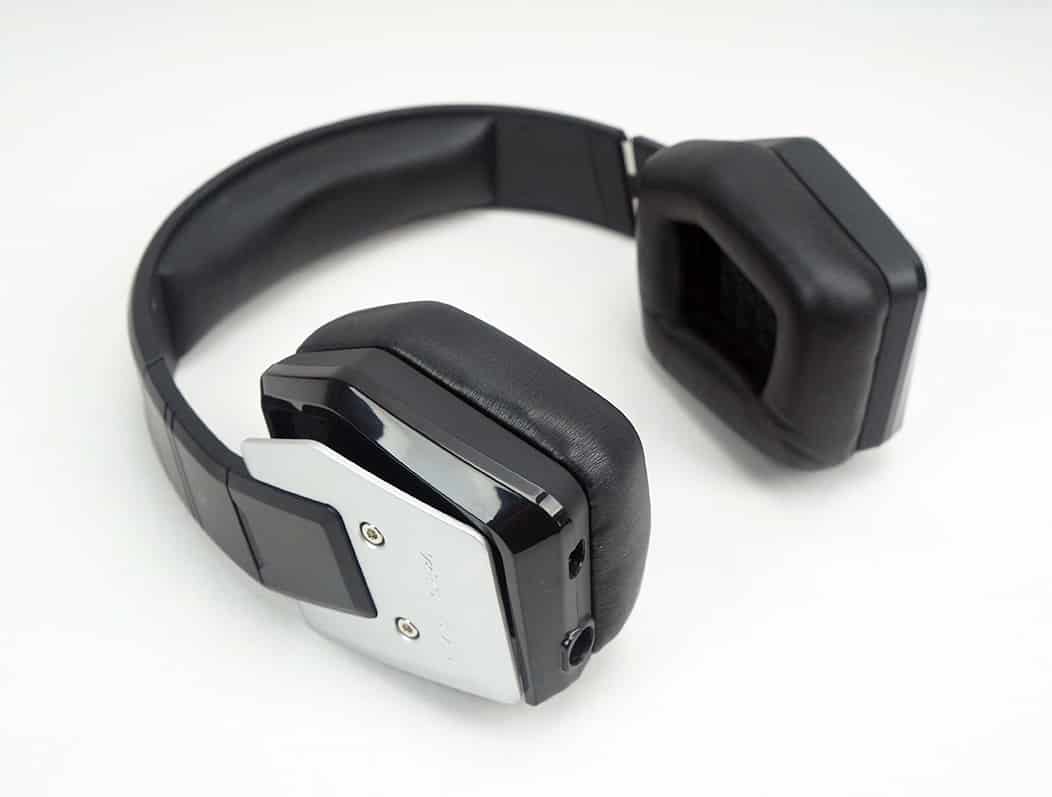
Here are some full shots of the headphones themselves.


The cushion on the headphone band on the headset is made out of a nice soft material. The same material is used for the ear cup as well.


On the Pulse-R band you are able to see a nice aluminum band inside the plastic housing. This makes the Pulse-R more durable than most headphones which rely hard plastic.


Each side of the headset cuffs have a removable aluminum plate. Which require Allen keys to remove


On the left side of the headset you have the ports for plugging in the audio cables and also the detachable microphone.

Now we have the final setup of the CM Storm Pulse-R.

