Installation
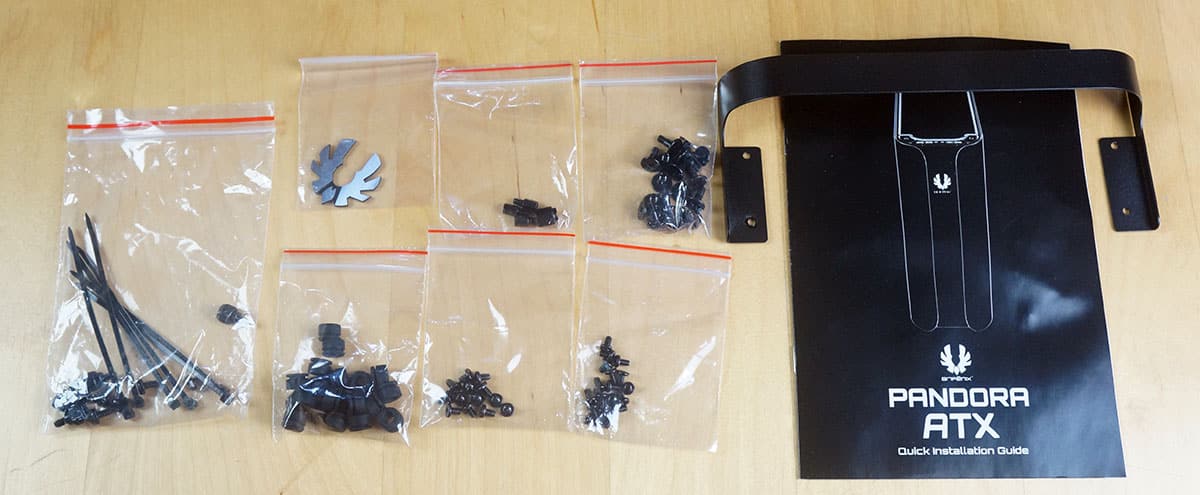
Before you get into installation be sure to lay out all of your mounting hardware. BitFenix has put all of the different screws and accessories in different bags, which is nice so you don’t have to go through one big bag to find the screws you need.
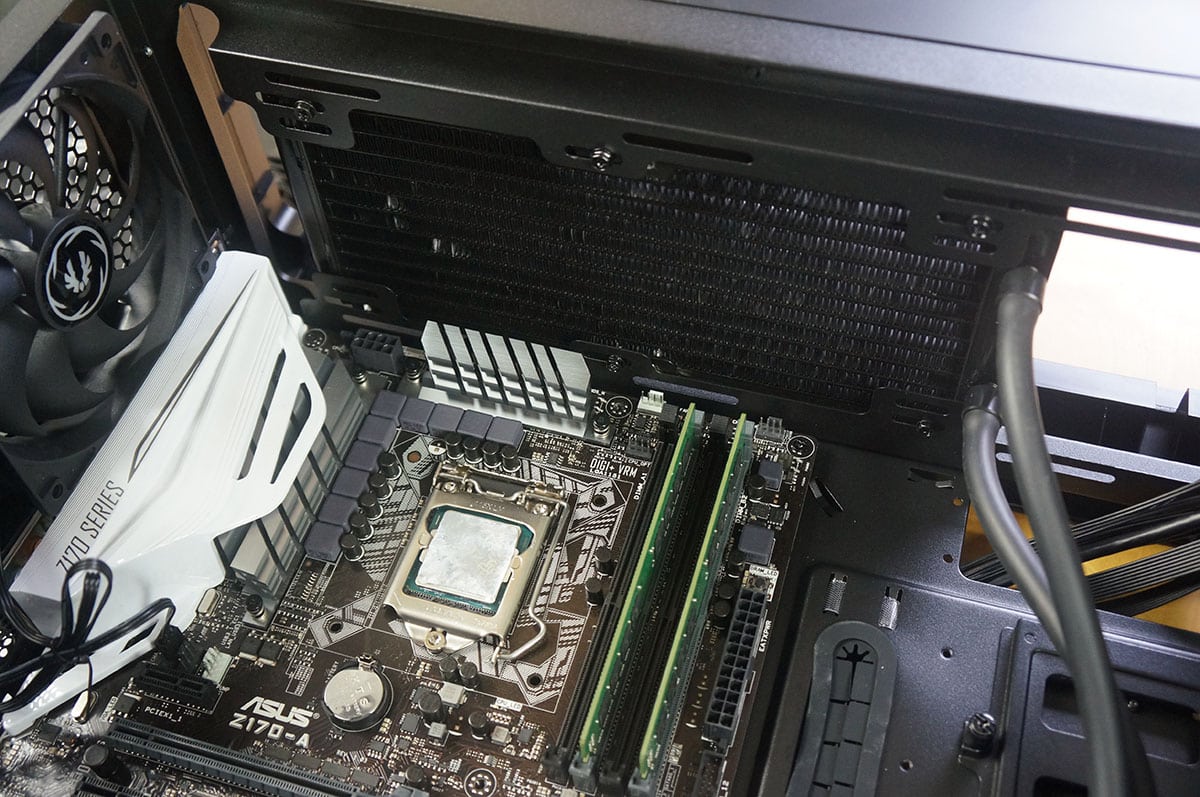
The first piece of hardware we will be installing is our motherboard. BitFenix has pre-installed the standoffs so you don’t have to worry about them. They even include a standoff key if you need to install more or remove any. The motherboard goes in pretty well, although it is a snug fit with the PSU cover there.

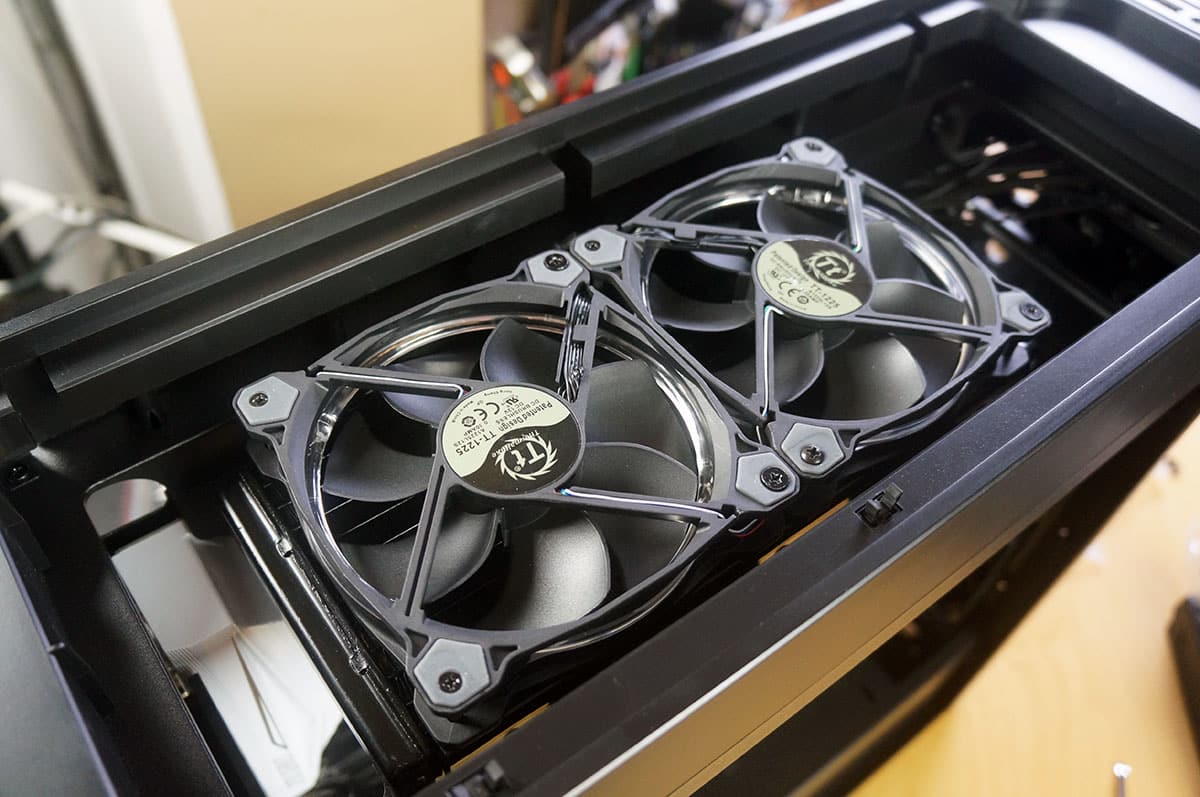
I decided to install an AiO in the top part of the case. You are going to want to make sure you plan out your cooling situation before you get started. Luckily I was able to get the radiator installed without having to remove my motherboard, but I would suggest installing your cooling before you install your motherboard.
Now that my radiator was installed it was time to install the fans on it. This is extremely easy as the top part of the case comes off.
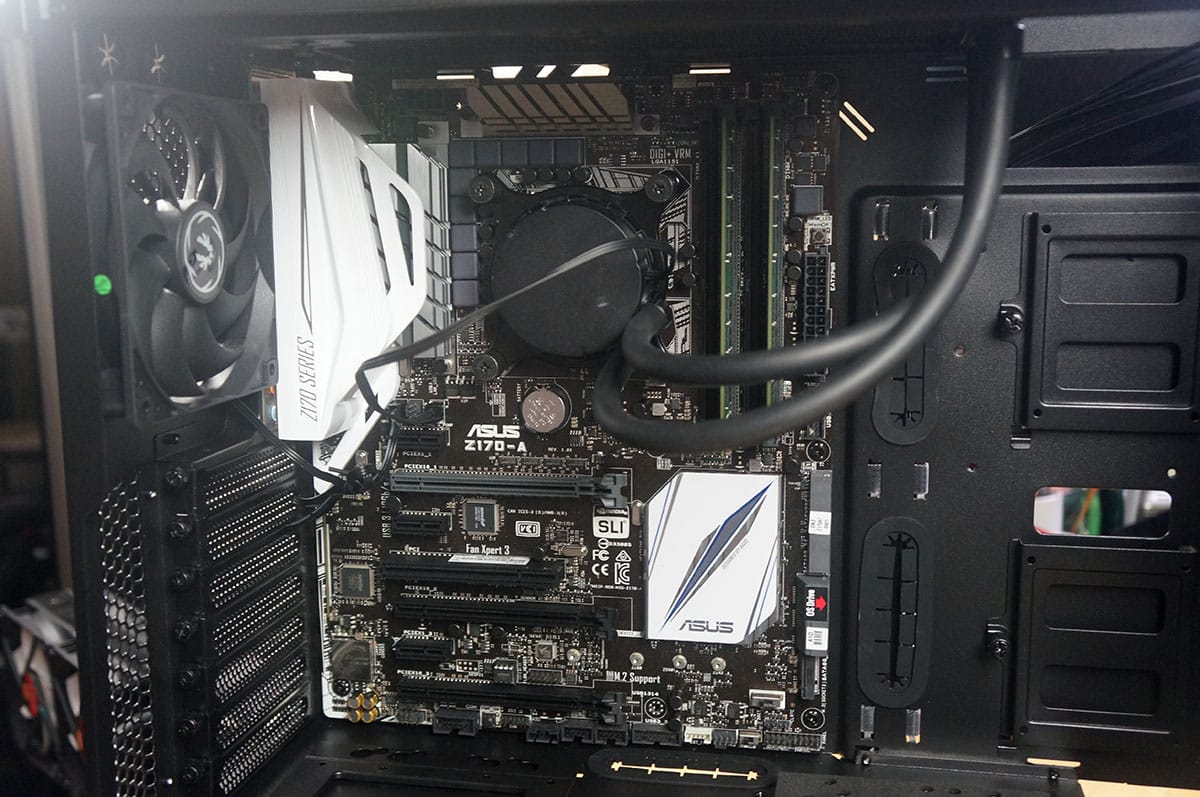
The last part was to attach the cooler to my CPU. This was easily done, and with the motherboard inside of the case. This is because this case has a CPU cutout.
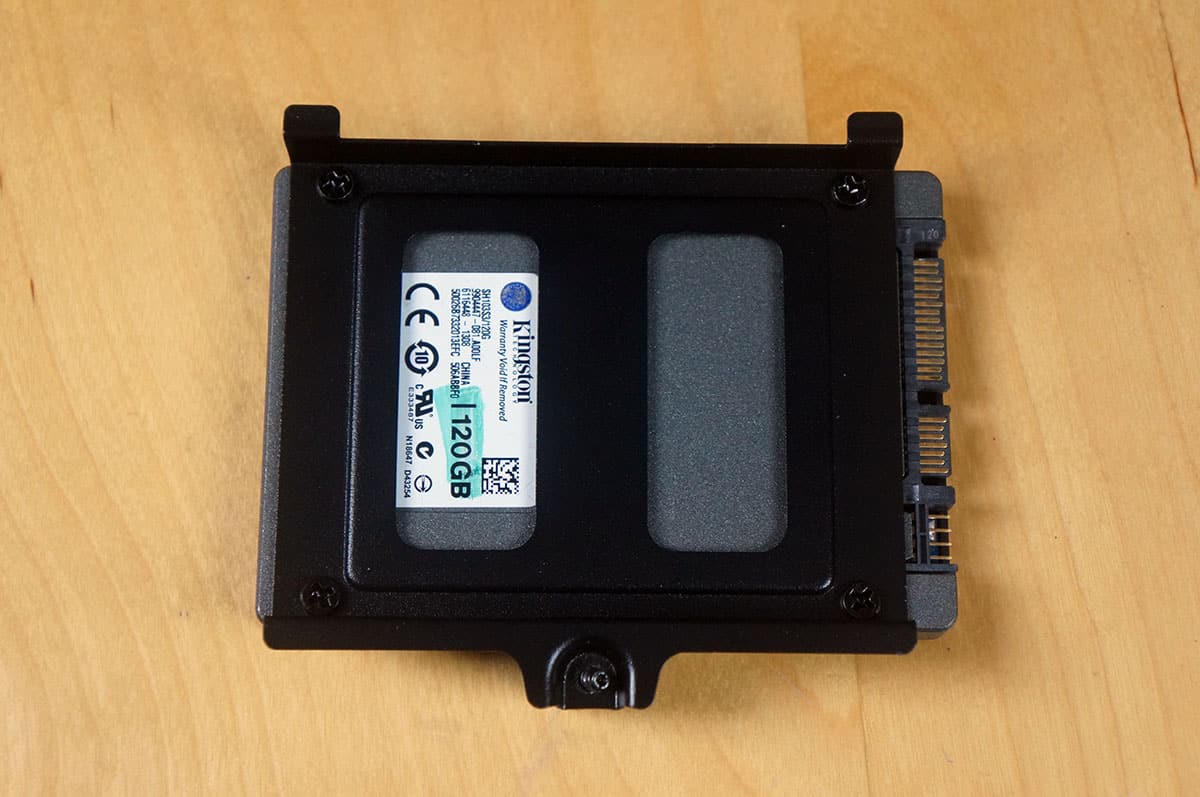
Hard drives are next! We will be installing a 2.5-inch drive and a 3.5-inch drive. All of the hard drive mounts are removable so we will be doing installation outside of the case. For 3.5-inch installation there are specific screws and grommets. I found it easiest to install these on the mount first as you can see below.

Then go ahead and line up your hard drive and screw it in. Now just put the mount with your hard drive back in the case. It is just that easy.


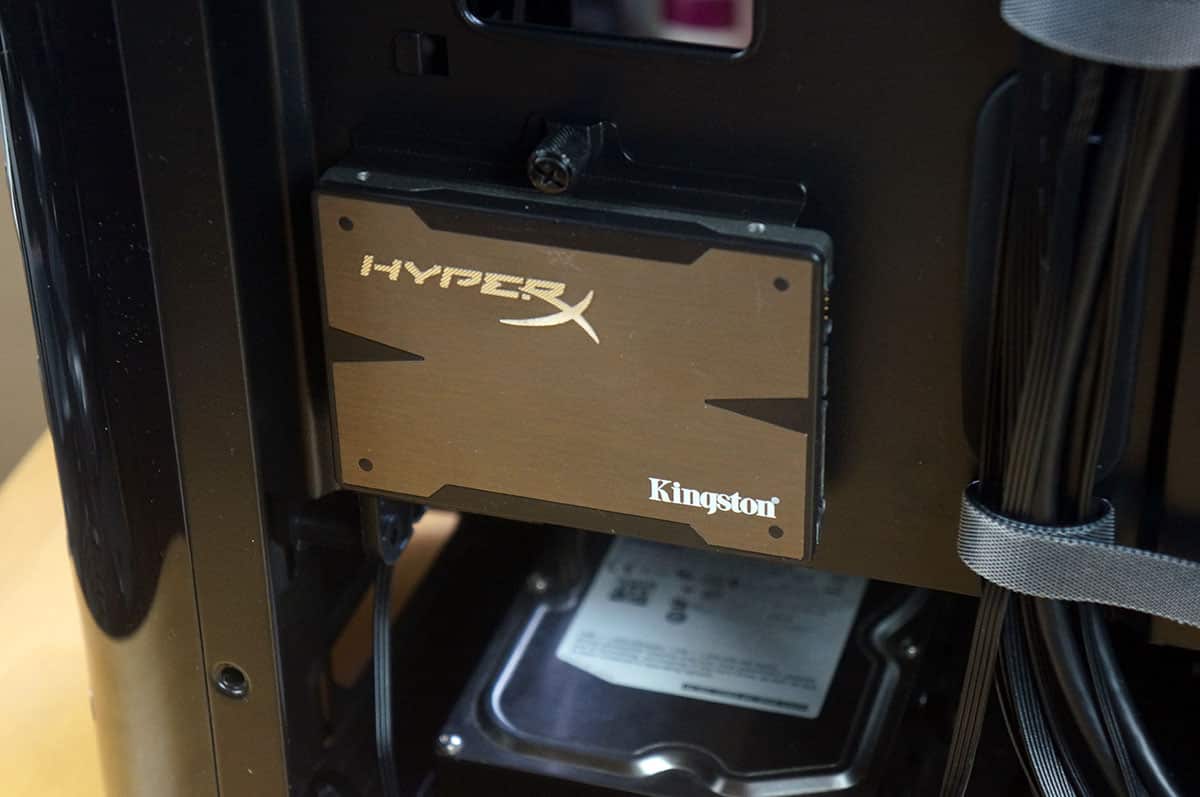
Our SSD is next. It gets installed on the top of the mount. Just secure it using the included screws. Then put it right back into the case.
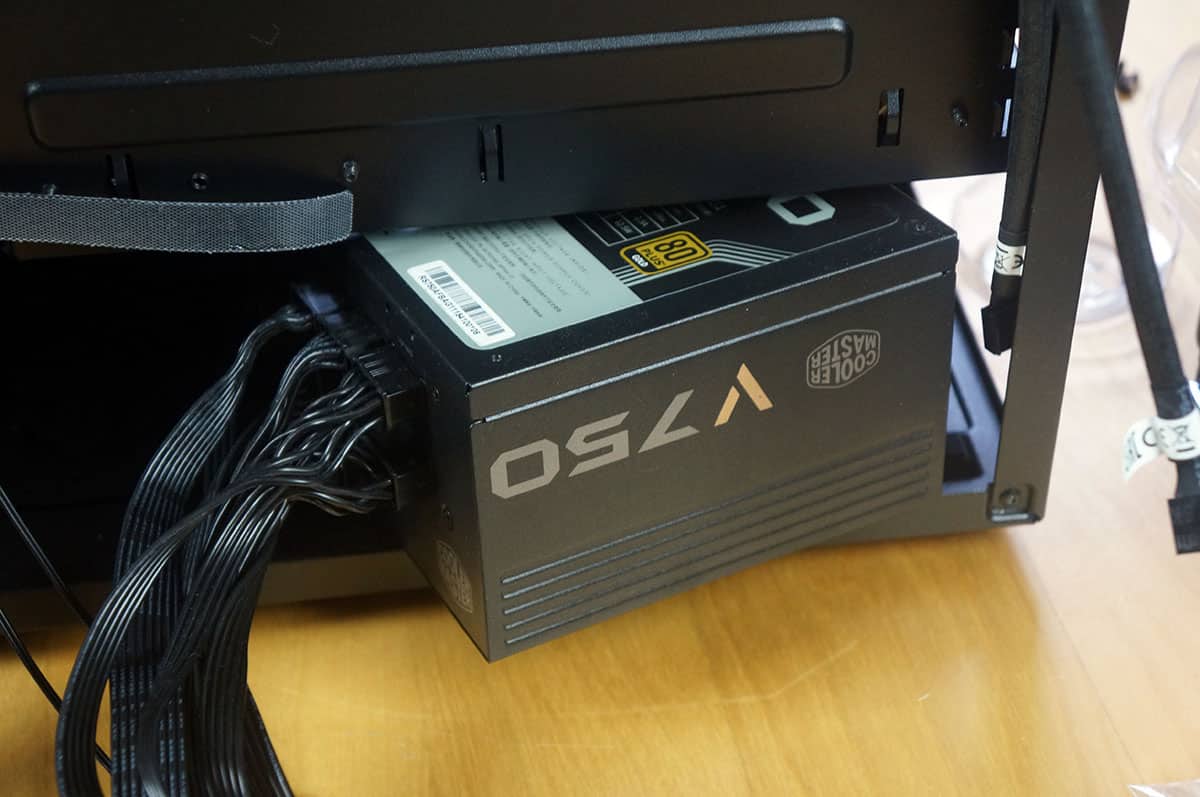
Your power supply gets installed from the back part of the case. It slides in pretty easily.
Now it is time to wire everything up. The velcro ties in the case made cable routing quite easy. Here is what the back part of the case looks like with everything routed.

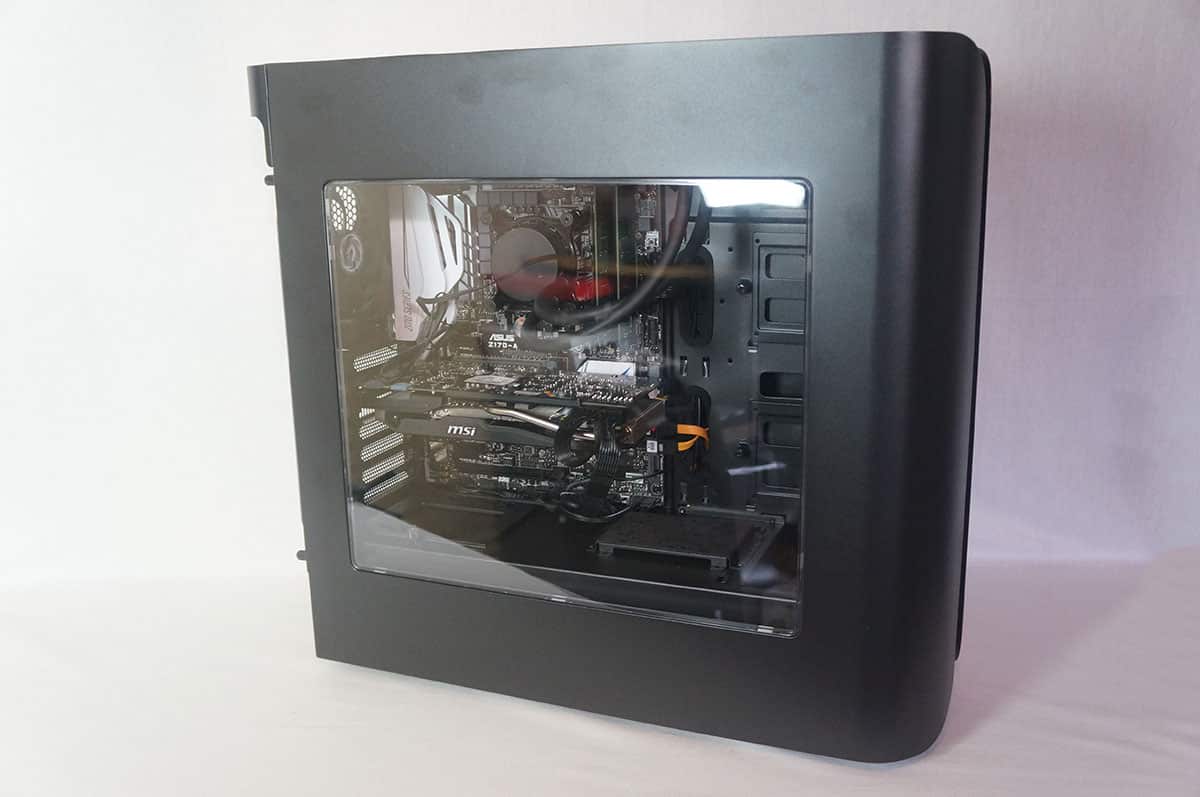
And here is the main part of the case with our graphics card installed. Since there are no front drives in the case you have quite a lot of room for long graphics cards.

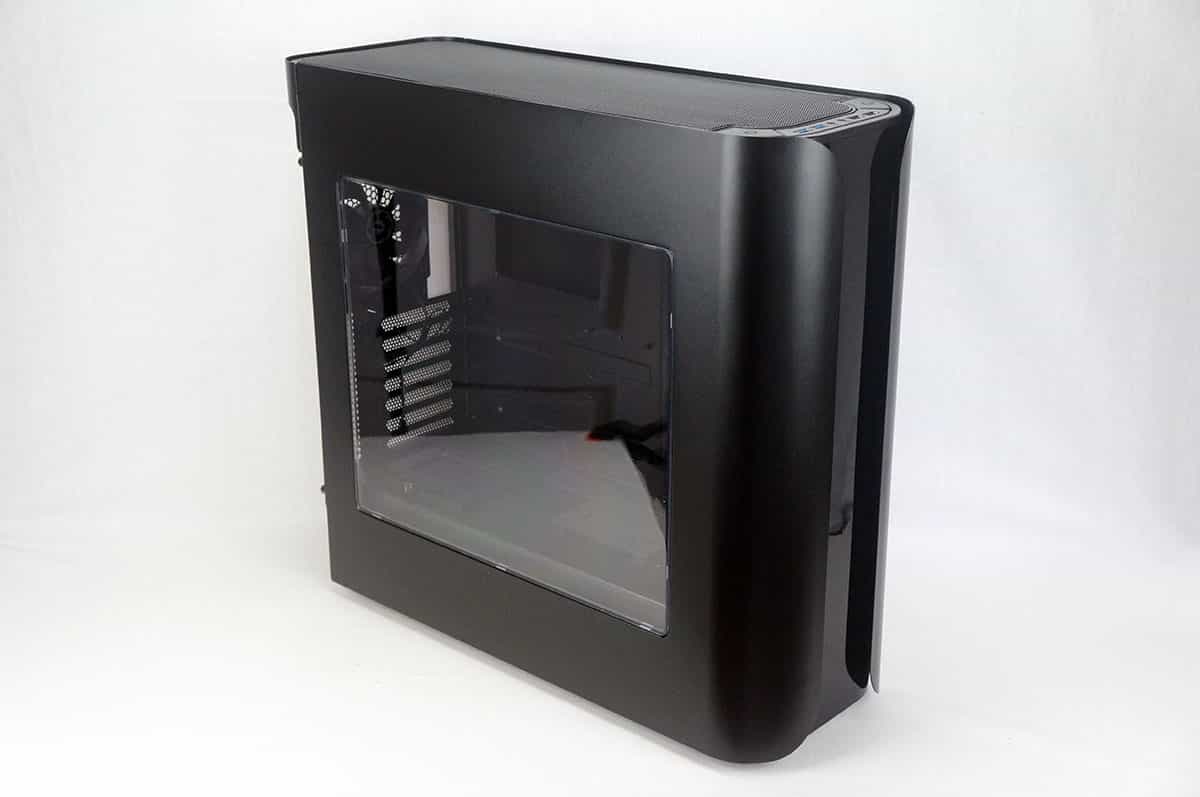
Finally it is time to put the side panel on and power up our system. The side panel window shows off most of your hardware.