Installation
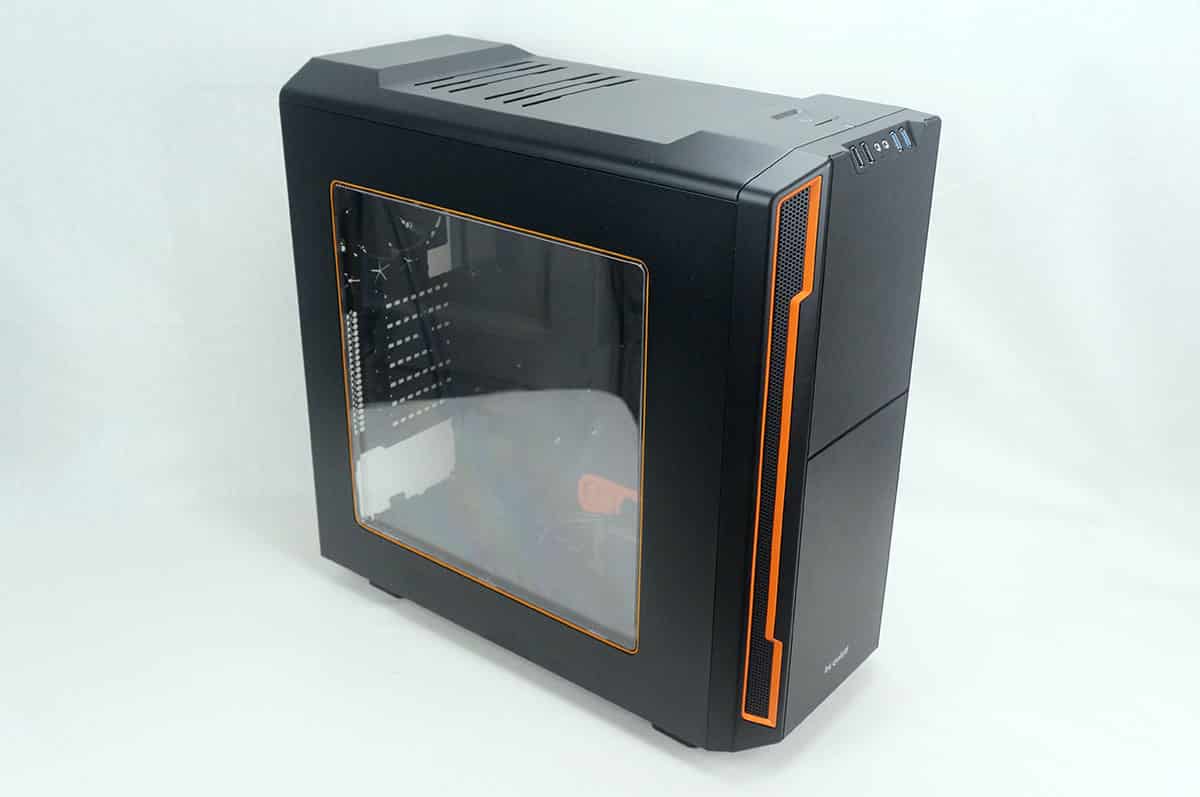
Getting everything installed should be pretty easy. Before I started installation I took off both the front and top of the case to make things easier. Both the front and top are a little tricky to get off, there are tabs that you have to press in to pop the pieces off, but they are pretty tight on there. I ended up breaking one of the tabs off when I took the top piece of the case off.

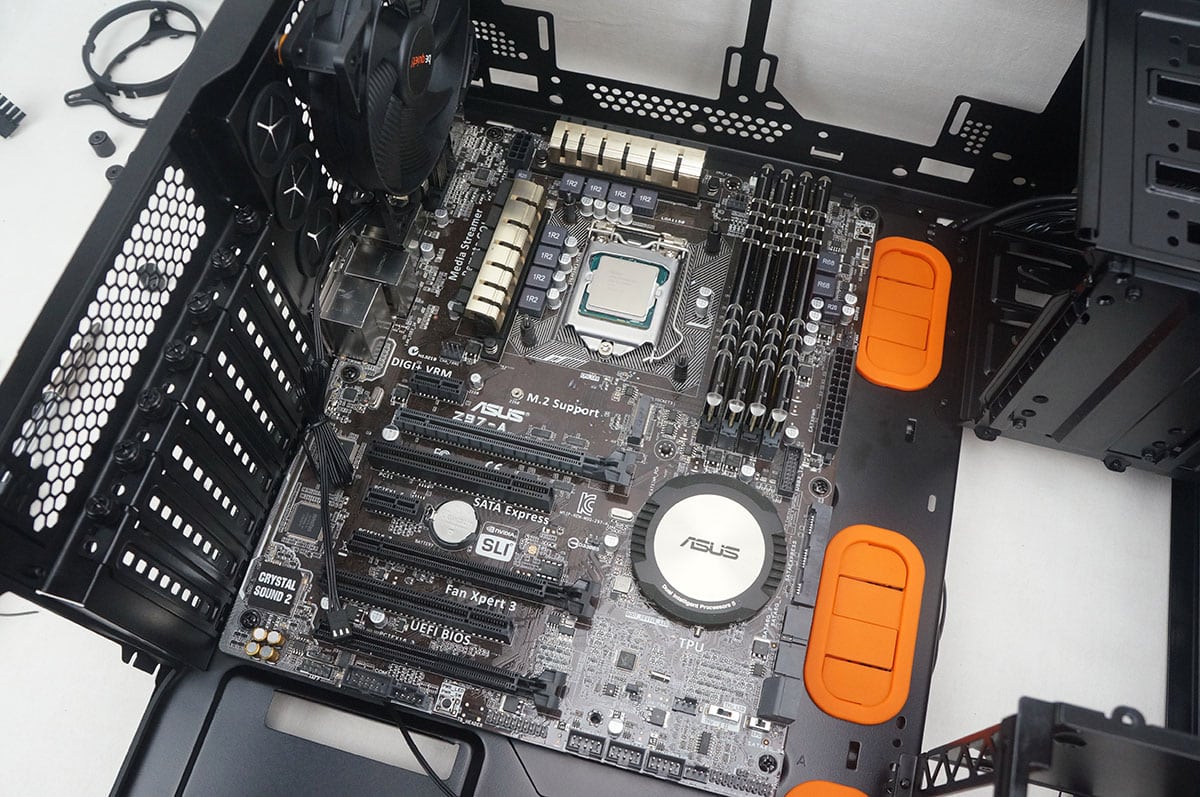
Like all of our case installations we will start with our motherboard, which goes in very easily. As I said earlier the standoffs are built into the motherboard tray so you don’t have to worry about them.
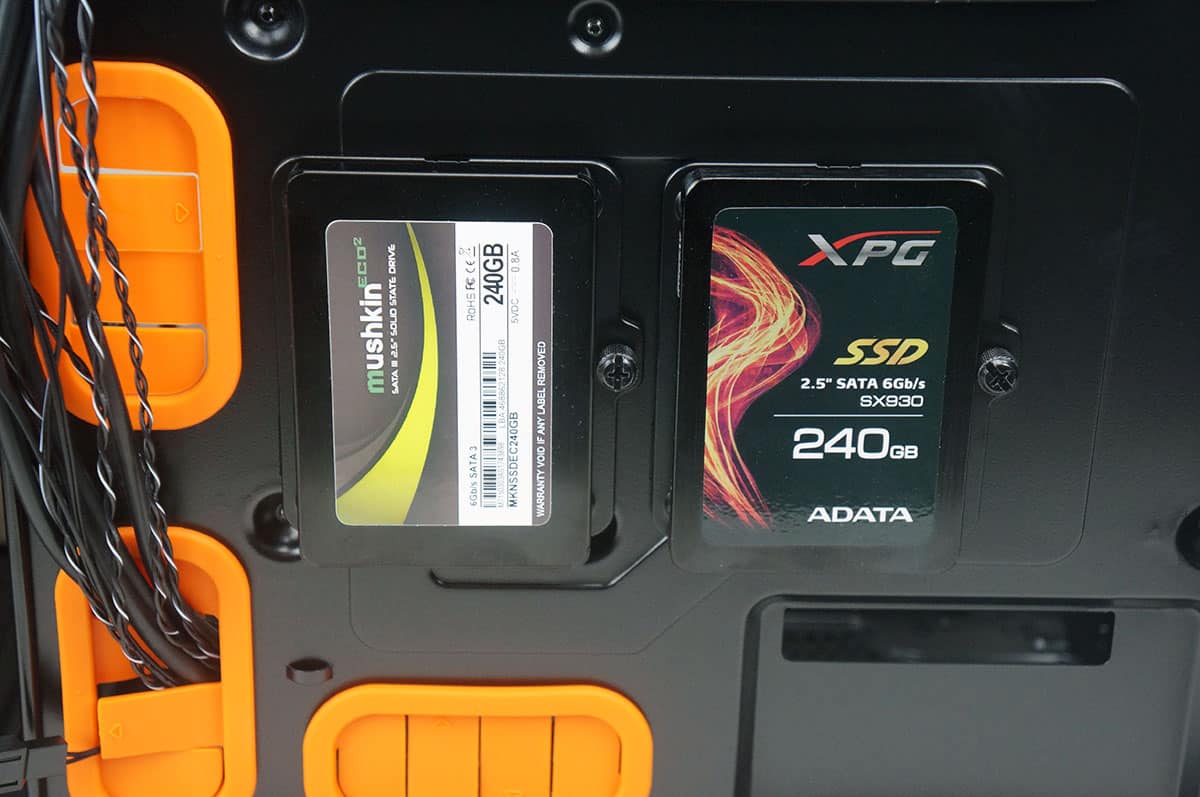
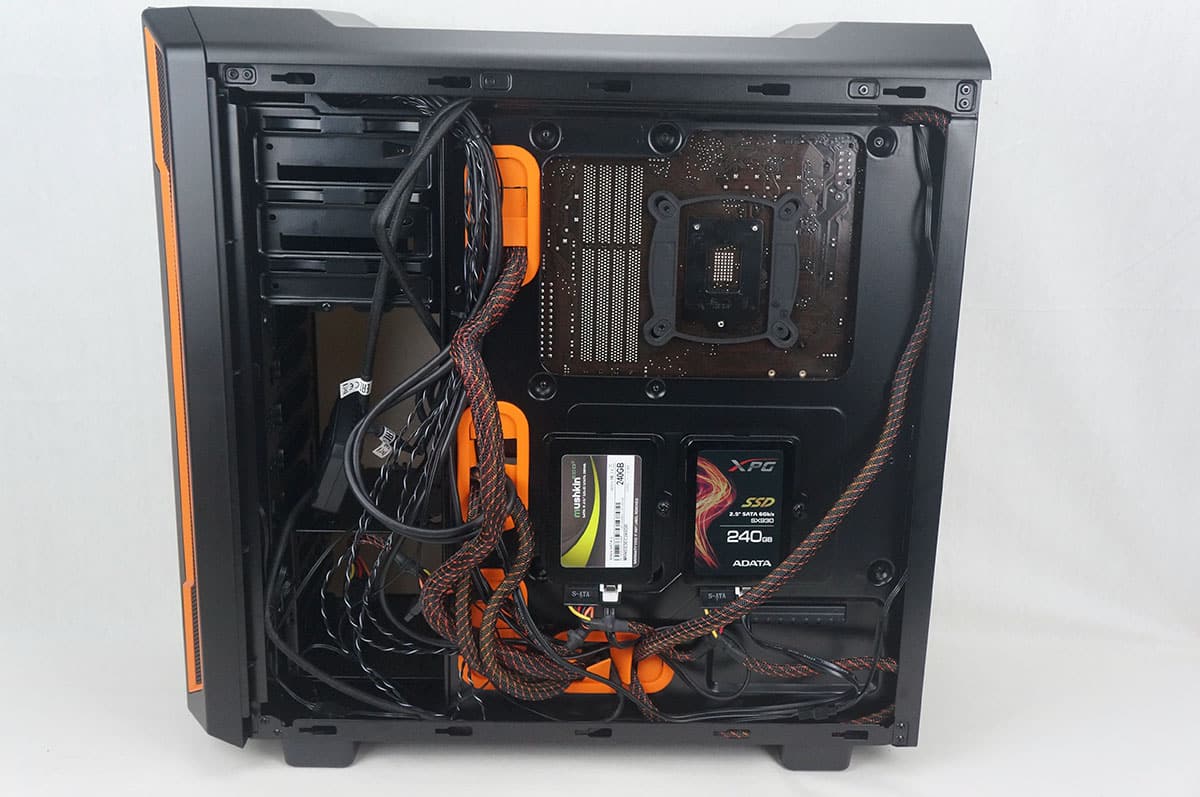
Next we have our hard drives which are solid state drives. I will be installing these on the backside of the motherboard tray. Simply remove the thumbscrews on the two trays on the back of the motherboard tray to take them off.
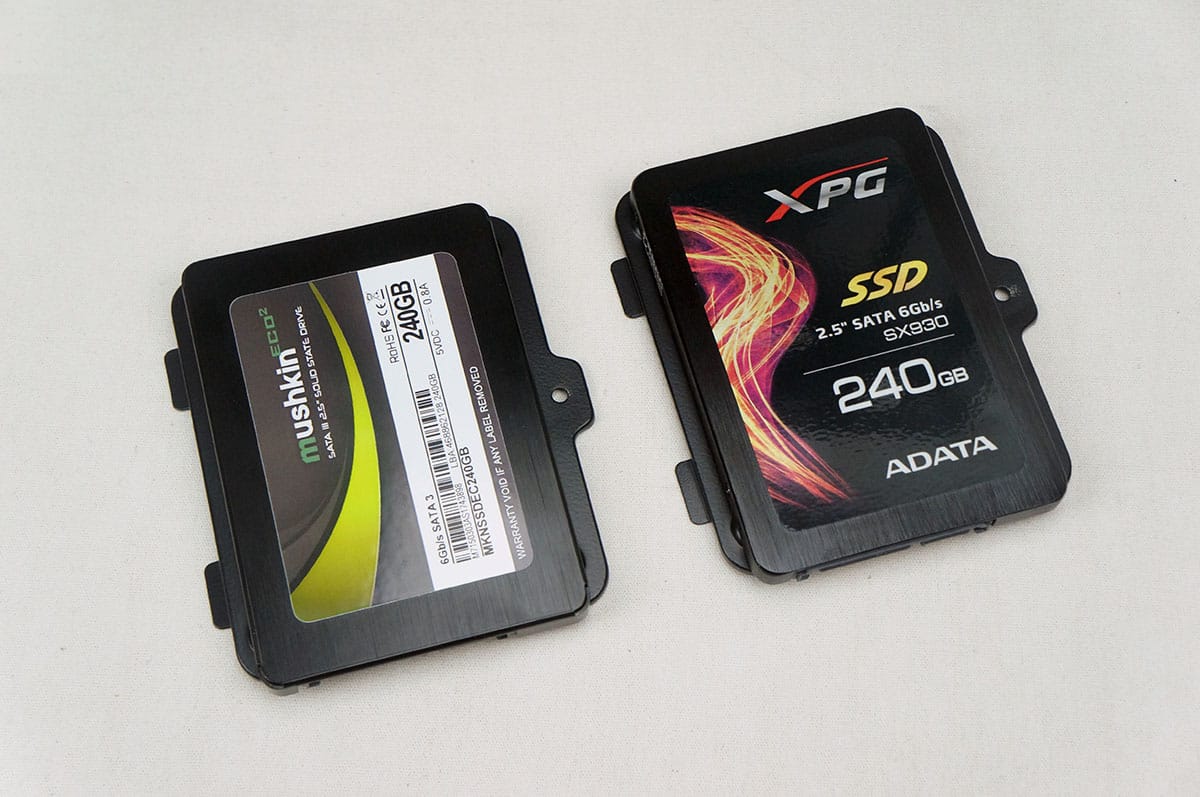
Once removed mount your solid state drives with the included screws. You are going to want to pay attention to the orientation of your drives. I preferred to have the connections facing down on mine. Once mounted to the trays you can reinstall them back inside the case.
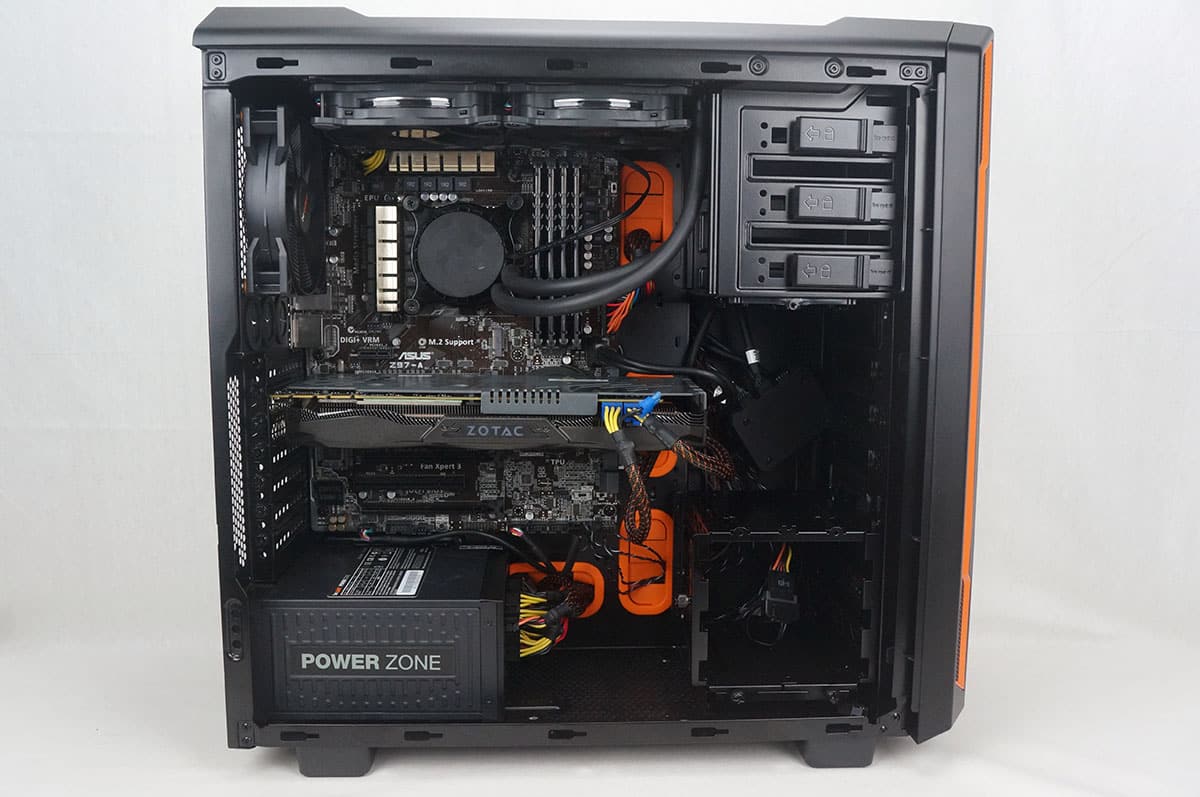
Power supply installation is quite easy at it just slides into the bottom of the case.

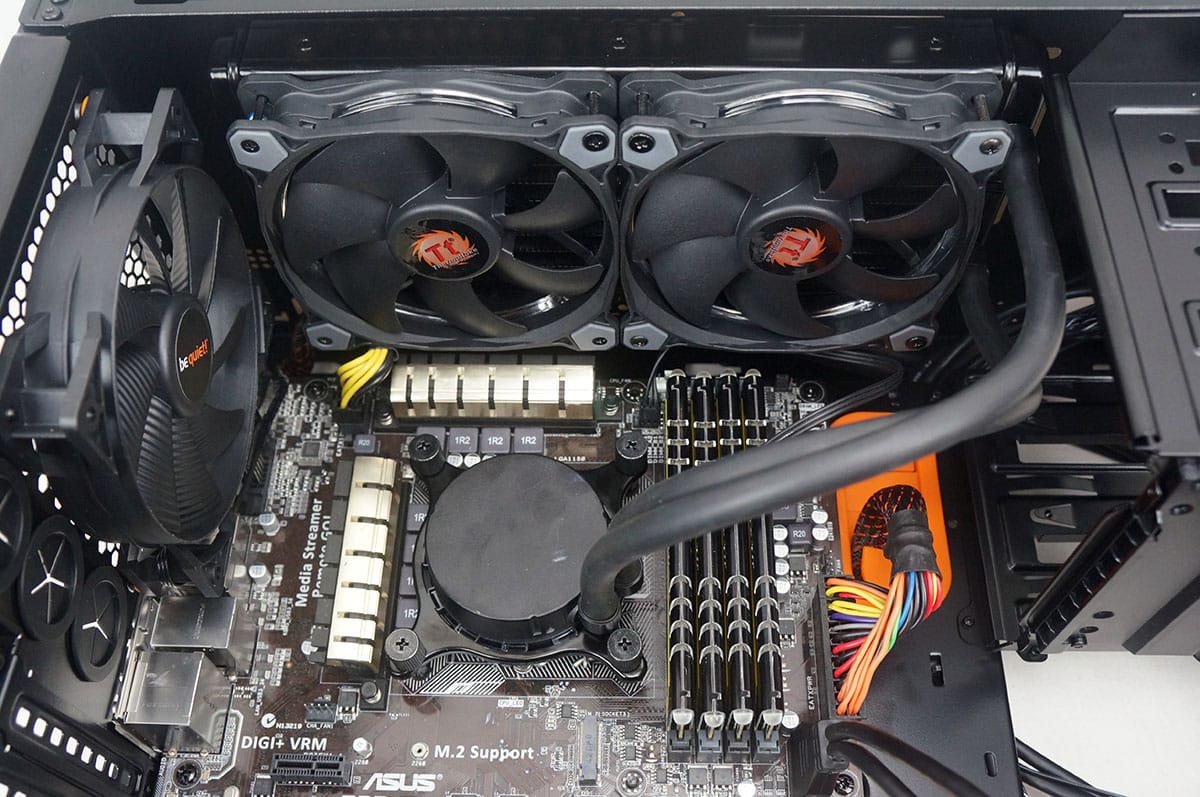
I decided I wanted to install a 240mm AiO liquid CPU cooler in this case. So first I went ahead and installed the radiator at the top of the case. As I mentioned before if you want to install any radiators or fans in the front or top of the case you will have to remove those pieces of the case.

With the radiator installed it was time to mount the CPU block, which was pretty easy as there was sufficient room inside the case. I did noticed that once installed the radiator does hang over part of the motherboard, so you might want to measure your radiator before deciding on this case. Luckily the heatsinks on our motherboard were not all that large.
With our CPU cooler installed it was time to run all of our cables. It was very easy to route everything around the backside of the case. It would have been nice to tie some of my cables down the the included cable ties, but there was not a single tie-down spot on the backside of the motherboard tray, this was a little disappointing.
The last thing I had to do was install my graphics card which is a GeForce GTX 980 Ti. It fits in pretty well since I do not have a second hard drive cage installed. If I had a second cage install I might have ran into some issues. Keep in mind that without the hard drive cage in the way you have room for graphics cards up to 400mm, but with it installed this drops down to 290mm. You want to think about this if you are going to doing a multi-GPU installation.
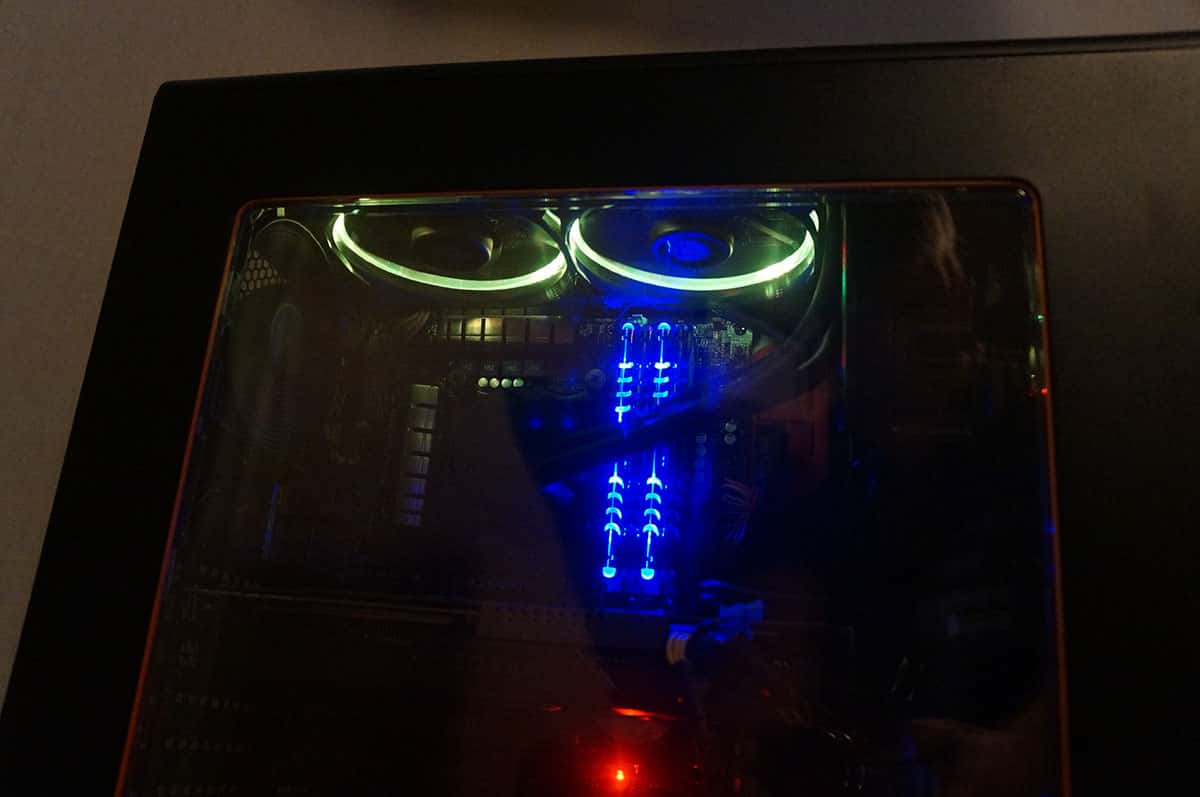
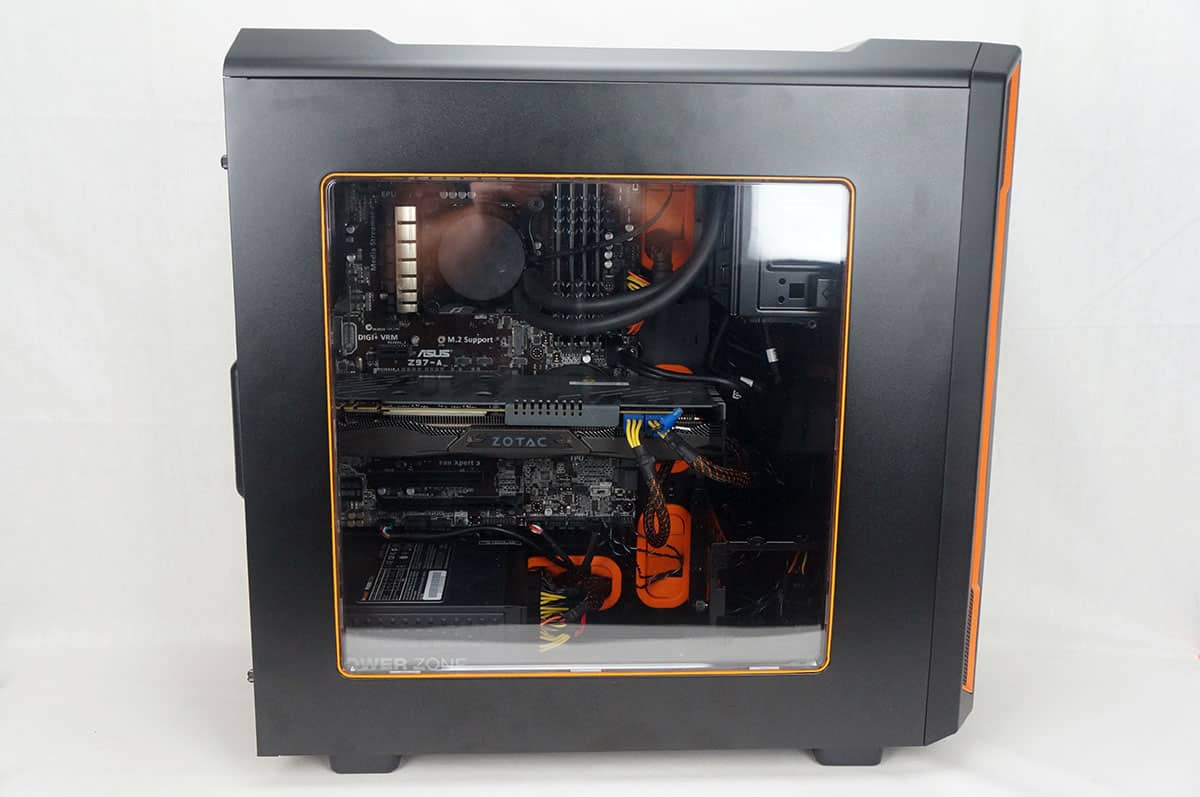
With the side panel on you can still see most of are installed hardware.
Here is a shot with our system powered on where you can see our memory and fans all lit up. The power button on the case also lights up orange.