

Autonomous SmartDesk 2 Assembly
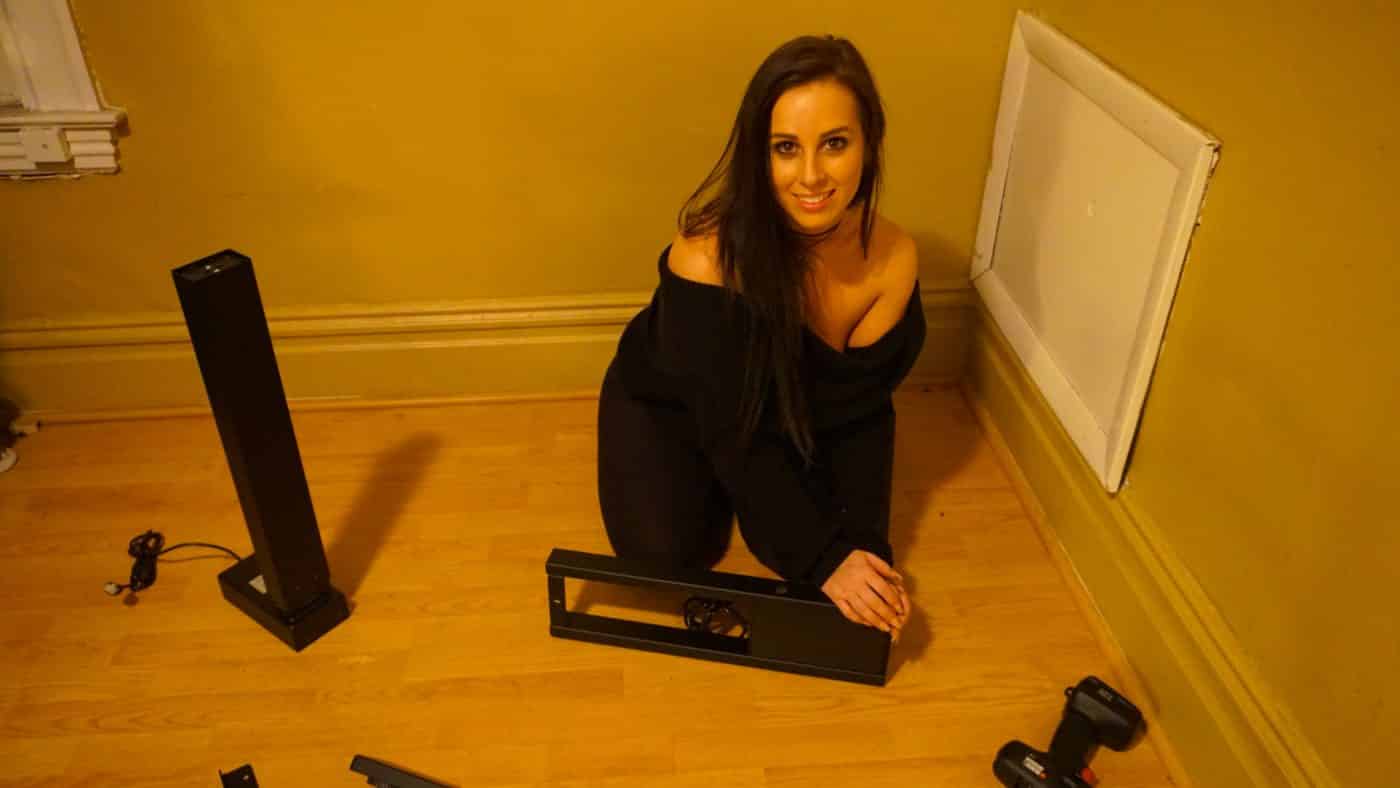
Well when you are putting anything together help is always a good thing, even better if its by a cute girl. First you are going to want to start attaching the legs to the crossbar ends. The legs are actually pretty heavy, which speaks to the quality of the components of this desk.
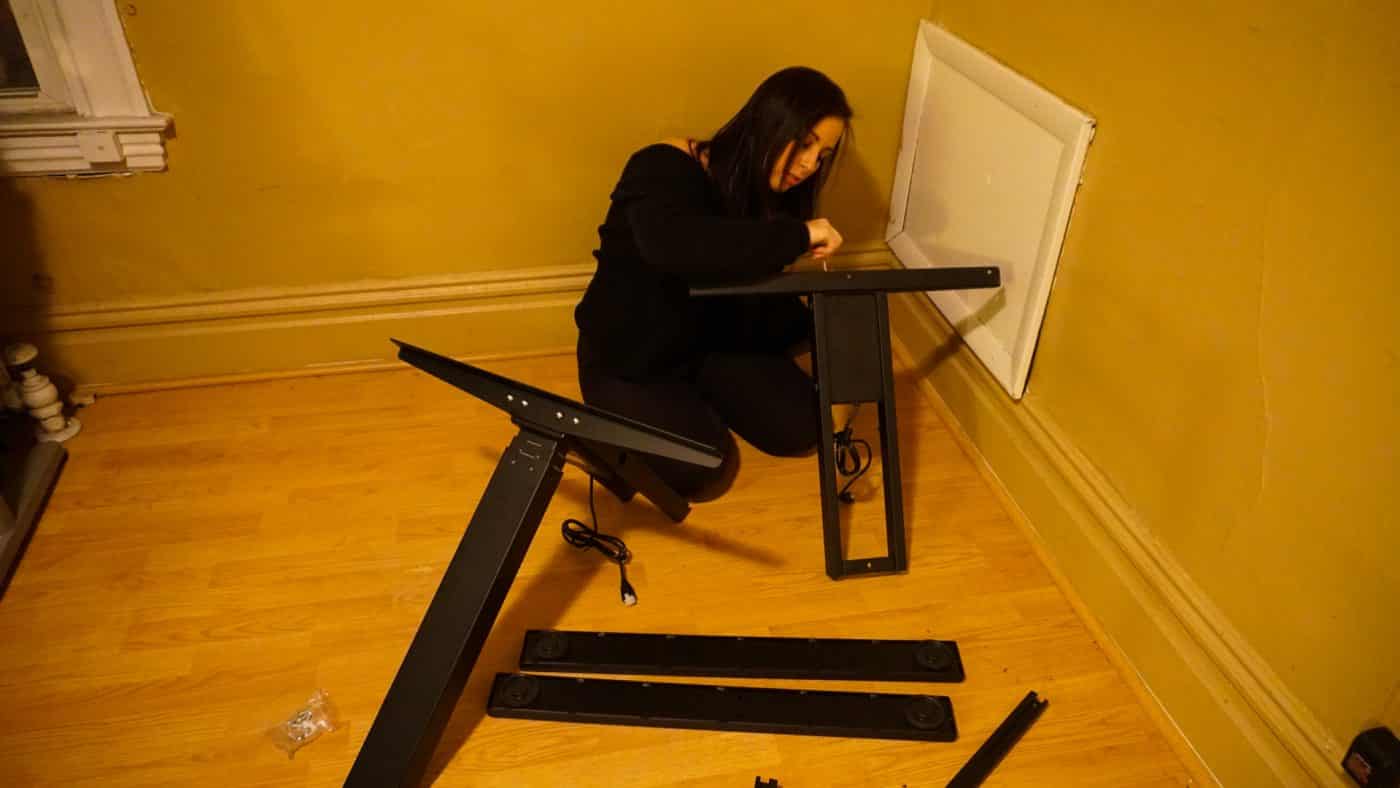
Once you have each leg connected to the crossbar ends you want to install the side brackets on each leg. Most of the assembly is done with hex screws and Autonomous does include a hex key, but if you had your own normal screw driver with a hex head things will move a lot faster.
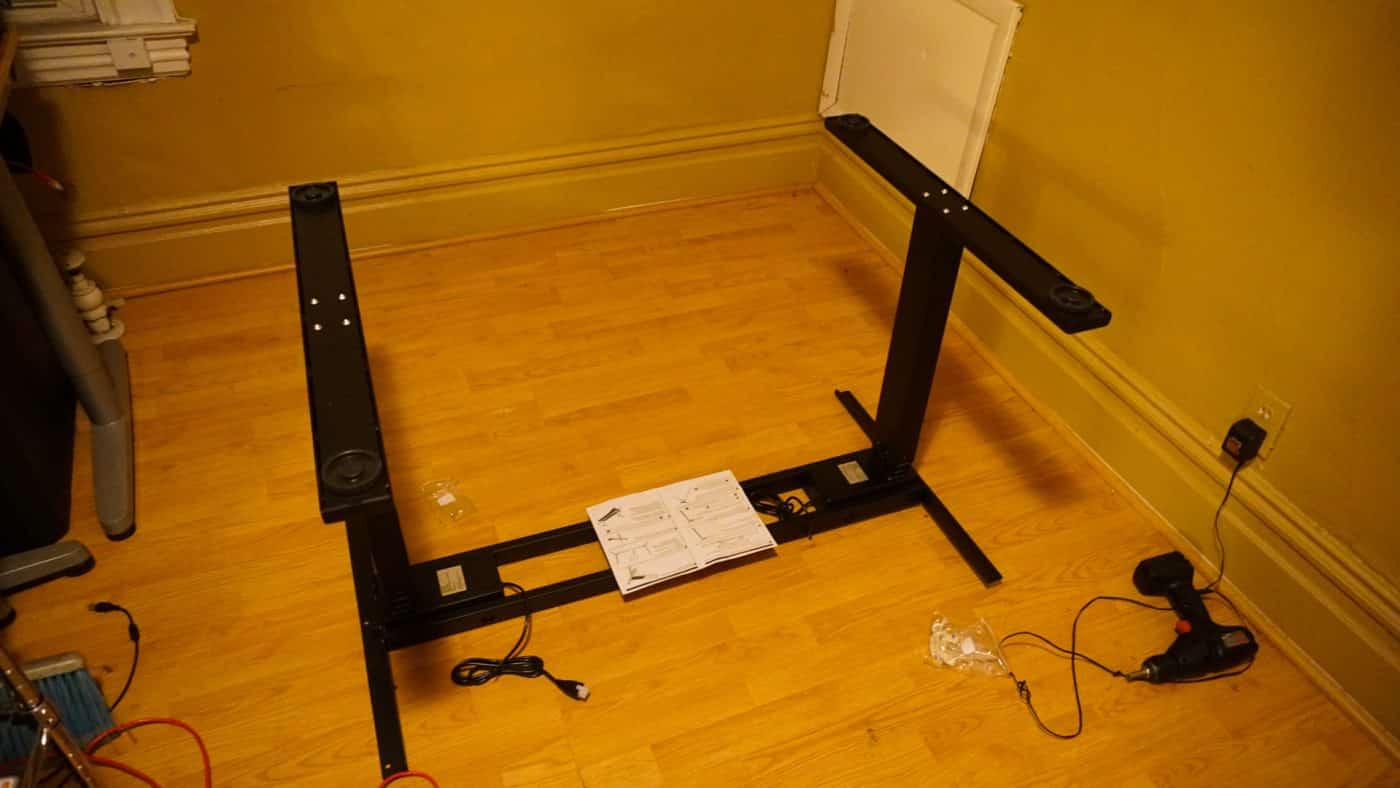
Now you extend the crossbar rails which will allow you to connect them, making the frame a single piece. From there attach the long feet on each side. Your assembly so far should look something like you see below.
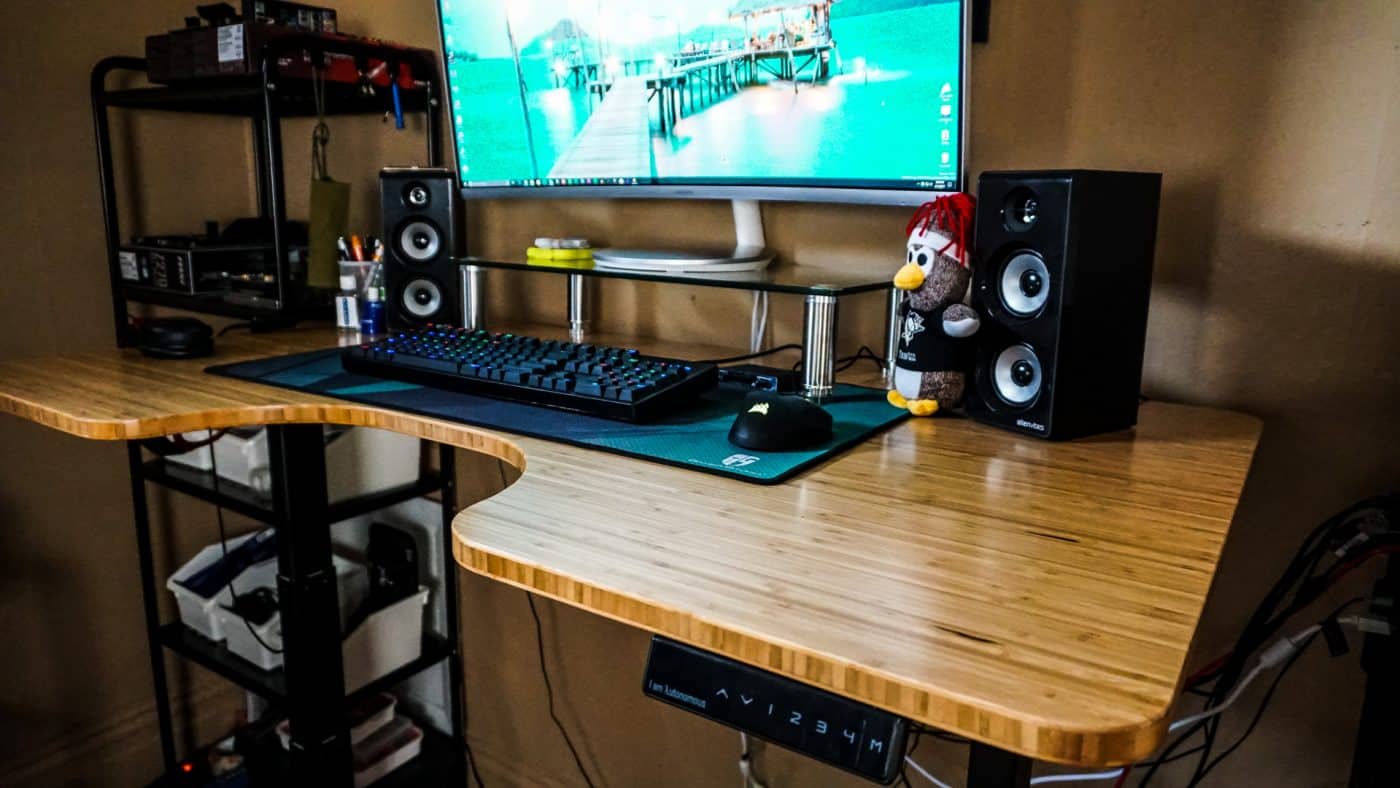
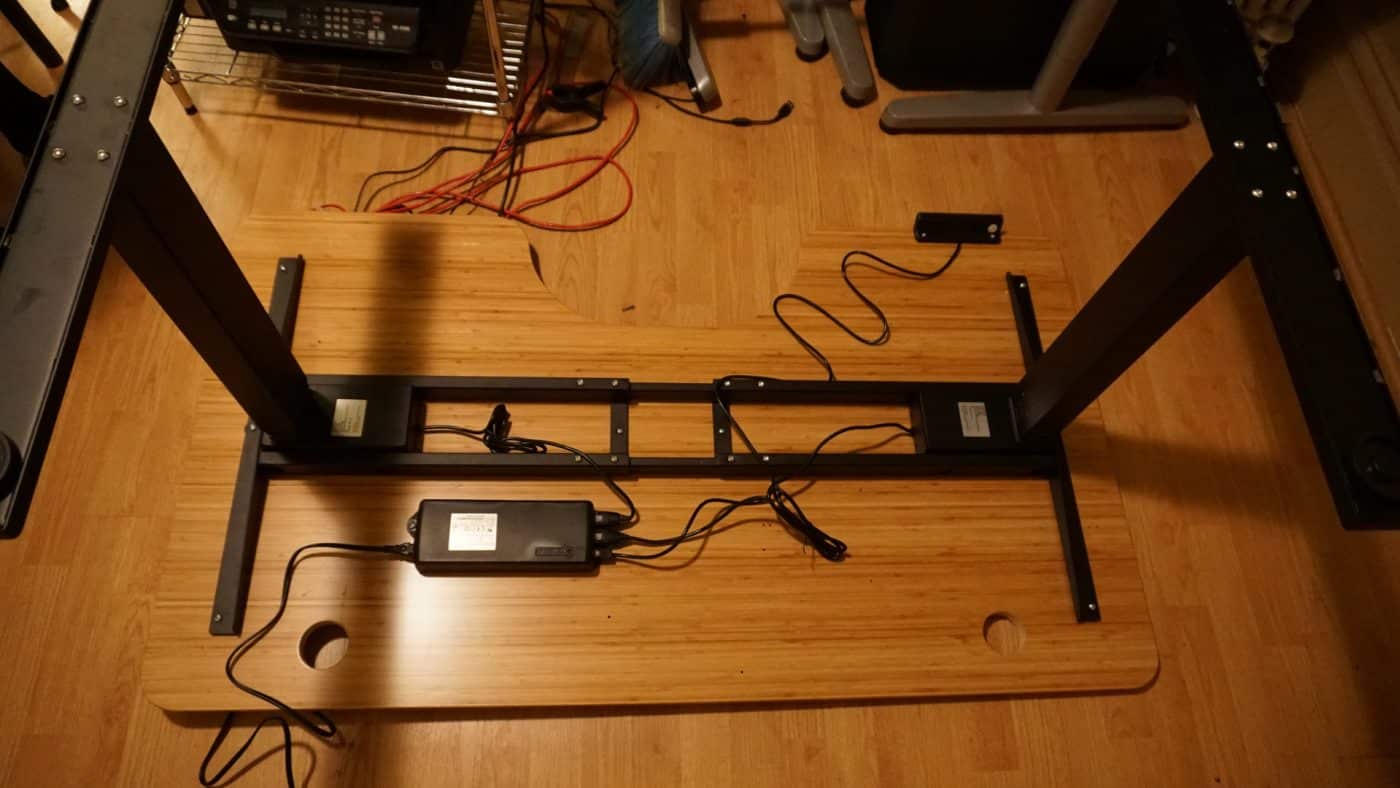
Now it is time to attach the desktop to the frame. There are pre-drilled holes so you can line everything up perfectly. With the desktop attached you now have to mount the control box and switch to the bottom of the desktop. Again you have pre-drilled holes so you know exactly where to mount everything.
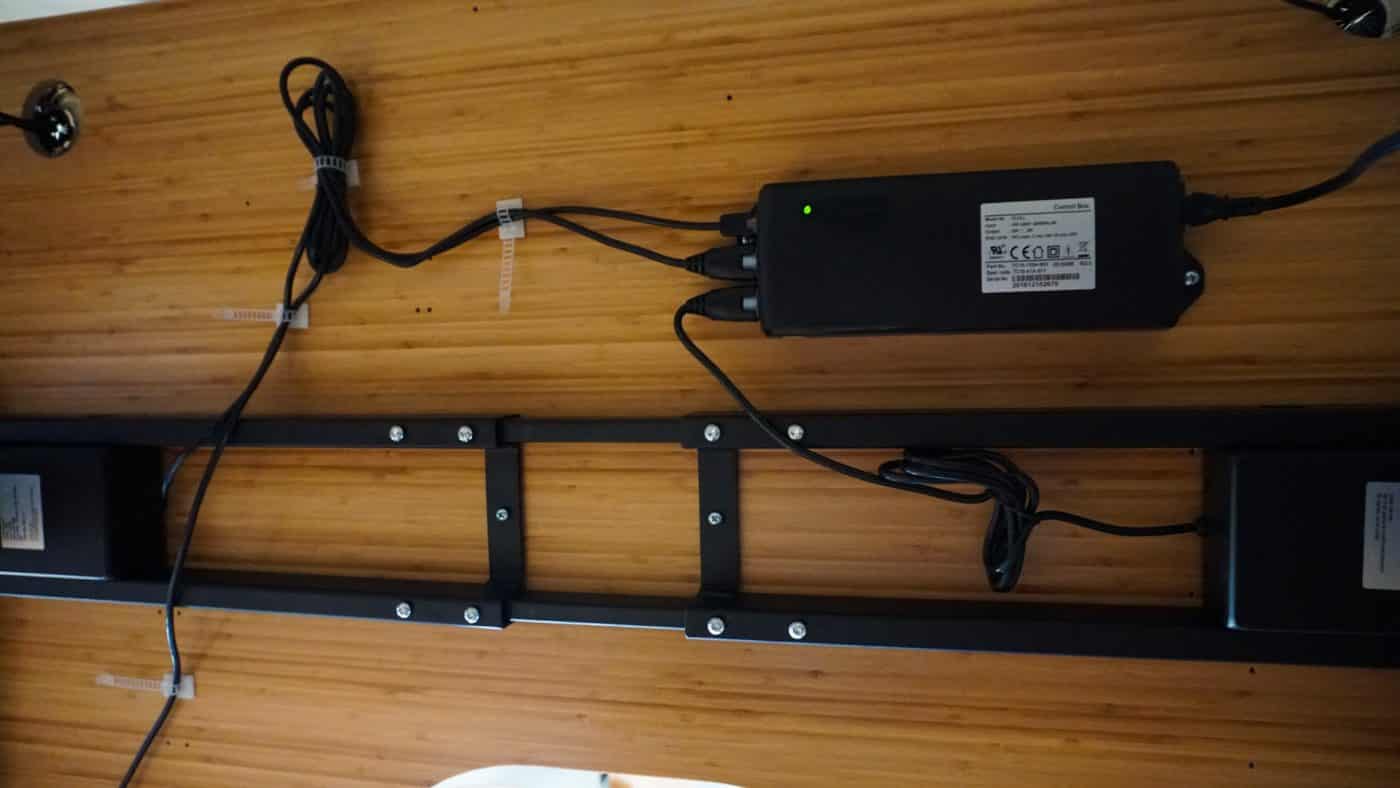
Now of course you want to keep the cable mess to a minimum. Autonomous includes a bag of cable organizers to help you out with that.
With the desk fully assembled just flip it over and you are good to go! Assembly should take anywhere from 30 minutes to an hour.